
Installing on Azure
To install SearchBlox on Azure, follow the steps below to set up the prerequisites and configure the system for optimal performance. This guide assumes you are using an Azure environment.
Prerequisites
Recommended EC2 instance type is NC Family Like NC4as T4 v3.
-
Install OpenJDK 25:
SearchBlox requires Java to run. Install OpenJDK 25 using the following commands:sudo dnf install java-25-openjdk -yVerify the Installation:
java -versionEnsure the output shows OpenJDK 25.
-
Install wget:
wget is required to download files from the internet. Install it using:sudo apt-get update sudo apt-get install wget -
Install Dependencies for Dynamic Auto Collection Crawler:
Install the following libraries:sudo apt-get install libxkbcommon0 libgbm1 -
Set vm.max_map_count:
Edit the/etc/sysctl.conffile to set thevm.max_map_countvalue:sudo vi /etc/sysctl.confAdd the following line:
vm.max_map_count=262144Apply the changes:
sudo sysctl -p -
Increase File Descriptor Limit:
Edit the /etc/sysctl.conf file to increase the file descriptor limitsudo vi /etc/sysctl.confAdd the following line:
fs.file-max=100000Apply the changes:
sudo sysctl -p
-
Set ulimit Values:
Edit the /etc/security/limits.conf file to set soft and hard limits:sudo vi /etc/security/limits.confAdd the following lines
* soft nofile 100000 * hard nofile 100000 -
Enable pam_limits
Edit the /etc/pam.d/common-session file:sudo vi /etc/pam.d/common-sessionAdd the following line
session required pam_limits.so


-
Reboot the Server:
Reboot the server to apply all changes:sudo reboot -
Verify ulimit Settings:
After rebooting, verify the ulimit settings:ulimit -a ulimit -Sn # Check soft limit ulimit -Hn # Check hard limit
Installation
-
Log in as root sudo su, If you are not the root user.
-
Create a SearchBlox user
sudo adduser searchblox -
SearchBlox must be installed in the /opt directory. Navigate to it:
cd /opt -
Download SearchBlox Debian package
sudo wget https://d2fco3ozzrfhhd.cloudfront.net/v12.1.0/searchblox_12.1.0-0_all.deb -
Install the Debian package
sudo dpkg -i searchblox_12.1.0-0_all.deb -
Set the required ownership and permissions for SearchBlox directories:
sudo chown -R searchblox:searchblox /opt/searchblox sudo chmod -R 755 /opt/searchblox/bin sudo chmod -R 755 /opt/searchblox/opensearch/ sudo chmod -R 755 /opt/searchblox/logs sudo chmod -R 755 /opt/searchblox/connectors sudo chmod -R 755 /opt/searchblox/webapps/ROOT/logs/ -
Install and run the
SearchAI PrivateLLMandollama.servicefrom the following section:
SearchAI PrivateLLM models -
Installing the GPU Drivers:
# ── prerequisites
sudo apt-get update && sudo apt-get install -y build-essential git wget curl

# ── NVIDIA driver & CUDA 12 (works with V100 / T4 / A100)
curl -O https://developer.download.nvidia.com/compute/cuda/repos/ubuntu2204/x86_64/cuda-keyring_1.1-1_all.deb
sudo dpkg -i cuda-keyring_1.1-1_all.deb
sudo apt-get update
sudo apt-get -y install cuda-drivers-535  # or newer

# ── reboot to load nvidia modules
sudo reboot
After Reboot:
nvidia-smi or dkms status # should list your GPU nvcc --version # confirms CUDA install -
To check the
ollama model, by running the following command:ollama list -
To download the models use the following command:
ollama pull qwen2.5 -
Start SearchBlox service by running the following command:
systemctl start searchblox
Note:
SearchBlox service will start opensearch service internally unlike previous versions. If service start up gives any issues, enable searchblox.service using the command below:
systemctl daemon-reload
- Stop SearchBlox and Opensearch services by running the following command:
systemctl stop searchblox - To verify the status of the SearchBlox service use the following command:
systemctl status searchblox
Verify Installation
-
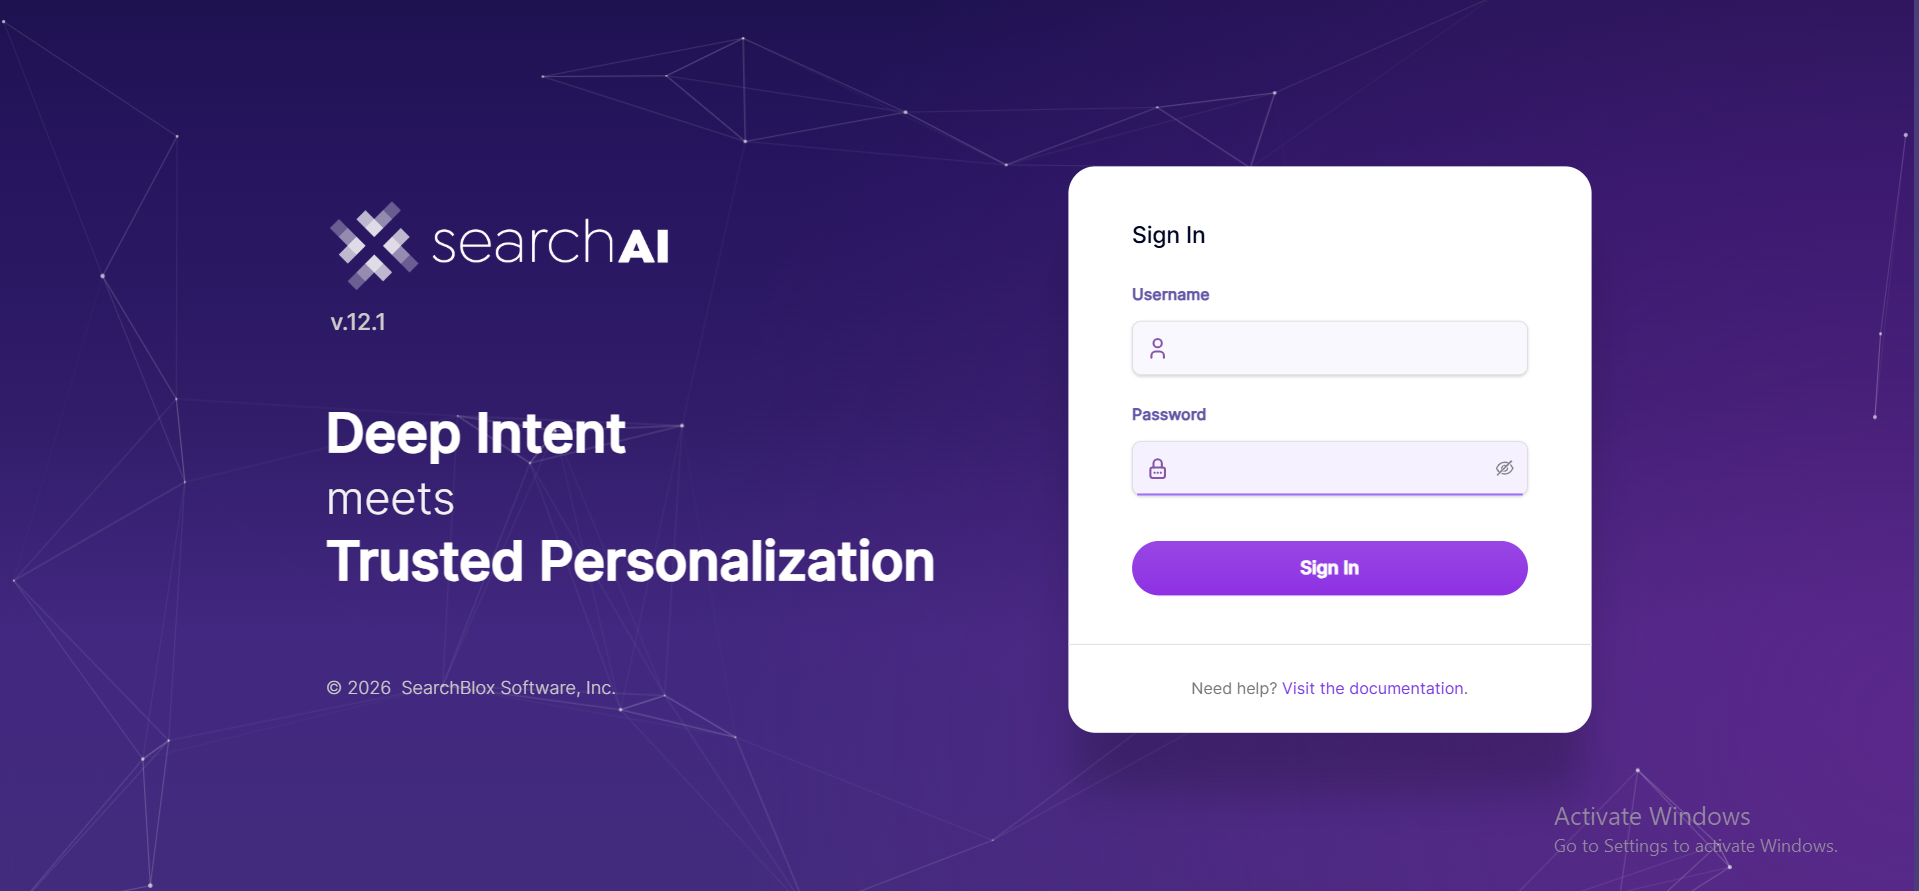
Access the SearchBlox Admin Console:
Wait for 30-60 seconds after starting the SearchBlox service.
Open a web browser using the end point:https://<localhost or IP>:8443/console
-
Log in to the Admin Console:
Setup the Super Admin Password.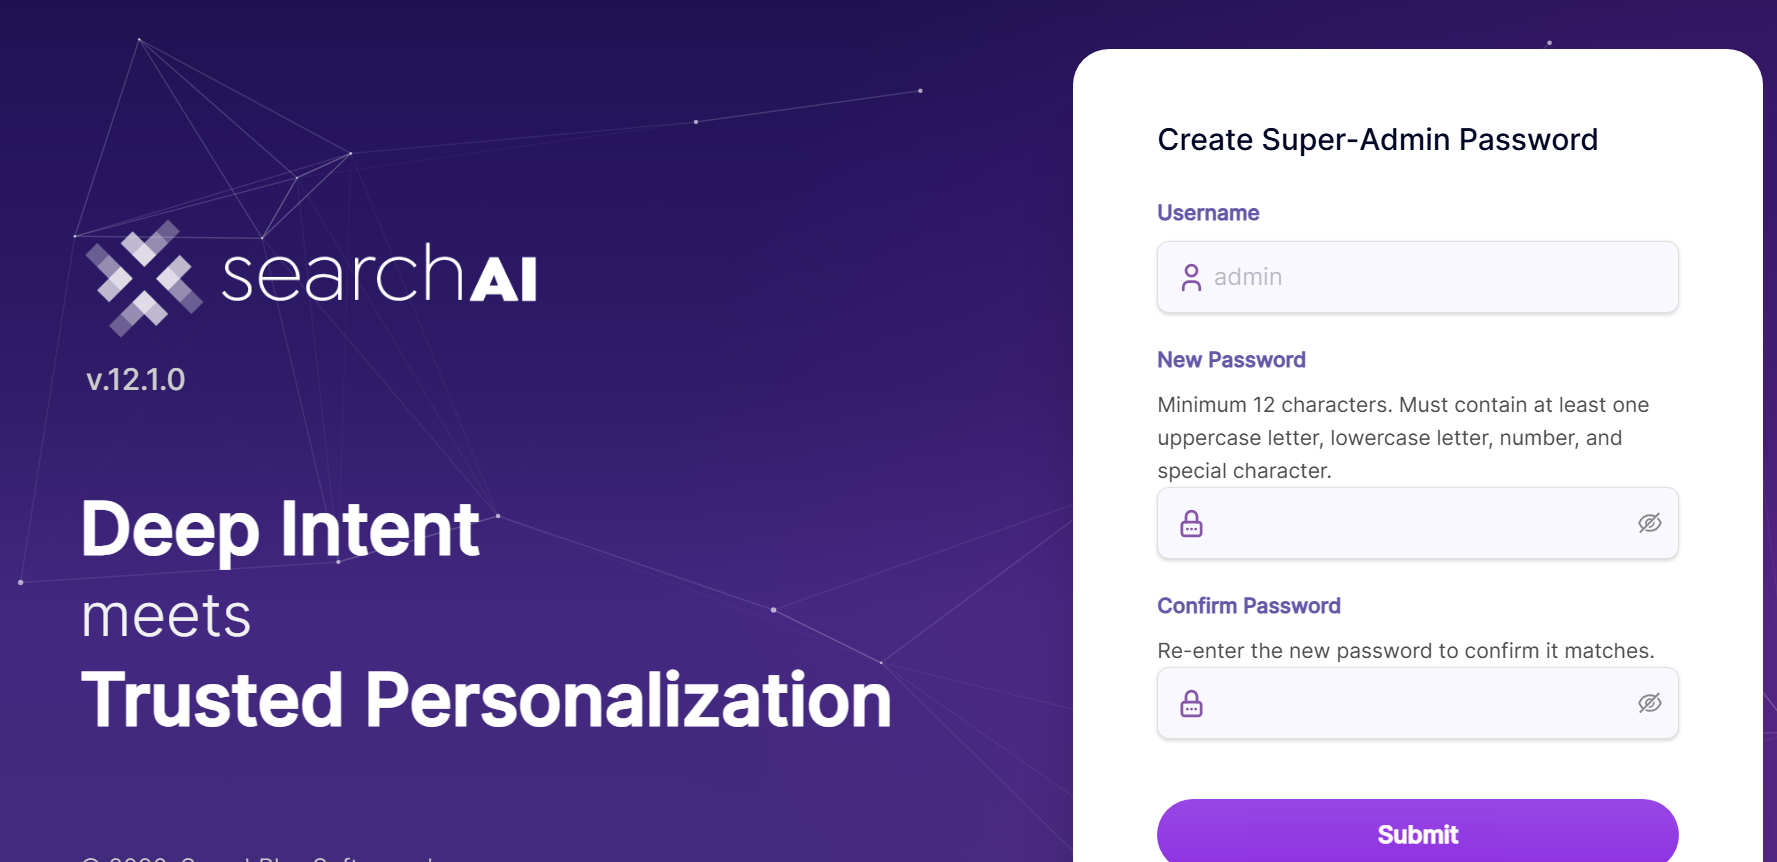
Login using the updated username and password.
-
Verify the Service Status:
If the Admin Console loads successfully, the SearchBlox service is running correctly.
Check the Status Log File
- Navigate to the Logs Directory:
The status log file is located at:/opt/searchblox/webapps/ROOT/logs/status.log - View the Log File:
Use the following command to view the log:cat /opt/searchblox/webapps/ROOT/logs/status.log - Confirm Successful Startup:
Look for the message:SearchBlox Started - Troubleshoot Errors:
If the service fails to start, the status.log file will contain error messages or warnings that can help identify the issue.
Common issues include:- Port conflicts (ensure port 8443 is free).
- Incorrect file permissions (verify permissions for /opt/searchblox).
Verify that the /opt/searchblox directory and its subdirectories have the correct permissions:sudo chown -R searchblox:searchblox /opt/searchblox sudo chmod -R 755 /opt/searchblox - Missing dependencies (ensure Java and other prerequisites are installed).
Additional Resources
-
To learn more on Troubleshooting visit: Logging and Troubleshooting
-
To learn about accessing SearchBlox visit: Overview of SearchBlox
-
To learn about tuning after installation visit: Installation Tuning
SearchBlox Admin Console Access using IP Address or Domain Name
- Using IP Address:
Replace localhost with your server's IP address in the URL:https://<your-server-ip>:8443/console- Using Domain Name:
If a domain name is mapped to your server's IP address, use the domain name in the URL:https://exampledomain:8443/console
Important Notes
- Port Number: By default, SearchBlox uses port 8443. Ensure this port is open and accessible in your firewall or security group (if using a cloud instance like AWS EC2).
- HTTPS: SearchBlox uses HTTPS for secure communication. Ensure your browser trusts the SSL certificate (self-signed certificates may require manual approval).
- Domain Configuration: If using a domain name, ensure the DNS records are correctly configured to point to your server's IP address
Steps to Install and Run SearchAI PrivateLLM
To install and run SearchAI PrivateLLM after completing the SearchBlox installation, follow the steps below. This process involves downloading the PrivateLLM Models, setting up the ollama.service, and starting the service.
- Download the Models Folder:
Download the PrivateLLM Models from the provided link:
SearchAI PrivateLLM Models
Extract the downloaded models folder. - Replace the Models Folder:
Navigate to the/opt/searchblox/ollama/modelsdirectory and replace the existing models folder with the downloaded one.cd /opt/searchblox/ollama/models - Create the ollama.service File:
- Navigate to the
/etc/systemd/system/directory:
cd /etc/systemd/system/- Create a new service file named ollama.service:
sudo vi /etc/systemd/system/ollama.service - Navigate to the
Add the following script to the ollama.service file:
[Unit]
Description=Ollama Service
After=network-online.target
[Service]
WorkingDirectory=/opt/searchblox/ollama/bin
ExecStart=/opt/searchblox/ollama/bin/ollama serve
User=root
Group=root
Restart=always
RestartSec=3
Environment="OLLAMA_MODELS=/opt/searchblox/ollama/models/"
[Install]
WantedBy=default.target
Then save and exit the file.
- Set Execute Permissions:
Provide execute permissions for the ollama.service file:Also, set execute permissions for the ollama binary:sudo chmod 755 /etc/systemd/system/ollama.servicesudo chmod 755 /opt/searchblox/ollama/bin/ollama
- Reload Systemd Daemon:
Reload the systemd daemon to apply the new service file:sudo systemctl daemon-reload - Start the Ollama Service:
sudo systemctl start ollama - Verify the Models:
Check the list of available models by running:./opt/searchblox/ollama/bin/ollama list - Download the Model:
Download the model using the command below:./opt/searchblox/ollama/bin/ollama pull qwen2.5 - Stop the Ollama Service (Optional):
To stop the ollama service, use:sudo systemctl stop ollama - Enable Auto-Start on Reboot:
To ensure the ollama service starts automatically on system reboot, enable it:sudo systemctl enable ollama
Change SearchBlox Server Port
SearchBlox Server runs on port 8443 by default.
You can change the port by following the steps as shown in the following:
-
Stop SearchBlox service
-
Edit the file /opt/searchblox/start.d/https.ini and add the below line to set the required port number:
jetty.ssl.port=443 -
Save the file https.ini
-
Start SearchBlox service
Port Update
Fix the permission denied error while using searchblox service on less than ports 1024, run the below commands:
Check the Java Path
readlink -f $(which java)Set the capability to bind low ports for non-root searchblox user.
setcap cap_net_bind_service+ep <javapath>
Uninstall
-
First Stop the SearchBlox, by running the command:
systemctl stop searchblox -
Run the following command to uninstall or remove SearchBlox:
apt-get remove searchblox -
To remove the user, run the command;
userdel searchblox -
Reboot the server:
reboot
Note: For clean SearchBlox uninstallation, it is required to remove searchblox directory i.e., /opt/searchblox manually by running the following command:
rm -rf /opt/searchblox
Updated about 2 months ago