
Uploading Search Front Ends
Uploading Plugins
To upload a custom plugin through the UI, follow these steps: The plugin must be in ZIP file format. Rename the ZIP file with any name you prefer (for example, customui.zip).
Important Note:
If you are replacing an existing plugin folder (<SEARCHBLOX_INSTALLATION_PATH>/webapps/ROOT/plugins) take a backup or rename it before uploading. Uploading a new plugin.zip will overwrite all existing files in the plugin folder.
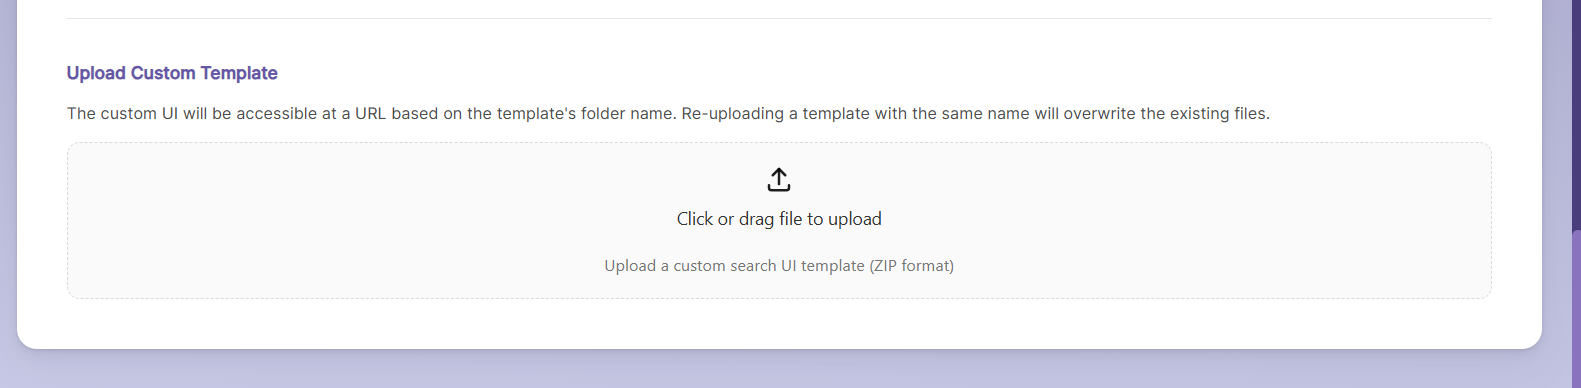
- In the Admin Console, go to Dashboard → Collections → Search Settings tab, and click Upload Search Template.
- Select your custom plugin ZIP file and click Open to upload it.
.png")

Once the upload is complete, the Upload Plugin section will no longer be visible on the screen.
You can check that the custom plugin folder is created in <SEARCHBLOX_INSTALLATION_PATH>/webapps/ROOT/.
After that, you can access the custom plugin using the corresponding link.
https://localhost:8443/customui/index.html
You can configure the custom plugin’s facet.js either before or after uploading the plugin.
Updating Custom Favicon with Plugin
You can update the SearchBlox favicon to your own brand favicon by following these steps:
Add the favicon files in <SEARCHBLOX_INSTALLATION_PATH>/webapps/ROOT/plugins. You need two file formats: PNG and ICO.
After placing the favicon files, edit the file names in the index.html page located in the same plugin folder (<SEARCHBLOX_INSTALLATION_PATH>/webapps/ROOT/plugins).
Note: The plugin can be any custom plugin.
Updated about 1 month ago