
Create a New ChatBot Action
This provides a clear, step-by-step guide to creating a new action, including setting keywords, choosing the action type, and configuring its behavior.
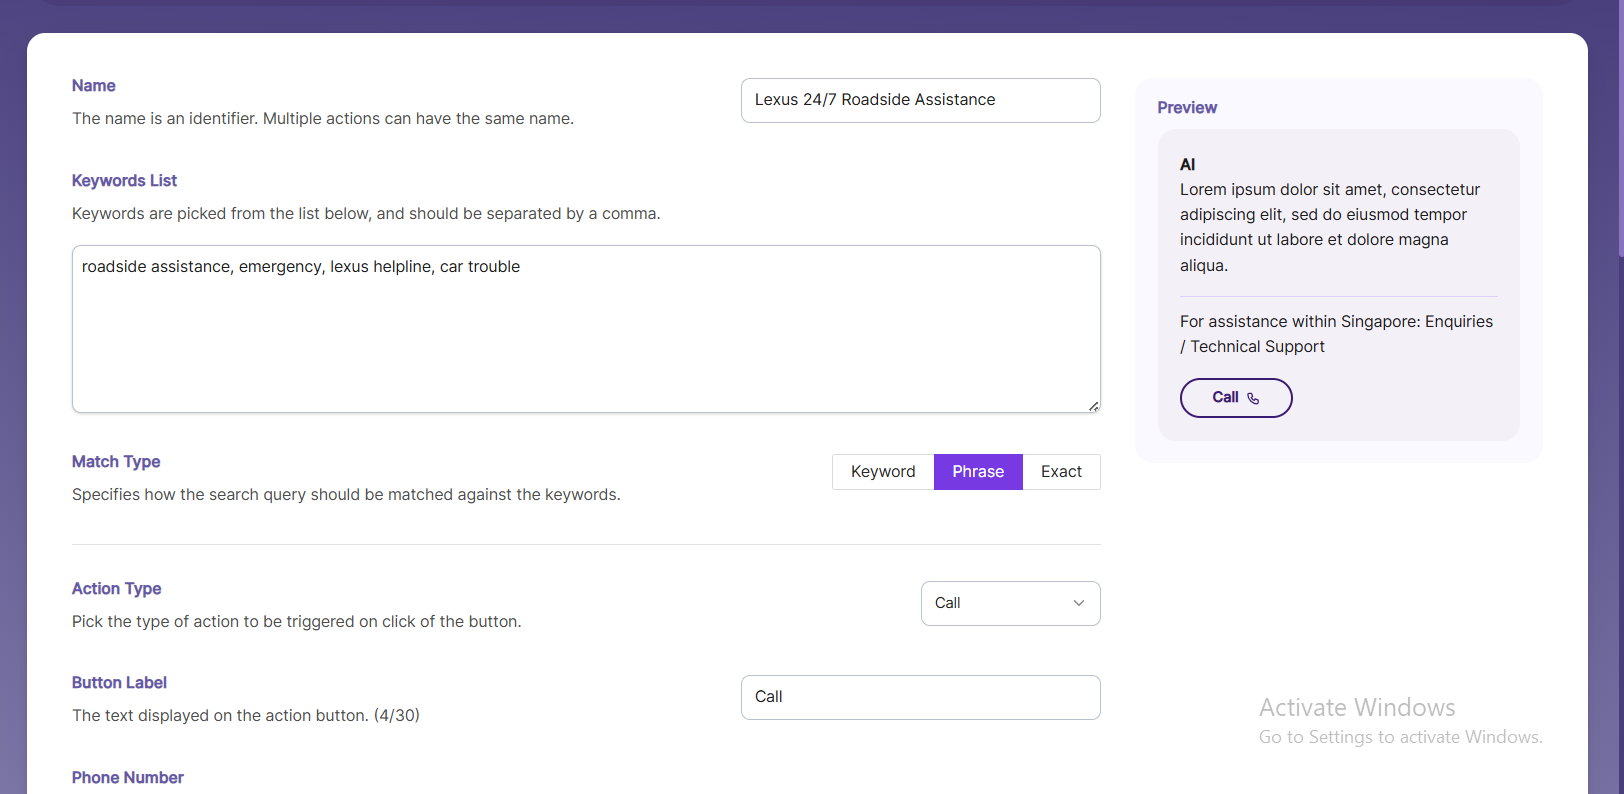
1. Give your Action a Name

Give the action a clear name so you can easily identify and manage it later.
Example: “Schedule a Demo”, “Download Whitepaper”, or “Contact Support”.
2. Add Keywords to Trigger an Action
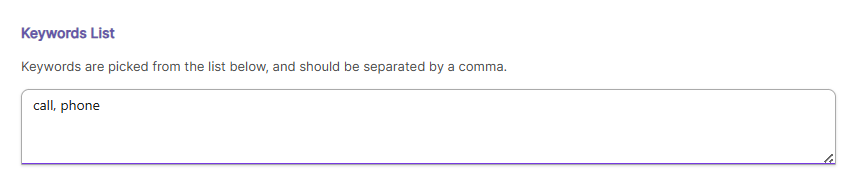
These are the words or phrases that trigger the action when used by a user. You can manually enter keywords or select them from a URL list.
Example: To trigger an action for contacting support, you can use keywords such as “Call support,” “Speak to an agent,” “Call agent,” or “Connect to an agent.”
3. Matching Keywords to your Action

You can choose these options to control how strictly the chatbot needs to match the user's input to your keywords before triggering the action.
- Keyword Match: The action is triggered when any specified keyword appears, even if it is part of a longer sentence.
- Phrase Match: The action is triggered only when the exact phrase you define is used, providing more precise control.
- Exact Match: The action is triggered only when the user’s input exactly matches the defined keyword or phrase, with no additional words. This is the most restrictive option and ensures the action runs only when the user’s intent is very clear.
4. Select your Action type
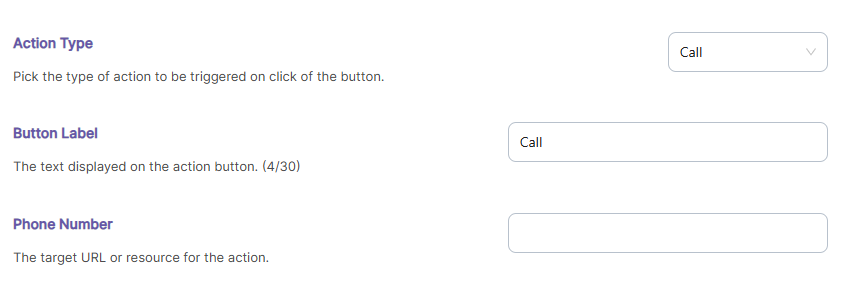
Use the dropdown to choose a related action you want the Chatbot to take. This defines what your ChatBot will actually do when the action is triggered.
- Call: The chatbot initiates a call to a specified phone number.
- Download File: The chatbot provides a link for downloading a specific file.
- Open URL: The chatbot opens a specified webpage in a new browser tab or window.
- Email: The chatbot sends a predefined email to a specified recipient
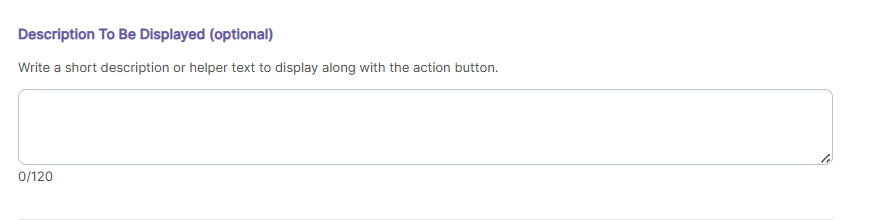
5. Give your Action a description
Write a short explanation of the action that will be shown to the user.
Preview Actions:
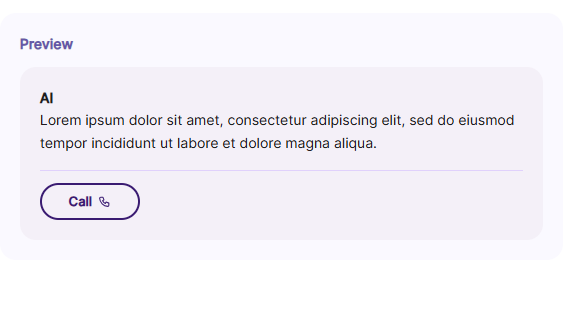
You can preview how the action description and button will appear to users in the snippet on the right side of the page.
6. Select ChatBot to implement Actions
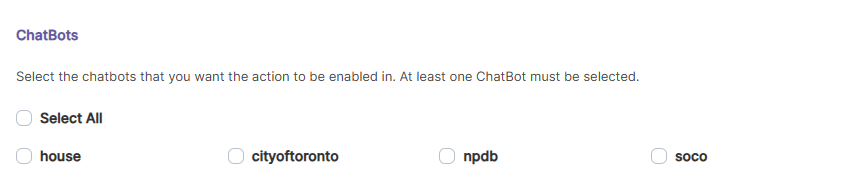
Choose the relevant chatbot(s) from the list that should have this action enabled.
7. Set Priority for the Action

Assign a priority number to the action. When multiple actions are triggered, the one with the highest priority (lowest number) will be executed first. This determines the order in which actions are considered for the same user input.
8. Set Start/End Date

Enable the date range option by toggling it to Yes. Then, set a Start and End date to specify when the action will be active.
9. Limit No. of Triggers

Set the maximum number of times this action can be triggered across all users.
10. Enable/Disable ChatBot Action
Switch this toggle to "On" to activate the action, making it available to users. Turning it off will deactivate the action.

11. Save and Enable Action
Once all details are filled in, click Save to create the action.
Updated 24 days ago