
SharePoint Online Collection
SharePoint Online Collections allow SearchBlox to crawl and index shared documents from selected SharePoint Online sites. This makes your SharePoint content fully searchable from within SearchBlox without requiring users to navigate SharePoint directly.
Prerequisites
- Create an App in Microsoft Azure to get Tenant ID, Client ID, Client Secret, Redirect URI and Region.
- Provide the Required Permissions to Microsoft Graph API, mainly on Sites, Files and Directory.
- Guidelines to create an APP and provide permissions
Creating SharePoint Online Collection
You can Create a SharePoint Online Collection with the following steps:
- Log in to the Admin Console, go to the Collections tab, and click "Create a New Collection" or the "+" icon.
- Select "SharePoint Online Collection" as the Collection Type.
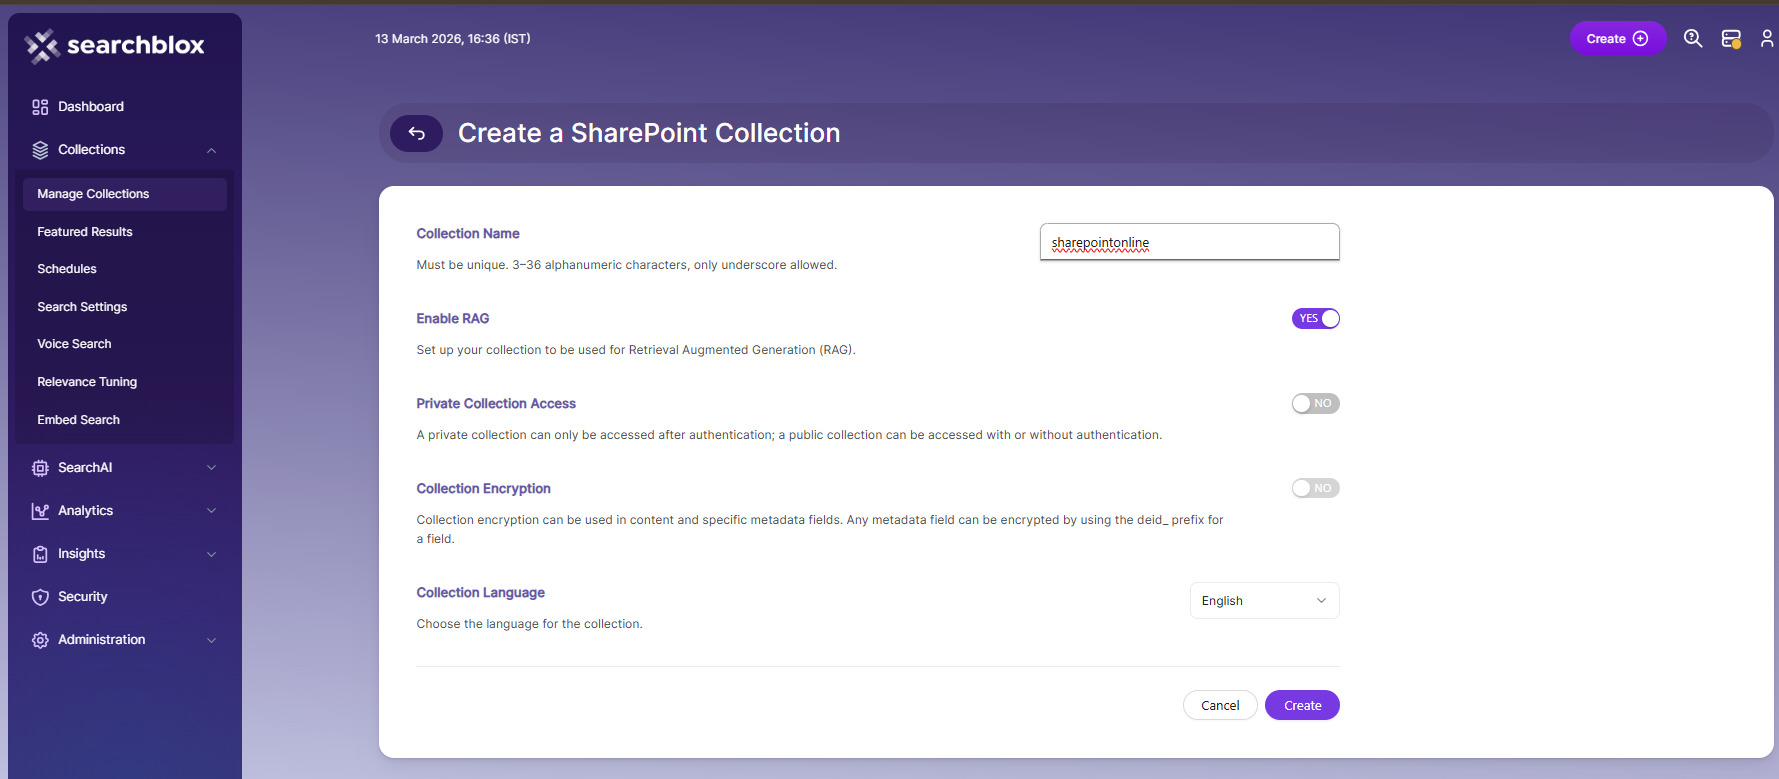
- Enter a unique name for the collection (e.g., SharePoint).
- Enable or disable RAG (for ChatBot and Hybrid RAG search).
-
Set Collection Access (Private/Public) and Collection Encryption as required. - Choose the content language (if not English).
- Click "Save" to create the collection.
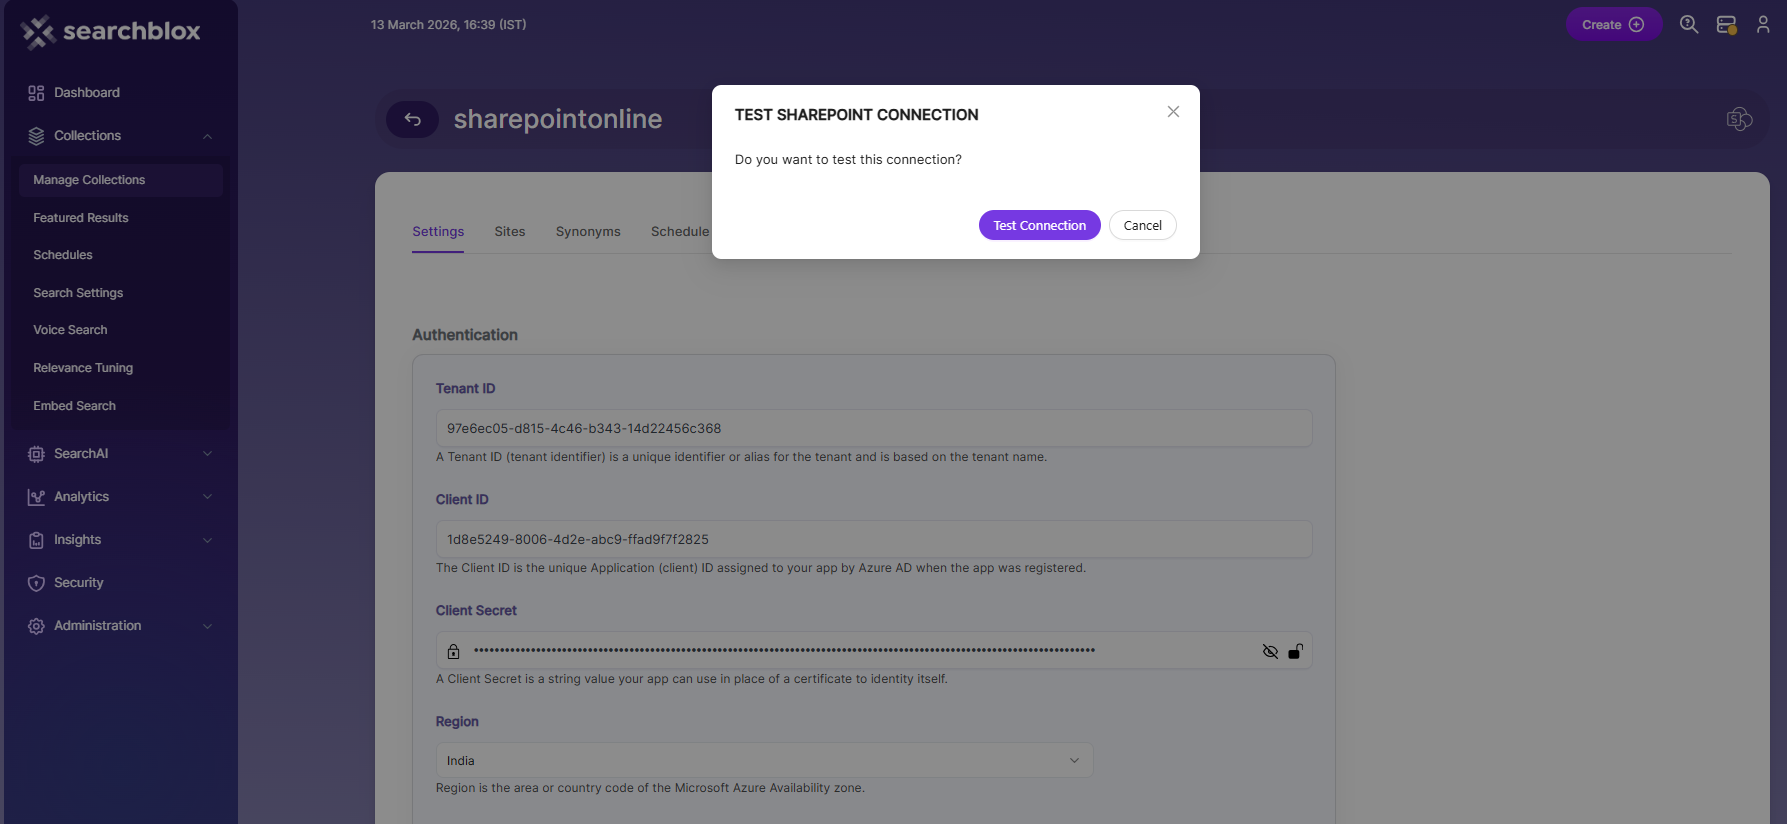
- After creating the SharePoint Online collection, you will be taken to the Authentication tab.
Settings Tab
| Field | Description |
|---|---|
| Tenant ID | Unique identifier or alias for the tenant, based on the tenant name. |
| Client ID | Unique Application (client) ID assigned to your app by Azure AD during app registration. |
| Client Secret | String value your app can use instead of a certificate to identify itself. |
| Region | Area or country code of the Microsoft Azure Availability zone. |
| Redirect URI | URL where the authorization server sends the user after successful app authorization. |
Client Secret:
- Client Secret is the value not the Secret ID.

-
Enter Tenant ID, Client ID, Client Secret, Region, and Redirect URI, which can be found in the Overview of your created app in Microsoft Azure.
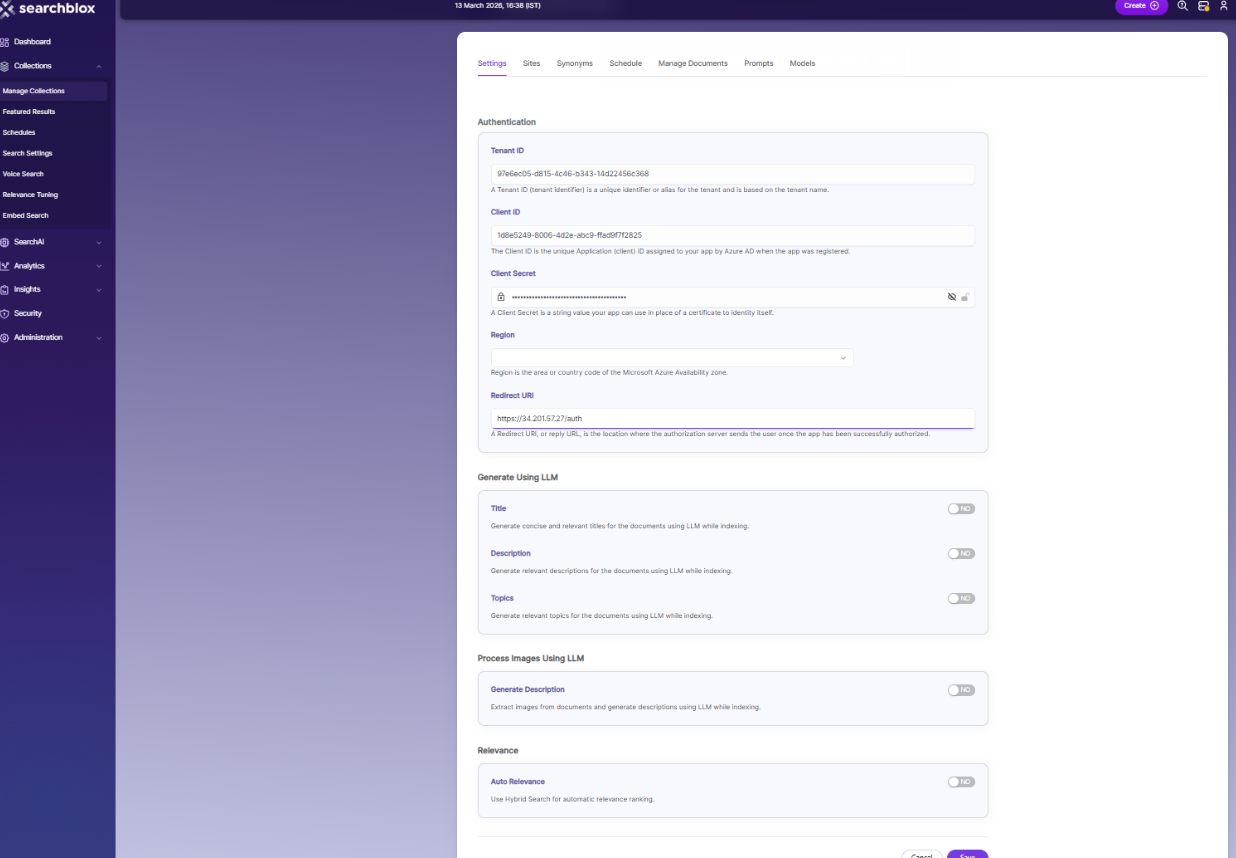
- Choose the settings for
Generate Using LLMandHybrid Search.
| Settings | Description |
|---|---|
| Title | Generates concise and relevant titles for the indexed documents using LLM. |
| Description | Generates the description for indexed documents using LLM. |
| Topic | Generates relevant topics for indexed documents using LLM based on document's content. |
| Auto Relevance | Enable/Disable Hybrid Search for automatic relevance ranking |
- Click on
Savebutton and Click onTest Connection.
Sites Tab
After successful authentication, go to the Sites tab to view the list of sites from your SharePoint Online account.
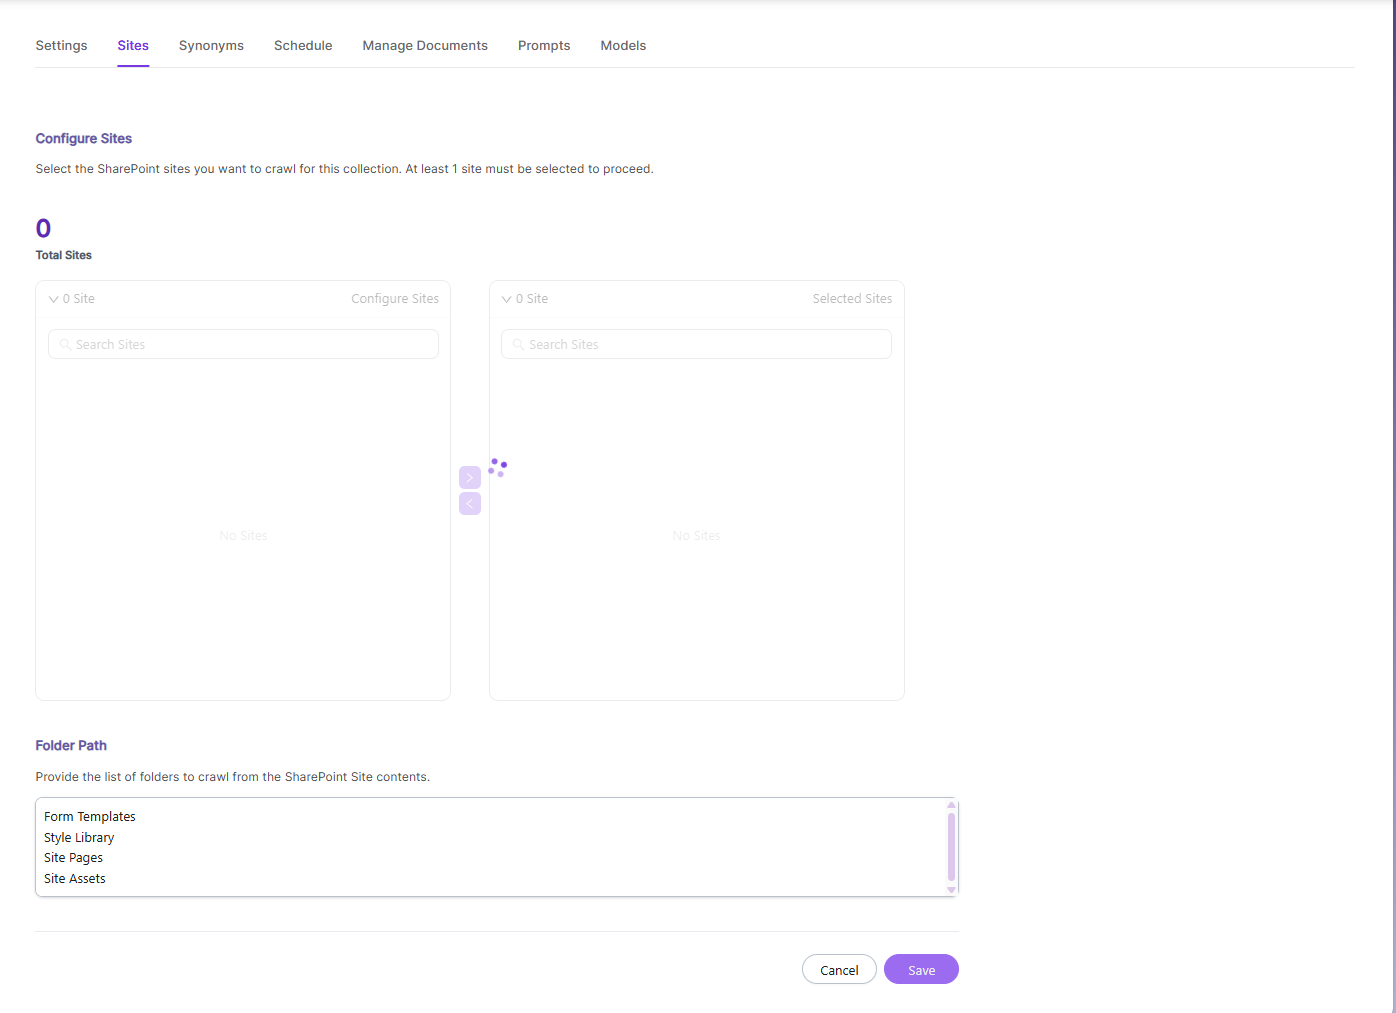
Configure Sites
- Select the sites to be indexed (ensure the user has access).
- View the total sites in the organization.
- See the selected sites and deselect them if needed.
- Click
Saveafter selecting or deselecting sites
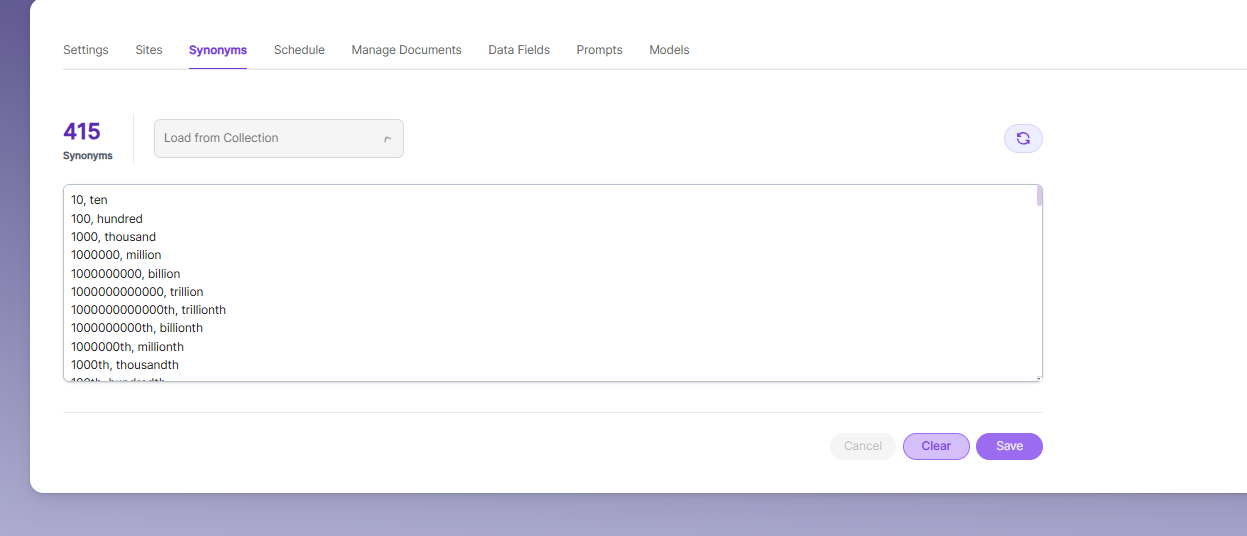
Synonyms
Synonyms help the search show relevant documents even when the exact search word is not used.
For example, if someone searches for “global,” the results can also include documents that use “world” or “international.”
We have an option to load Synonyms from the existing documents.
Schedule and Index
- SharePoint Online collection indexes only the selected sites. Set the start date/time and frequency for indexing. Supported schedule frequencies:
- Once
- Hourly
- Daily
- Every 48 Hours
- Every 96 Hours
- Weekly
- Monthly
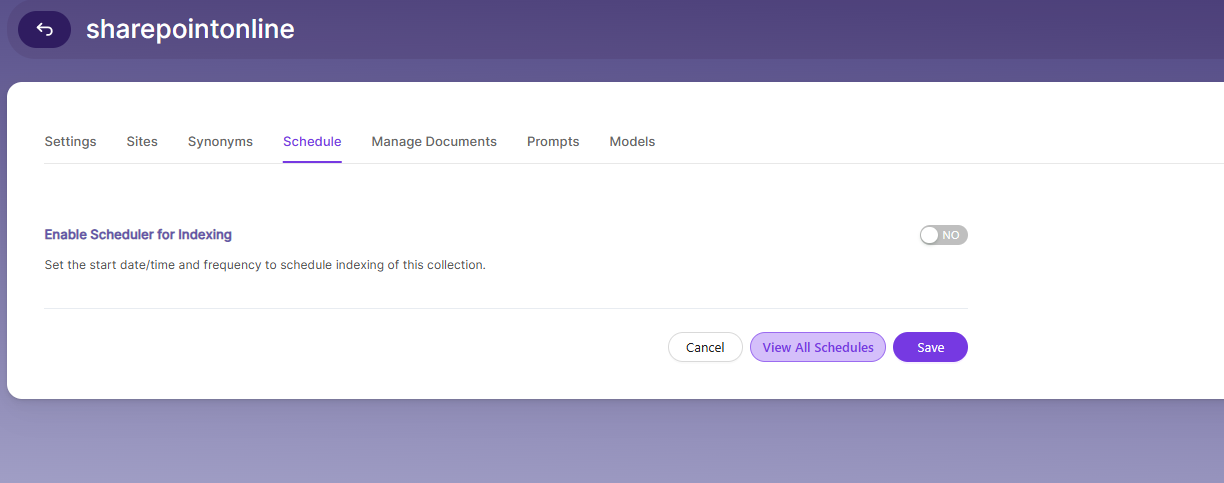
The following operation can be performed in SharePoint Online collections
| Activity | Description |
|---|---|
| Enable Scheduler for Indexing | Once enabled, you can set the Start Date and Frequency. |
| Schedule | Indexing can be scheduled for each collection based on the above options. |
| View all Collection Schedules | Redirects to the Schedules section where all collection schedules are listed. |
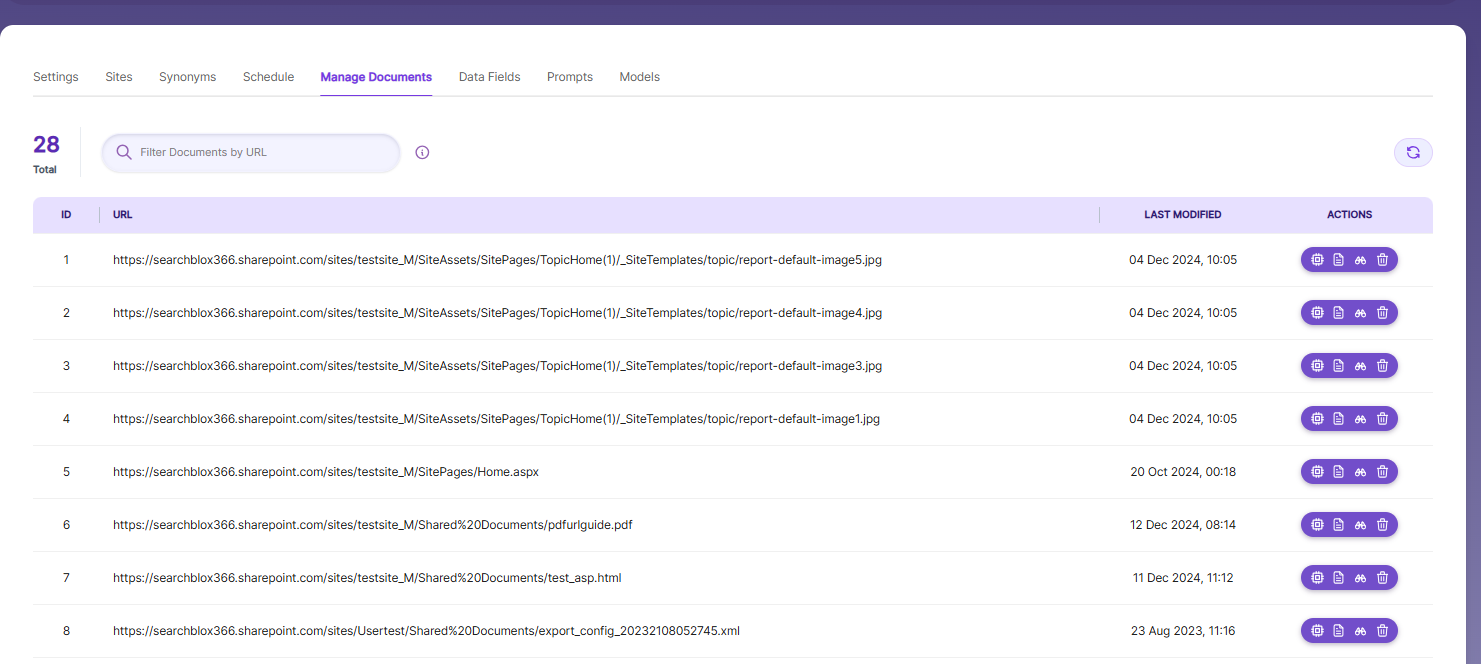
Manage Documents Tab
-
Using Manage Documents tab we can do the following operations:
- Filter
- View content
- View metadata
- Refresh
- Delete
-
Enter the file path and click Delete to remove a file from the collection.
-
Click View Metadata to check the status of an indexed file.
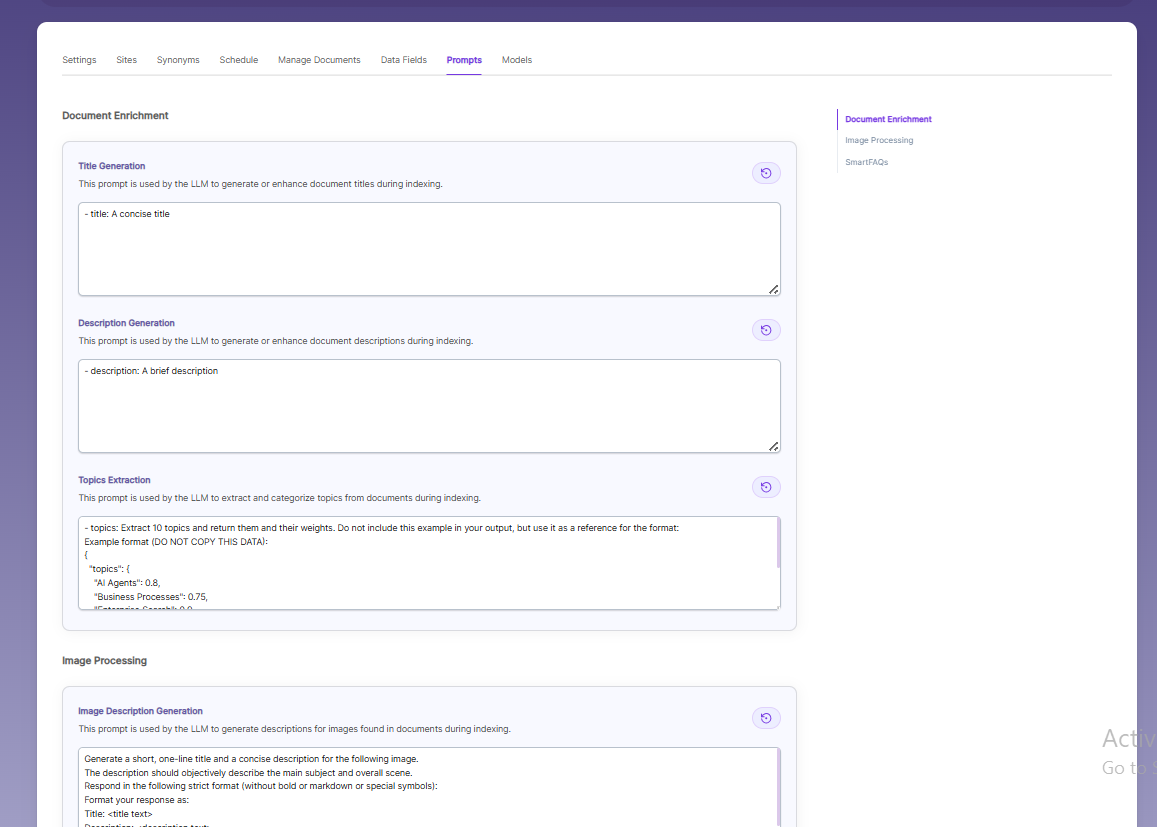
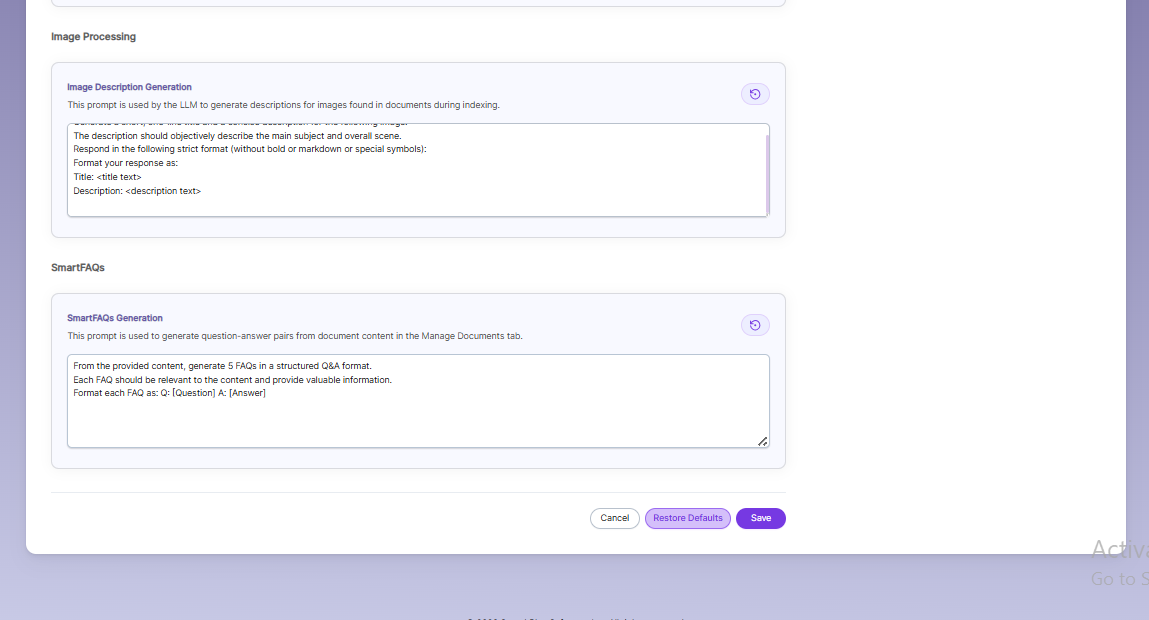
Prompts
-
When LLM/RAG is enabled, you can edit AI-based prompts for Title, Description, Topic, Image Description, and Smart FAQs.
-
You can customize these prompts anytime, and use Restore Default to reset them back to the original SearchBlox settings.
Models
The Models page allows you to configure and override AI models used for embeddings, reranking, and LLM-based features within the collection.

Embedding
- Provider specifies the embedding provider used to generate vector representations of documents.
- Model defines the embedding model used to convert document content into vectors for semantic search.
Reranker
- Provider specifies the reranker provider used for improving search result relevance.
- Model defines the reranker model used to re-score and reorder search results based on relevance.
LLM
-
Provider specifies the Large Language Model provider used for AI-powered features.
-
Model defines the LLM used for tasks such as document enrichment, summaries, and SmartFAQs.
-
These settings override global configurations and apply only to the current collection.
Updated 29 days ago