
Installing on Windows
To install SearchBlox on Windows, follow the steps below. This guide covers downloading the installer, running the setup wizard, and configuring SearchAI PrivateLLM.
Steps to Install SearchBlox on Windows
- Download the SearchBlox installer for Windows from the following link:
Download SearchBlox Windows Installer - Run the Installer as Administrator:
Right-click the downloaded searchblox_windows64.exe file and select Run as Administrator.
The Install4j Wizard will start the installation process.

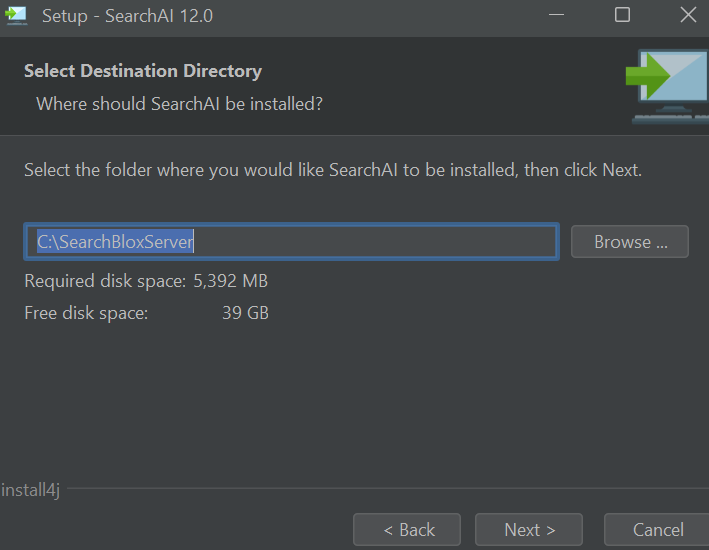
- Follow the Installation Wizard:
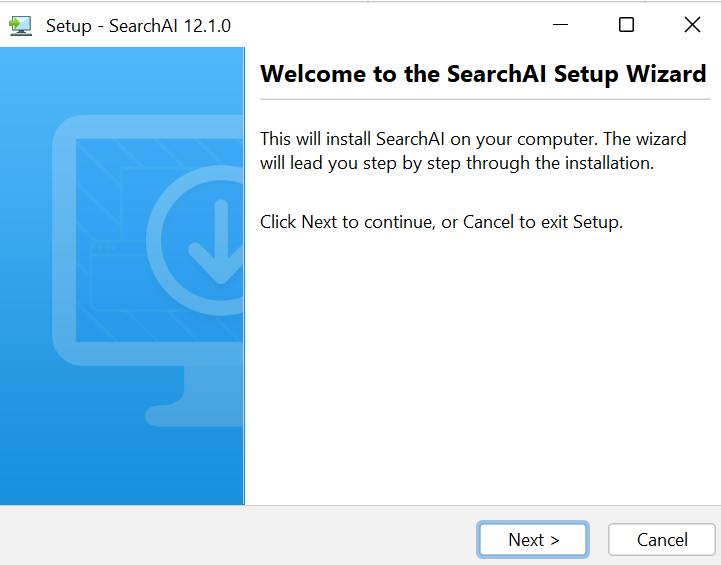
Welcome Screen: Click Next to proceed.
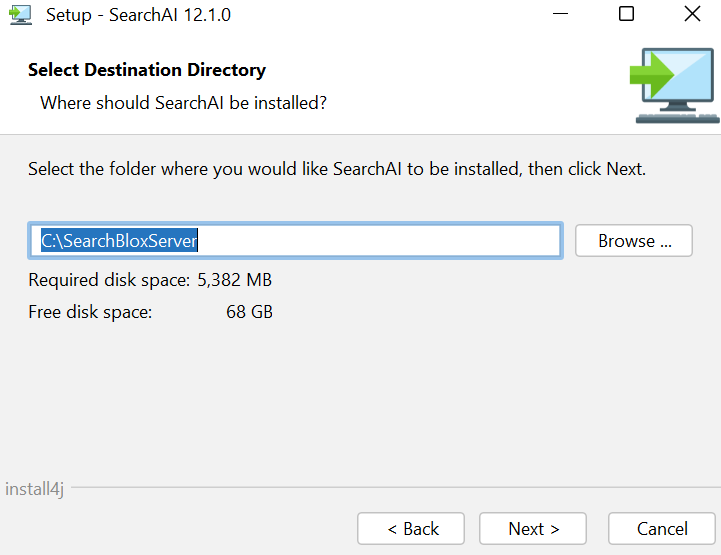
Choose Installation Directory: Select the directory where SearchBlox will be installed (e.g., C:\SearchBlox).
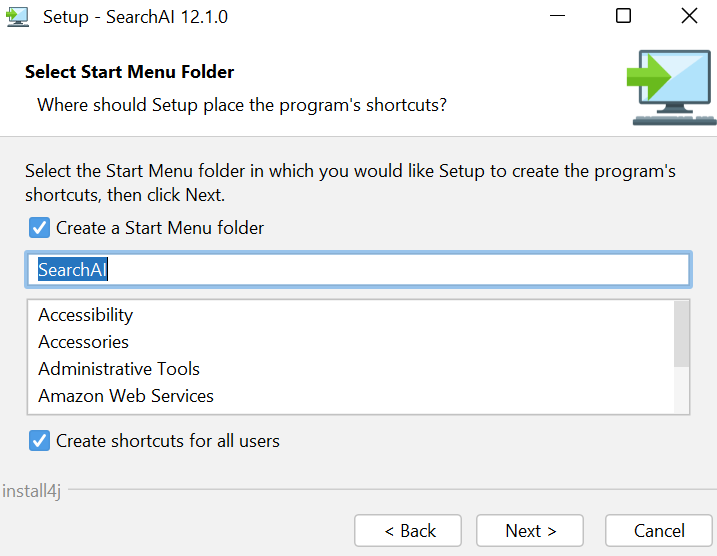
Startup Shortcut: The installer will create a startup shortcut by default. Click Next to proceed.
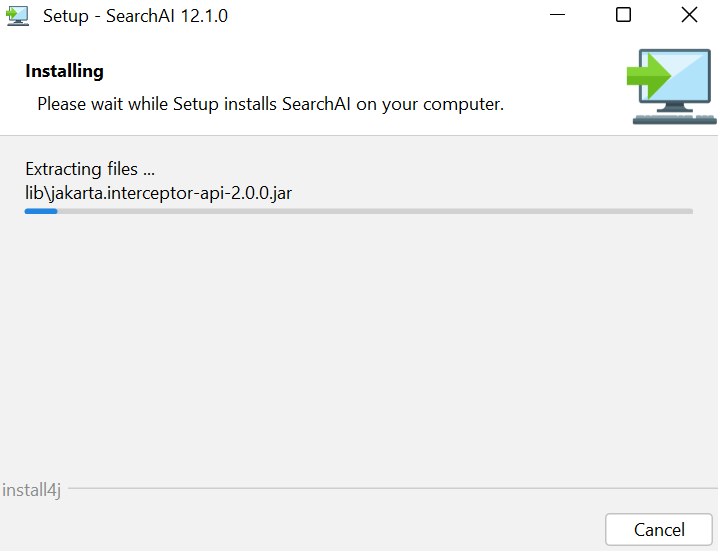
Installation Progress: Wait for the installation to complete.
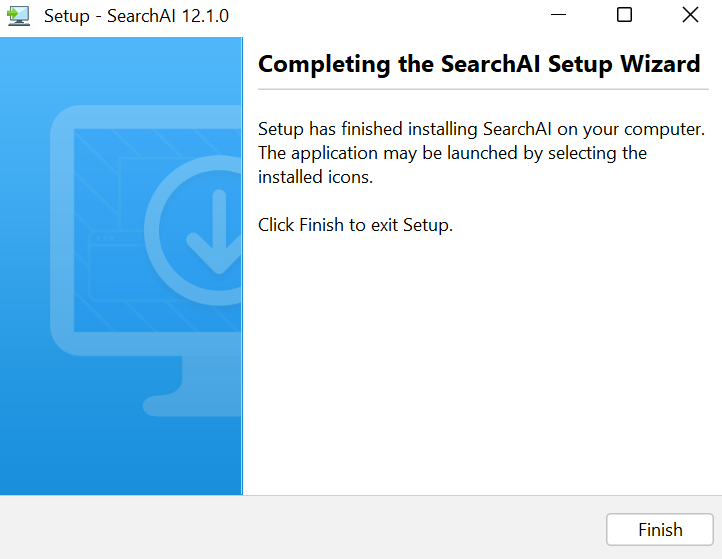
Installation Complete: Click Finish to complete the installation.
- The installer will install SearchBlox along with OpenSearch for the application.
- Install SearchAI PrivateLLM:
Follow the steps in the SearchAI PrivateLLM Installation Guide to install and configure PrivateLLM.
Steps to Install SearchAI PrivateLLM - Download and Configure the Ranker Model:
Download the ranker model from the following link:
ranker.zip
Extract the downloaded ranker.zip file.
Optional: If you want to use SmartSuggest, download the keyphrase model from the following link:
keyphrase.zip
Extract the downloaded keyphrase_extractor.zip file.
-
Navigate to the
<SearchBlox-installation>/webapps/ROOT/modelsdirectory (for example,C:\SearchBlox\webapps\ROOT\models).
Place the extracted ranker folder inside the models directory. -
Navigate to the
<SearchBlox-installation>/webapps/ROOT/modelsdirectory (e.g.,C:\SearchBlox\webapps\ROOT\models).
Place the extracted ranker folder in the models directory.
Prerequisites
- After installation please set
JAVA_HOMEand environment path variable for Java.
Please Note
If there are other Java versions installed in the system, please remove the references from the path variable.
To set the environment variable
- Right-click on My Computer, select Properties and click Advanced System Settings.
- On the Advanced tab, select Environment Variables.

- Create a new System Variable
JAVA_HOMEwith valueC:\SearchBloxServer\jre
NOTE
- If SearchBlox is installed on D drive then JAVA_HOME value will be
D:\SearchBloxServer\jre

- Select
Pathunder System Variable and add%JAVA_HOME%\binas a new path.


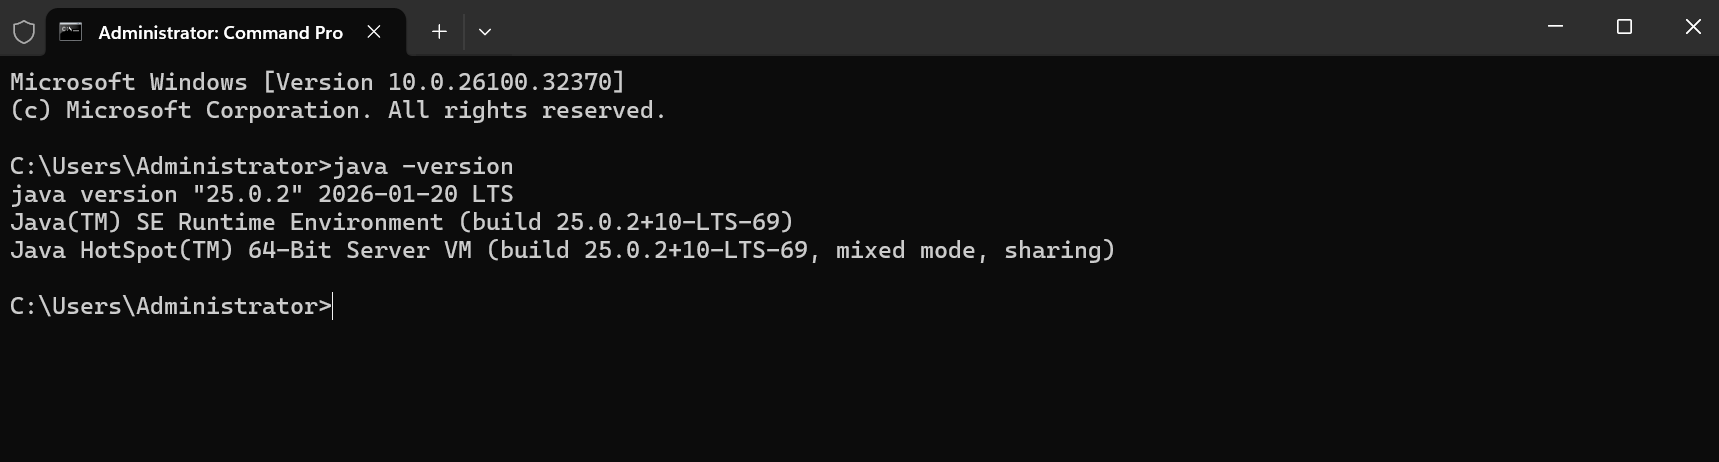
- Verify if Java is installed correctly by running the command:
java -version
Steps to Install SearchAI PrivateLLM
Post-Installation Setup
-
Navigate to Ollama Directory
Access the installation folder:
C:\SearchBloxServer\ollama -
Download Model Files
Obtain the required models package:
SearchAI PrivateLLM models -
Update Model Files
Extract the downloaded models.zip
Replace existing files in:C:\SearchBloxServer\ollama\models -
Run Ollama Setup
Execute the installer:
C:\SearchBloxServer\ollama\ollamaSetup.exe
Environment Configuration -
Set
OLLAMA_MODELSand environment path variable as follows:-
Follow step 1 and 2 from (Prerequisites
-
Create a new User Variable
OLLAMA_MODELSwith valueC:\SearchBloxServer\ollama\modelsName: OLLAMA_MODELS Value: C:\SearchBloxServer\ollama\models -
Click on
OK.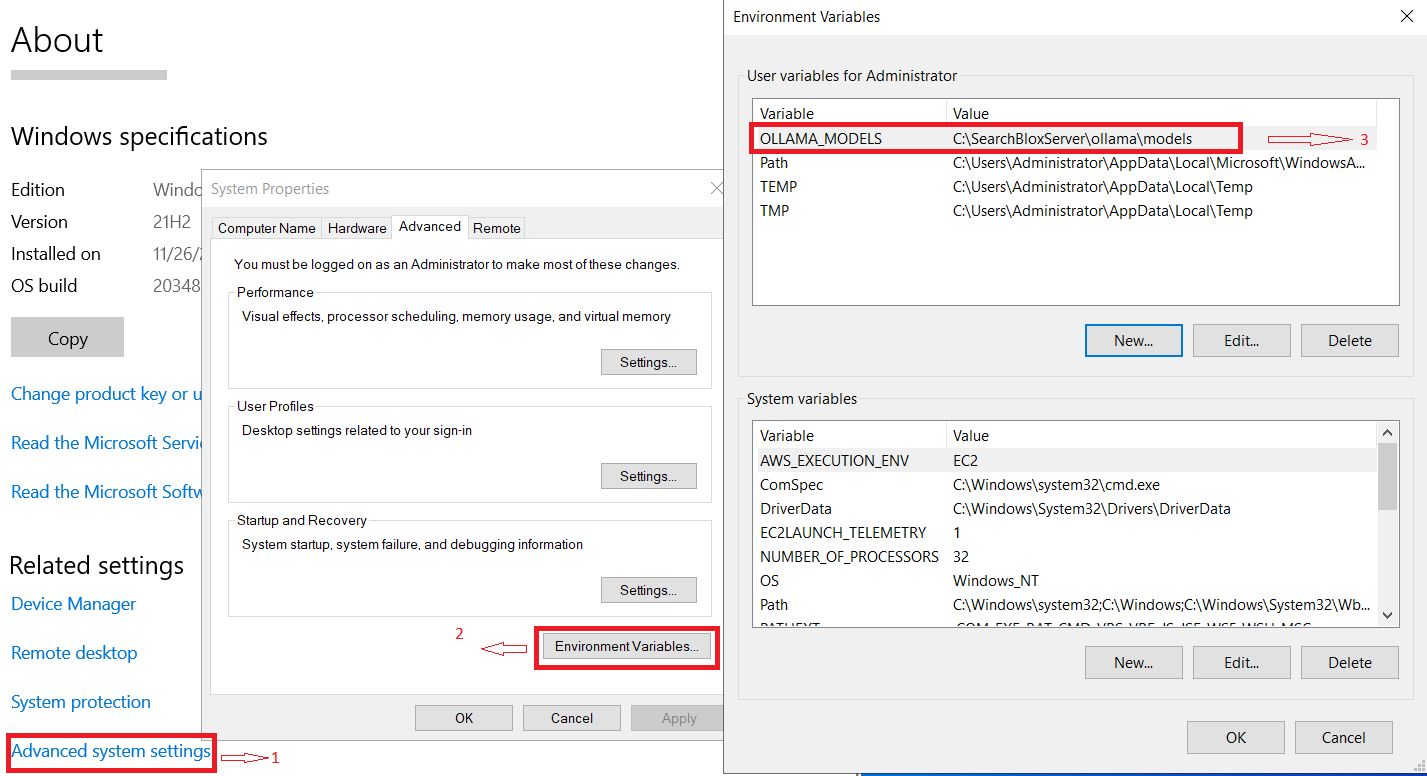
-
-
Restart the Windows Server.
-
After restart, open the following link to check
SearchAI PrivateLLM, default port is 11434.
http://localhost:<port>
Start SearchBlox Service
NOTE:
Before starting SearchBlox Service,
SearchAI PrivateLLMshould be installed and running,to installSearchAI PrivateLLMfollow Steps to Install Ollama.
- Navigate to:
C:\SearchBloxServer\service - Right-click
install-serviceand select Run as Administrator

Starting the Service
Method 1: Windows Services Console
Open: Control Panel > System and Security > Administrative Tools > Services
Locate Searchblox Enterprise Search
Right-click and select Start

Method 2: Direct Start
In the Services console:
Right-click SearchAI > Start

Troubleshooting
- Restart the Windows Server if you are not able to start SearchBlox.
- Check if Elasticsearch service is running.
- SearchBlox service will start automatically upon server restart.
Accessing Admin Console
- Wait 30 seconds after service start
Open:
Accept License Agreementhttps://localhost:8443/console/
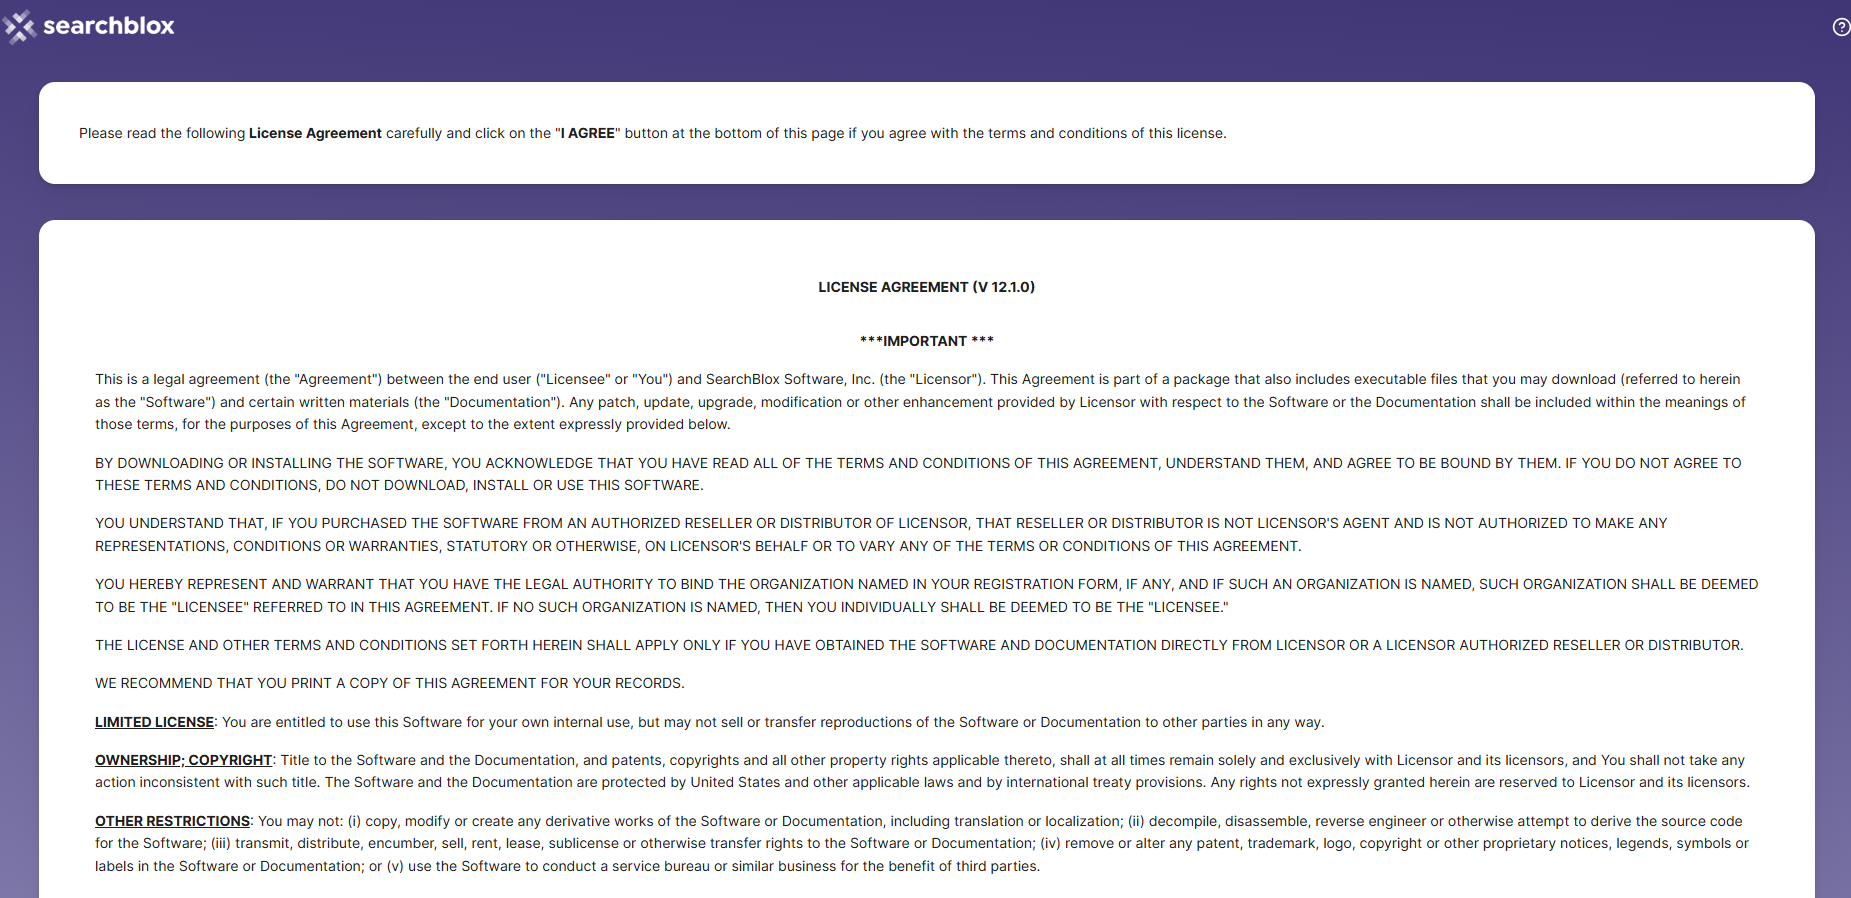
- You will be directed to Create Super Admin Password creation page.
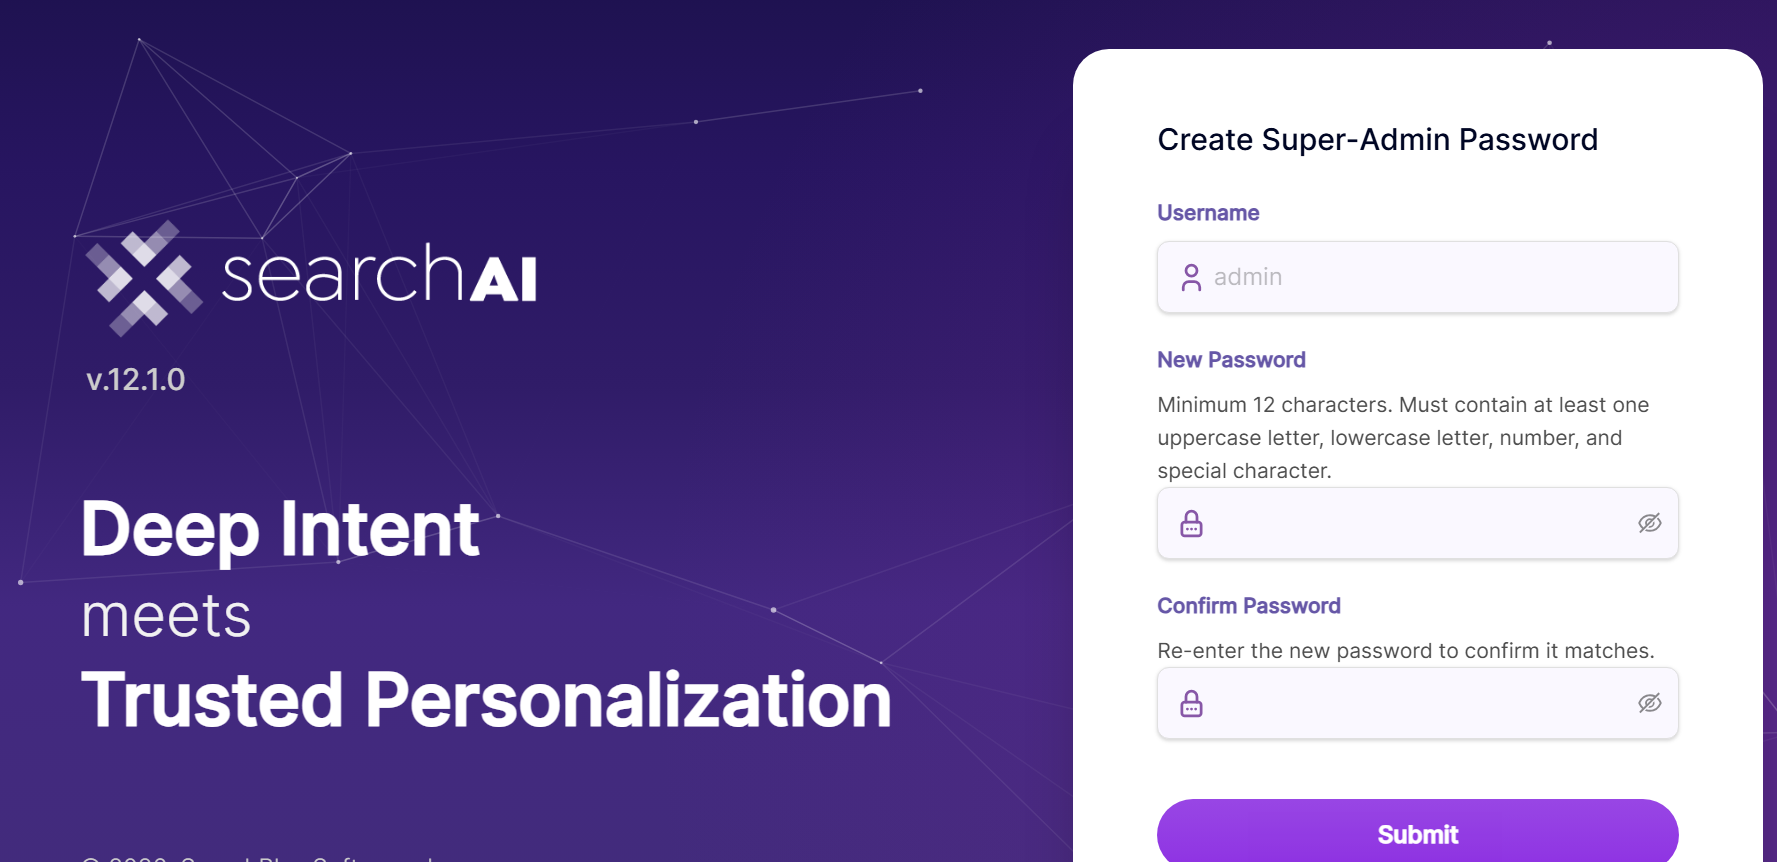
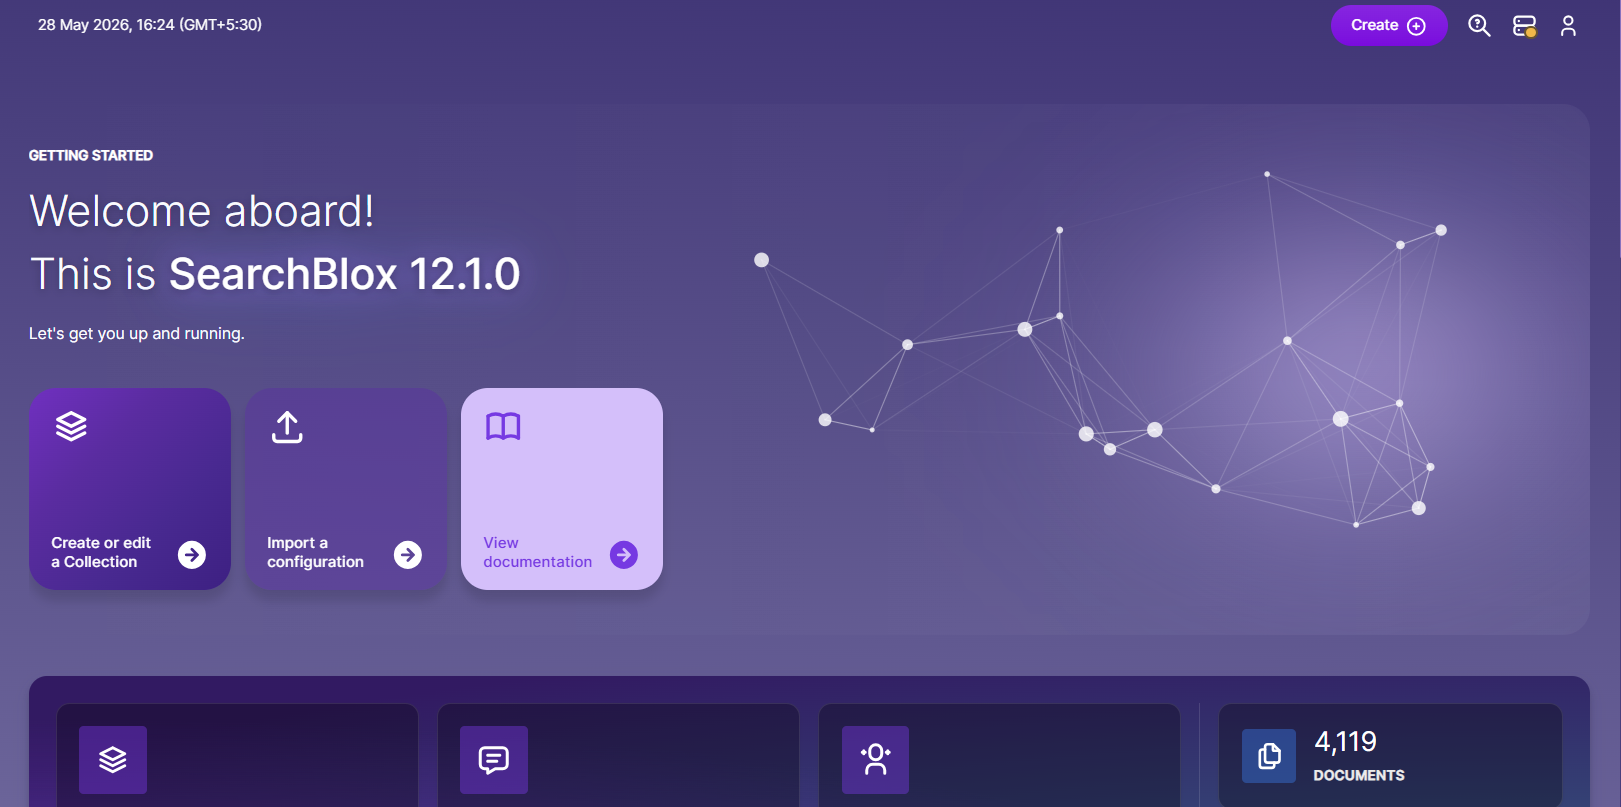
Use the Super Admin password to log in and access the dashboard page.

Verify Installation
- Check Status Logs
Navigate to:C:\SearchBloxServer\webapps\ROOT\logs\status.log
Confirm the presence of "SearchBlox Started" message
Review for any error messages if startup fails - View Account Information
Click the Avatar Icon in top-right corner of Admin Console
Verify your SearchBlox account details and system information
Note
- To learn about Troubleshooting visit: Logging and Troubleshooting
- To learn about using SearchBlox Admin Console visit: Overview of SearchBlox
- To learn about tuning for high-performance visit: Installation Tuning
Change SearchBlox Server Port
- Default Configuration
SearchBlox operates on port 8443 by default
For production environments, refer to Secure Ports documentation for recommended configurations Requirements
You can change the port by following the steps as shown here : Port Modification Procedure
- Service Shutdown
Stop the SearchBlox service through:
Windows Services Console, or
Command Prompt:net stop searchblox - Configuration Update
Navigate to:
C:\SearchBloxServer\start.d\https.ini
Add or modify the port directive:
jetty.ssl.port=[YOUR_PORT_NUMBER]
(Example:jetty.ssl.port=443for HTTPS default port) - Service Restart
Save the modified https.ini file
Restart SearchBlox service:
Services Console, or
Command Prompt:net start searchblox
SearchBlox Installation on alternate drive or path
We recommend installing SearchBlox in the C:\ drive. Please follow the following steps if you wish to install SearchBlox on a different drive. For example, if you want to install in D:\ drive, follow the below steps:
- Download SearchBlox for Windows.
- Run the Installation Wizard and give the preferred installation path. By default, it will be
C:\SearchBloxServerchange it toD:\SearchBloxServer.
- For the next steps refer Installation on Windows section from step 3 and 4.
- Set the Java Environment variable for the location (example: D: drive or E: drive).
- To set the Java Environment variable follow the steps from Prerequisites section.
To update Elasticsearch/Analytics installation path:
- Go to
D:\SearchBloxServer\webapps\ROOT\WEB-INF. - In
searchblox.ymlfile, in the lines 7, change the value ofes.hometoD:\SearchBloxServer\opensearch.
# ======================== SearchBlox Configuration =========================
searchblox.deployment.type: onPrem
searchblox.elasticsearch.host: localhost
searchblox.elasticsearch.port: 9200
searchblox.elasticsearch.basic.username: xxxxxxxxxx
searchblox.elasticsearch.basic.password: xxxxxxxxxxx
es.home: D:\SearchBloxServer\opensearch

searchblox.refresh_interval: 4s
searchblox.shards: 1
searchblox.replicas: 0
searchblox.http.crawldepth: -1
searchblox.user.expiry: 30

http.lastmodified.header: SearchBlox-Last-modified
- Now save the searchblox.yml file.
- To Start the SearchBlox service, go to
D:\SearchBloxServer\serviceand follow the steps from the Start SearchBlox service section.
Uninstall SearchBlox
- Stop SearchBlox Service
- Navigate to:
Control Panel > System and Security > Administrative Tools > Services - Locate "SearchAI" service
- Right-click and select Stop
- Navigate to:

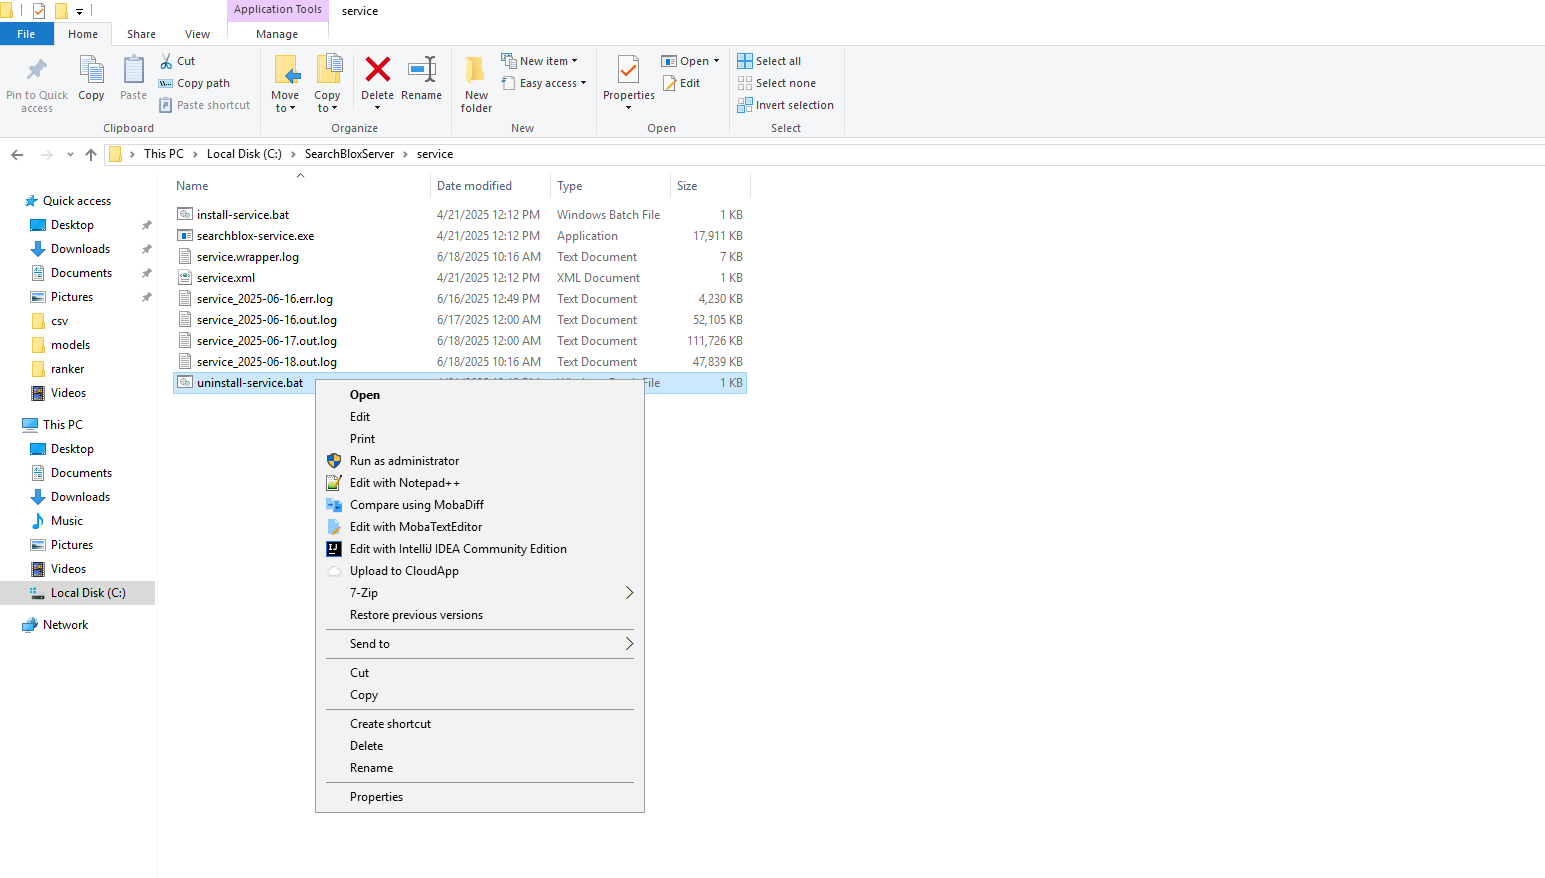
- Uninstall Windows Service
- Navigate to:
C:\SearchBloxServer\service - Right-click
uninstall-service - Select Run as Administrator
- Navigate to:
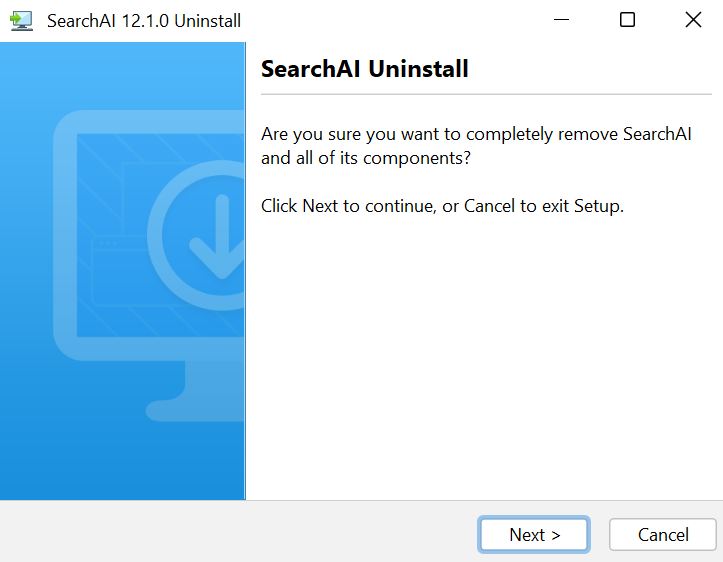
- Run Main Uninstaller
Locateuninstall.exein your installation directory
Double-click to execute
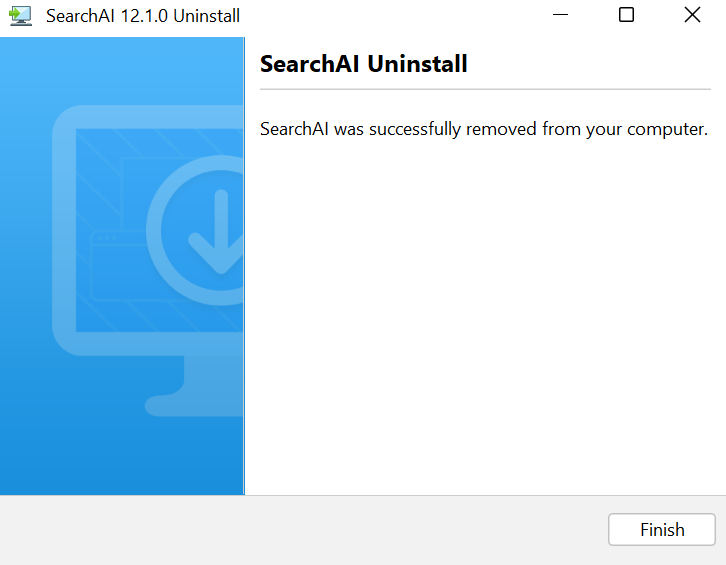
Follow on-screen prompts
Once complete, the uninstaller will confirm that SearchBlox has been successfully uninstalled.
- Final Cleanup
Manually delete the installation folder:
C:\SearchBloxServer
Remove any remaining: Environment variables, Scheduled tasks, Temporary files
Note
After the uninstallation, it is required to restart the machine when prompted. This action will terminate all the existing background services if any.
Updated about 2 months ago