
Guidelines for SharePoint Online PreRequisites
Before creating a SharePoint Online Collection in SearchBlox, you need to register an application in Microsoft Azure and grant it the required permissions. This page walks you through both steps.
Step 1 — Create an App in Microsoft Azure
- Log in to https://portal.azure.com
- Navigate to Azure Active Directory
- Click App Registrations
- Click New Registration, provide a unique name and the required fields, then click Register
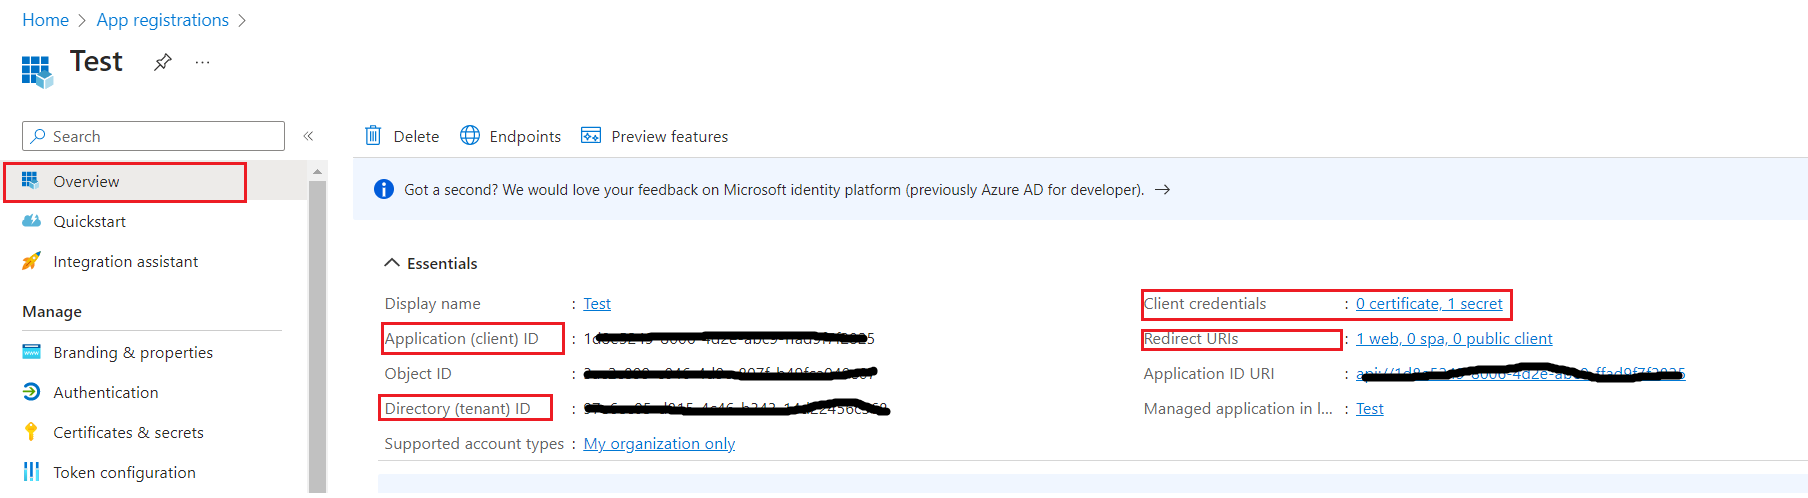
- Once registered, go to the Overview page and note down:
- Client ID
- Tenant ID
- To get the Client Secret, go to Certificates & Secrets, create a new secret, and copy its Value (not the Secret ID)
- To set the Redirect URI, go to the Redirect URIs section and add one
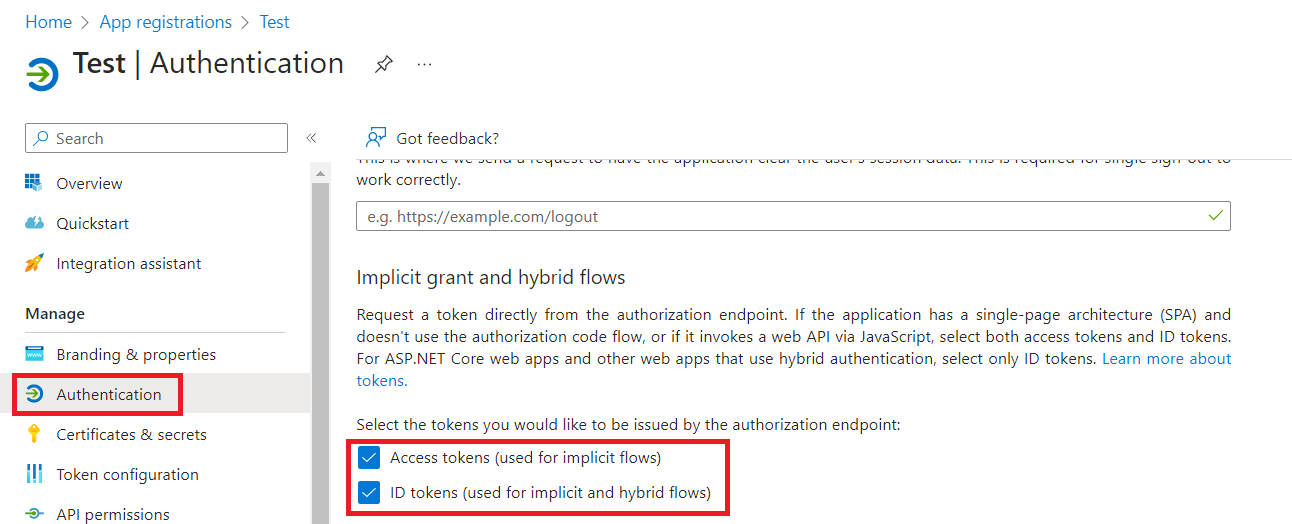
- Go to the Authorization tab, select Access tokens and ID tokens, and click Save
Step 2 — Grant API Permissions
- In your registered app, go to API Permissions
- Click Add Permission and select Microsoft Graph
- Choose Application Permissions****
- Grant Read permissions for the following:
- Directory
- Files
- Sites
- Click Add Permission to apply
NOTE:
- If you are not able to Get the Site Lists on Site Tab, Try the following steps:
- Edit the Application permissions by Read/Write Full Permissions and additionally can check with AccessReview, Application, CrossTenantUserProfileSharing and Policy permissions too.
- Select Delegated Permissions and provide Read/Write Full Permissions to AccessReview, Calender, ExternalItems, Files, Mail, Offline_access, Sites and User.
Troubleshooting — Site Lists Not Loading
If the site list does not appear on the Sites tab in SearchBlox, verify that the required Microsoft Graph permissions have been configured correctly.
Application Permissions
Change the following permissions to Read/Write Full access:
- Directory
- Files
- Sites
Also verify that the following permissions are enabled:
- AccessReview
- Application
- CrossTenantUserProfileSharing
- Policy
Delegated Permissions
Grant Read/Write Full access for the following permissions:
- AccessReview
- Calendar
- ExternalItems
- Files
- Offline_access
- Sites
- User
After updating the permissions, save the changes in Azure and re-test the connection in SearchBlox to confirm that the site list loads correctly.
- click on Authorization tab, selectAccess tokens and ID tokens and save.
Updated about 1 month ago
Did this page help you?