
WEB Collection
A WEB Collection uses SearchBlox's built-in web crawler to automatically read and index pages from any website, intranet, or web portal. Once configured, the crawler follows links starting from your root URL and indexes all reachable content — including documents in 40+ file formats.
It works out of the box with HTTPS sites, supports crawling through proxy servers, and can log in to password-protected pages using Basic Authentication or Form-Based Authentication.
Creating a Web Collection
To create a Web Collection in SearchBlox, follow these steps:
- Log in to the Admin Console:
- Start by signing in to your SearchBlox Admin Console using your administrator credentials.
- Go to the Collections tab:
- In the dashboard, open the Collections section.
- Click “Create a New Collection” or simply press the “+” button to add a new collection.
- Select the Collection Type
- From the list of available collection types, choose “WEB Collection” since you want to index content from a website or intranet.
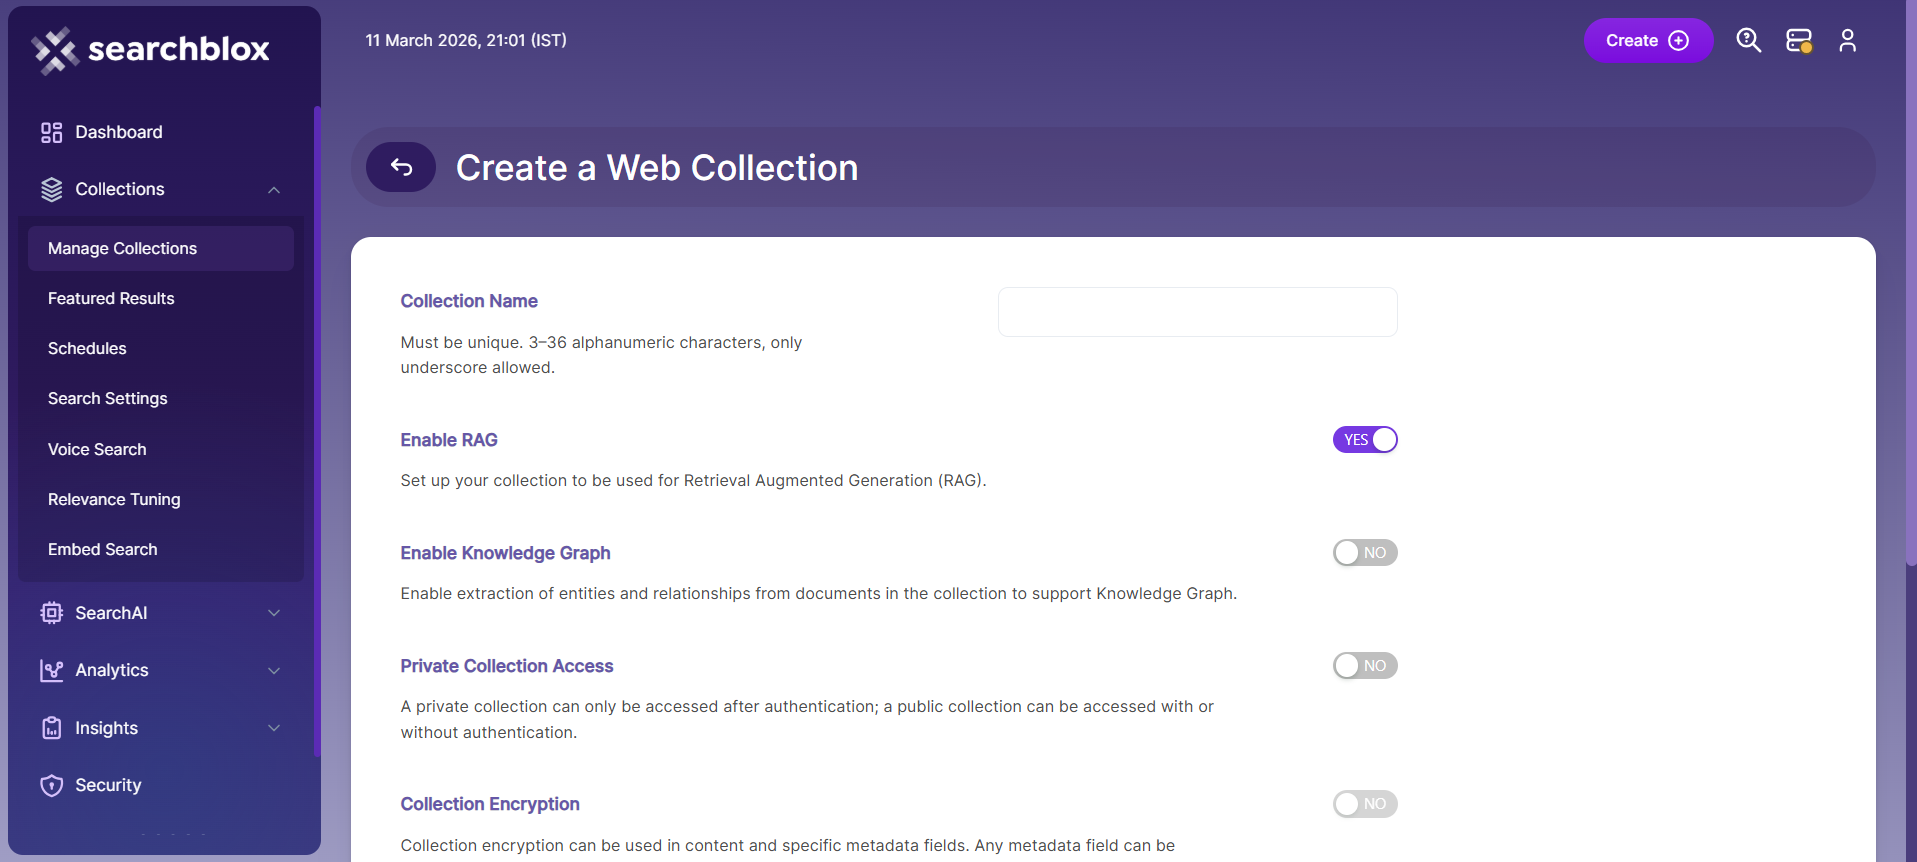
- Configure the collection details
- Name the collection: Provide a meaningful and unique name, such as “Intranet Site”, so it’s easy to identify later.
- Configure RAG settings: Enable RAG if you want this collection to support ChatBot features or Hybrid RAG search.
- Set access level: Choose Private if only specific users should access this collection, or Public if it should be available to everyone.
- Enable encryption: Turn on Collection Encryption if your organization requires secure storage of indexed data.
- Select language: Choose the appropriate content language if the data is not in English.
- Save the collection
- After confirming all settings, click Save to create your new collection and proceed with further configuration or crawling.
- Once the WEB collection is created you will be redirected to the Paths tab.
WEB Collection Paths
The WEB collection Paths allow you to configure the Root URLs and the Allow/Disallow paths for the crawler. To access the paths for the WEB collection, click on the collection name in the Collections list.
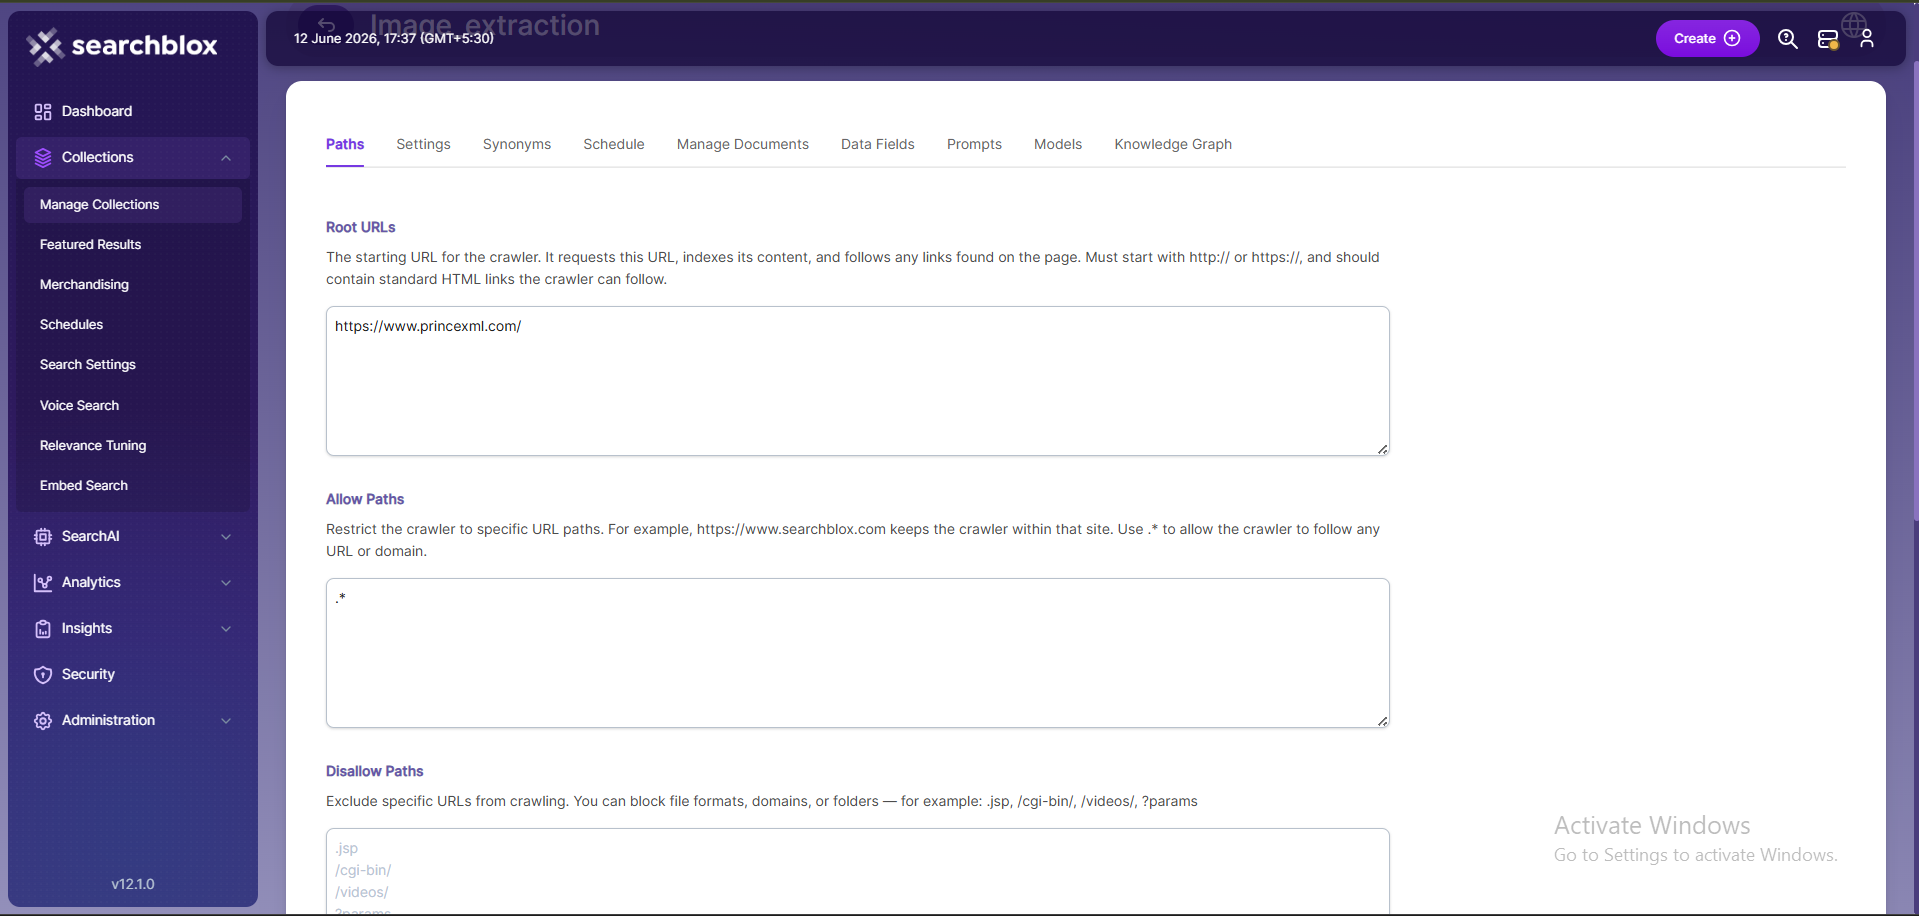
Root URLs
- The root URL is the main starting point for the crawler. It begins indexing from this page and follows the links found on it.
- Ensure the root URL has standard HTML HREF links so the crawler can move through the site properly.
- In the Paths sub-tab, add at least one root URL in the Root URLs field for the WEB Collection to start crawling field.
Allow/Disallow Paths
- Allow/Disallow paths tell the crawler which URLs to include or skip.
- They help manage a collection by removing unnecessary or irrelevant pages from indexing.
- In a WEB collection, at least one Allow path is required so the crawler stays within the correct subdomain defined in the Root URLs.
| Field | Description |
|---|---|
| Root URLs | The starting URL for the crawler. You need to provide at least one root URL. |
| Allow Paths | http://www.cnn.com/ (Informs the crawler to stay within the cnn.com site.) .* (Allows the crawler to go to any external URL or domain.) |
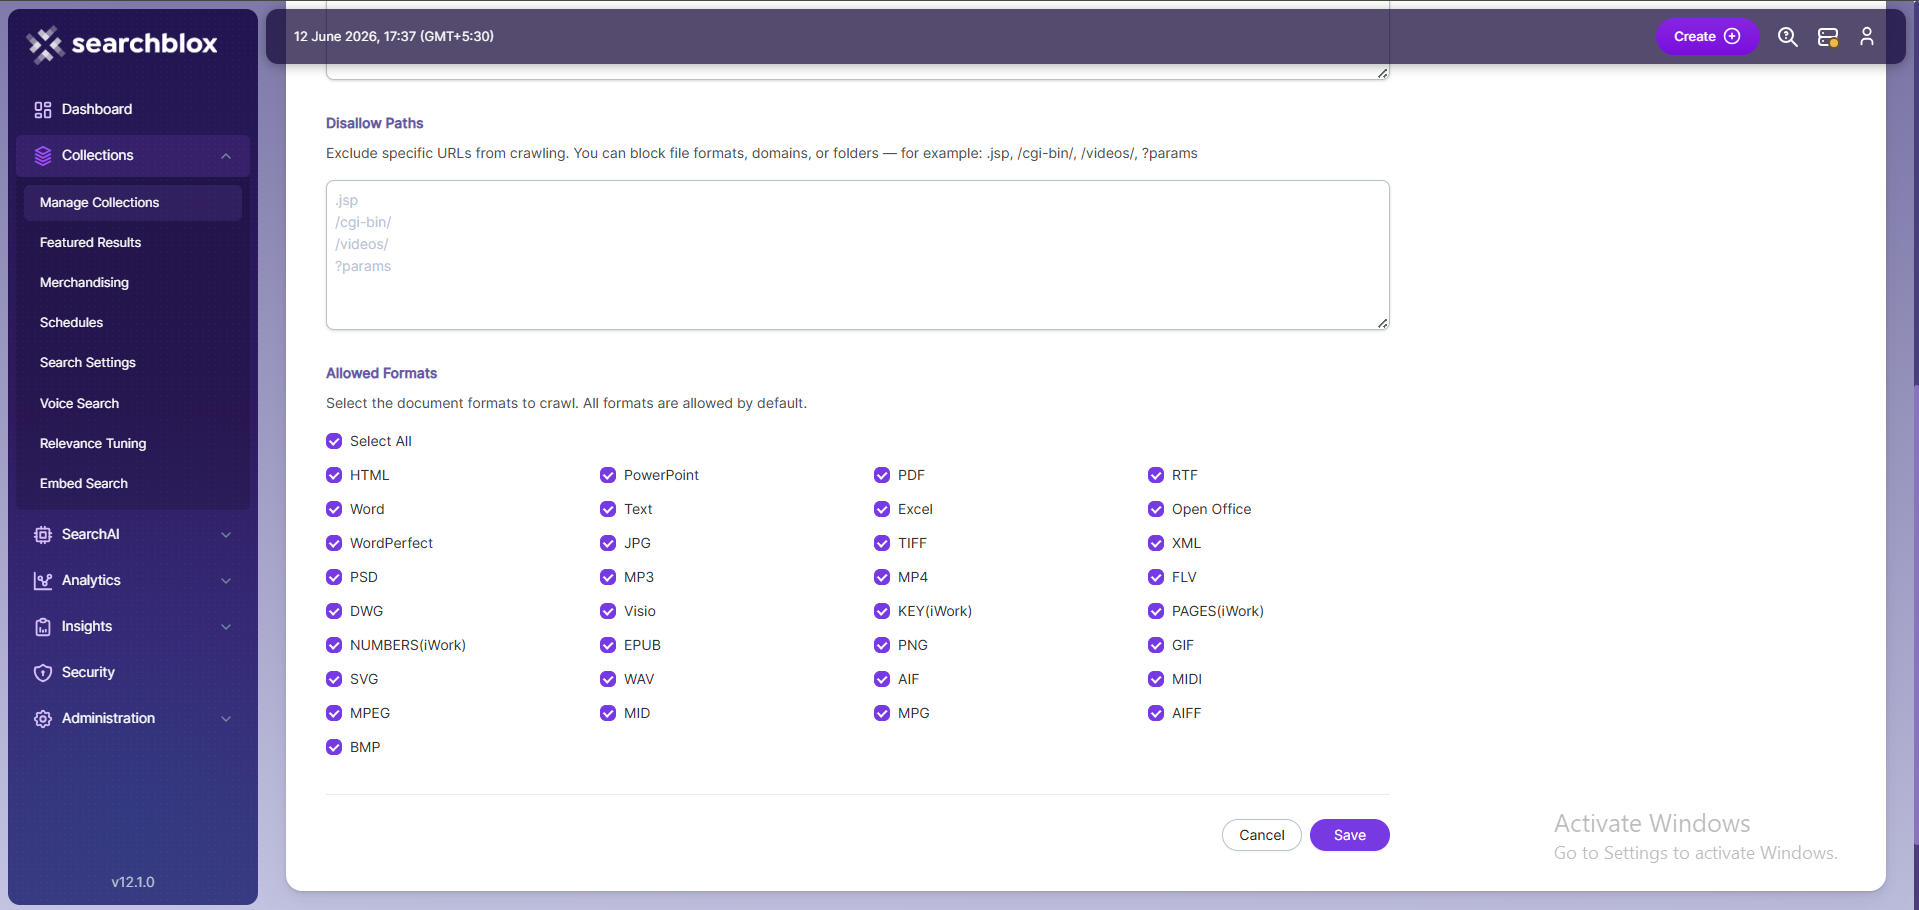
| Disallow Paths | .jsp /cgi-bin/ /videos/ ?params |
| Allowed Formats | Select the document formats that need to be searchable within the collection. |
Important Note:
- Enter the Root URL domain name(s) (for example cnn.com or nytimes.com) within the Allow Paths to ensure the crawler stays within the required domains.
- If .* is left as the value within the Allow Paths, the crawler will go to any external domain and index the web pages.
WEB Collection Settings
The Settings page has configurable parameters for the crawler. SearchBlox provides default parameters when a new collection is created. Most crawler settings can be changed to meet your specific requirements.
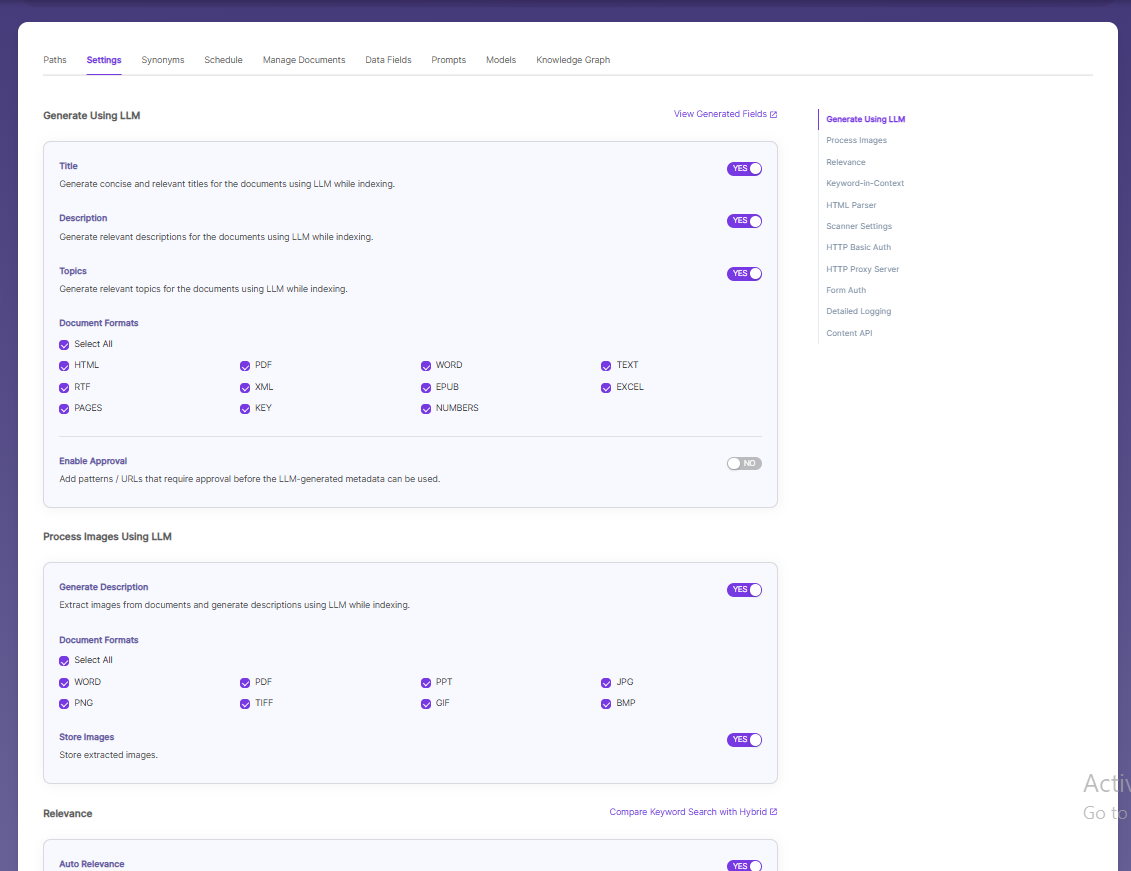
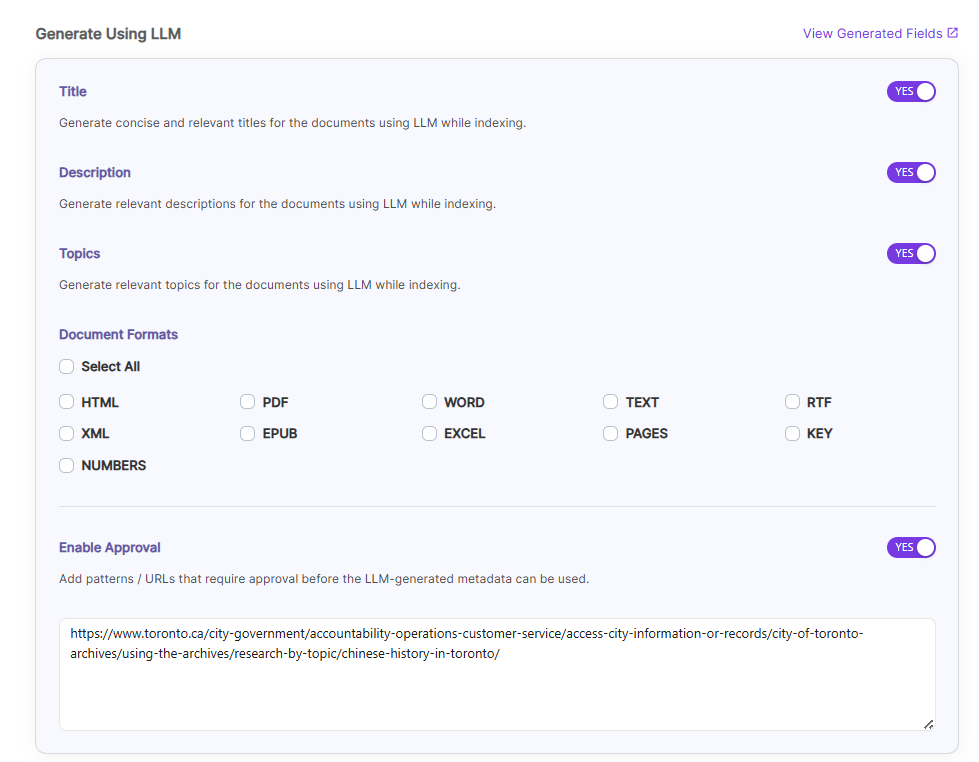
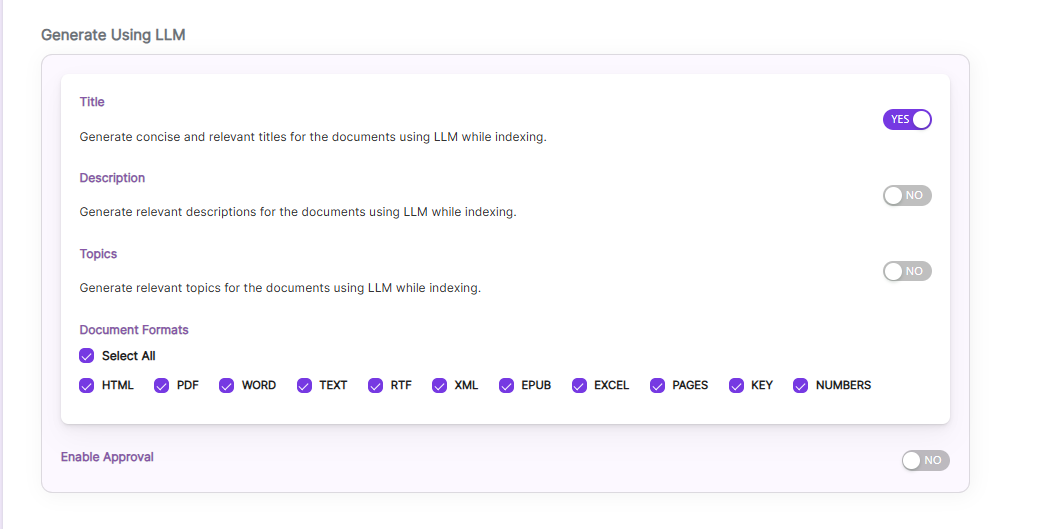
Generate Title, Description and Topics using SearchAI PrivateLLM and Enable Hybrid Search:
- Choose and enable
Generate Using LLMandAuto Relevance
Once you Enable Title/Description/Topics, we can choose Document Formats on which we ca generate it and also Enable Approval Option as shown.

Enable Approval, if some URL needs user approval to generate Title/Descriptions/Topics. Enable and provide URLs which needs approval of a user.
After indexing, user can see the Approval button for those URLs in Management Tab.
By clicking
Compare Keyword Search with Hybridlink, will redirect to the Comparison Plugin
Settings Description Title Generates concise and relevant titles for the indexed documents using LLM. Description Generates the description for indexed documents using LLM. Topic Generates relevant topics for indexed documents using LLM based on document's content. Auto Relevance Enable/Disable Hybrid Search for automatic relevance ranking

Process/Store Images Inside a Document Using SearchAI PrivateLLM:
Enable
Images, by default it is disabled.Choose the file formats where the images are located, currently SearchBlox supports
WORD,PPTformatsEnable
Store imagesto store the processed images insideopensearch, by default it is disabled and stores the images locally inside SearchBlox installation path.
NOTE: Indexing will be slower if it isenabled. So enable only if it is needed.
While indexing based on the image, LLM will generate
titleanddescriptionfor the processed image.
Settings Description Images Enable to Generate Image's title and descriptions using LLM while indexing, by default it is disabled Allowed Formats Choose the file formats, currently SearchBlox supports WORD,PPT.Store Images Enable to store the processed images inside opensearch, by default it is disabled and stores the images locally inside SearchBlox installation path.
| Section | Setting | Description |
|---|---|---|
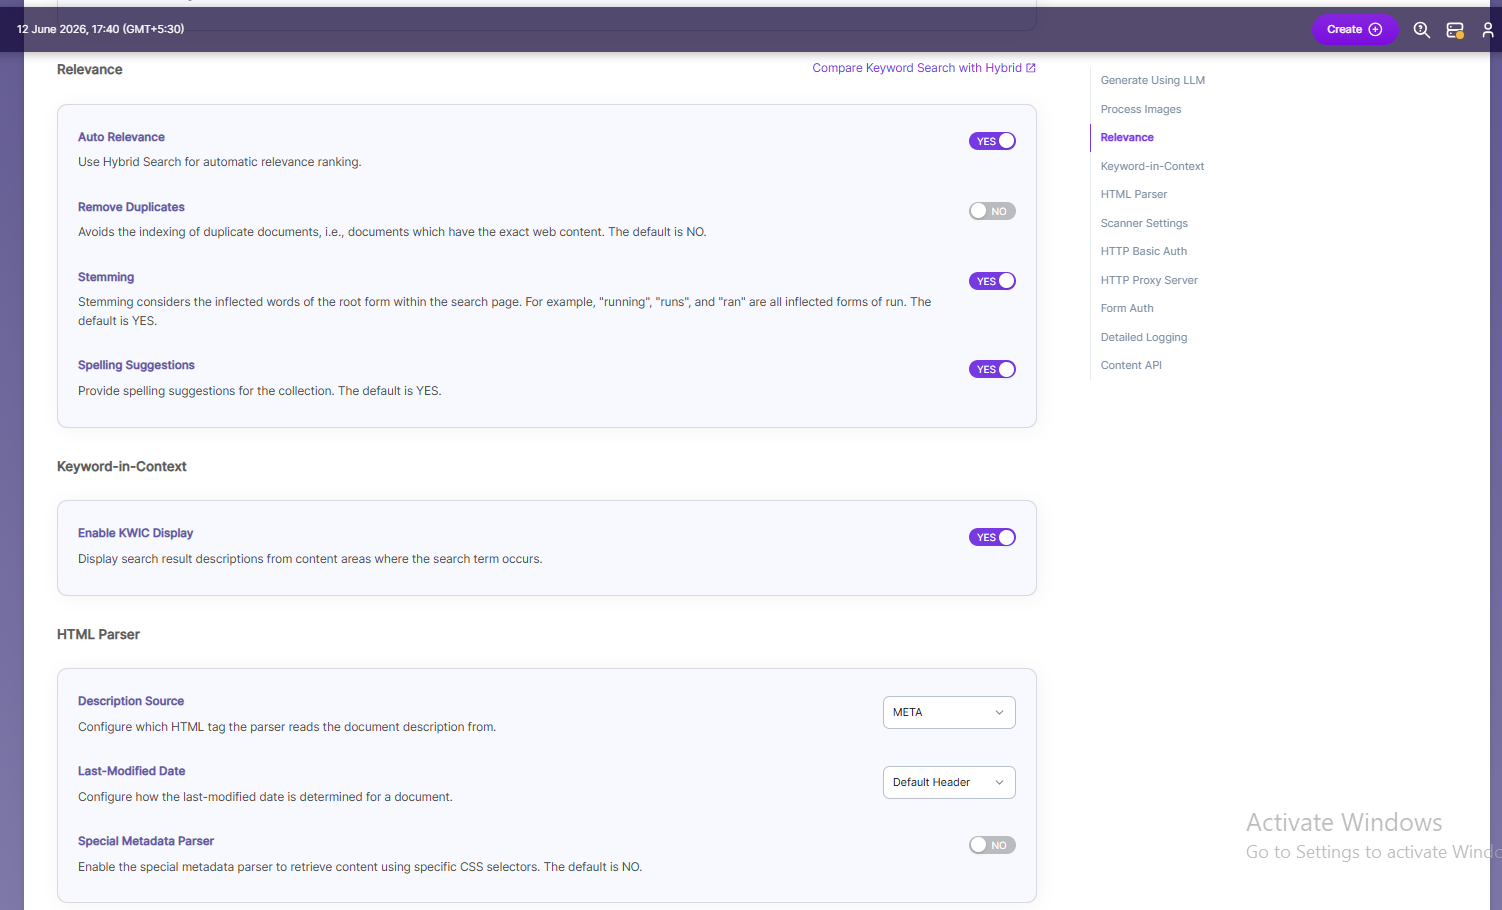
| Relevance | Auto Relevance | Turn Hybrid Search on/off to rank search results automatically by relevance. |
| Relevance | Remove Duplicates | Enable to prevent indexing duplicate documents. |
| Relevance | Stemming | Enable to reduce words to their root form (e.g., "running", "runs", "ran" → "run"). |
| Relevance | Spelling Suggestions | Enable to show spelling suggestions in search based on words in the index. |
| Keyword-in-Context Search Settings | Keyword-in-Context Display | Shows search results with content snippets where the search term appears. |
| HTML Parser Settings | Description | Configure which HTML tag (H1–H6) the parser uses to get the document’s description. |
| HTML Parser Settings | Last-Modified Date | This setting determines from where the lastmodified date is fetched for the indexed document. By default it is from webpage header If the user wants it from Meta tags they can select Meta option If the user wants from custom date set in the webserver for SearchBlox then they can select this option |
| HTML Parser Settings | Special Metadata Parser | Enable the special metadata parser to retrieve content from content using specific CSS selectors. The default is NO. To know more about Special Metadata Parser, click here. |
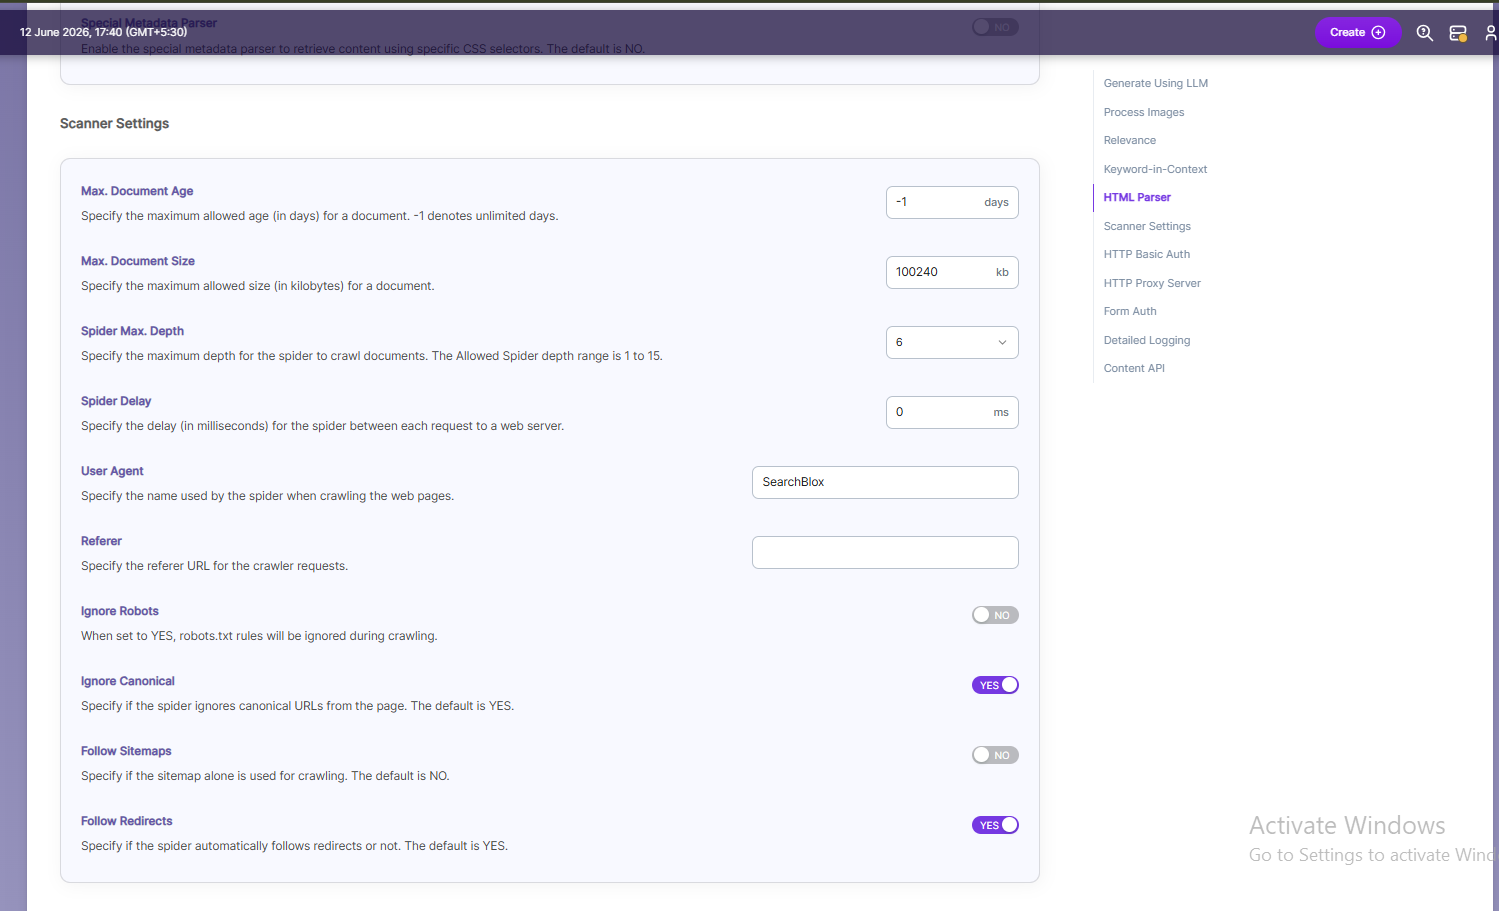
| Scanner Settings | Maximum Document Age | Specifies the maximum allowable age in days of a document in the collection. |
| Scanner Settings | Maximum Document Size | Specifies the maximum allowable size in kilobytes of a document in the collection. |
| Scanner Settings | Maximum Spider Depth | Specifies the maximum depth the spider is allowed to proceed to index documents. Maximum value of Spider depth that can be given in SearchBlox is 15 |
| Scanner Settings | Spider Delay | Specifies the wait time in milliseconds for the spider between HTTP requests to a web server. |
| Scanner Settings | User Agent | The name under which the spider requests documents from a web server. |
| Scanner Settings | Referrer | URL sent in the request headers showing where the spider came from. |
| Scanner Settings | Ignore Robots | Yes/No — whether the spider should ignore robots.txt rules. Default is No. |
| Scanner Settings | Ignore Canonical | Yes/No — whether the spider should ignore canonical URLs on pages. Default is Yes.. |
| Scanner Settings | Follow Sitemaps | Yes/No — whether to index URLs from sitemaps only or all URLs. Default is No |
| Scanner Settings | Follow Redirects | Yes/No — whether the spider should automatically follow redirects. |
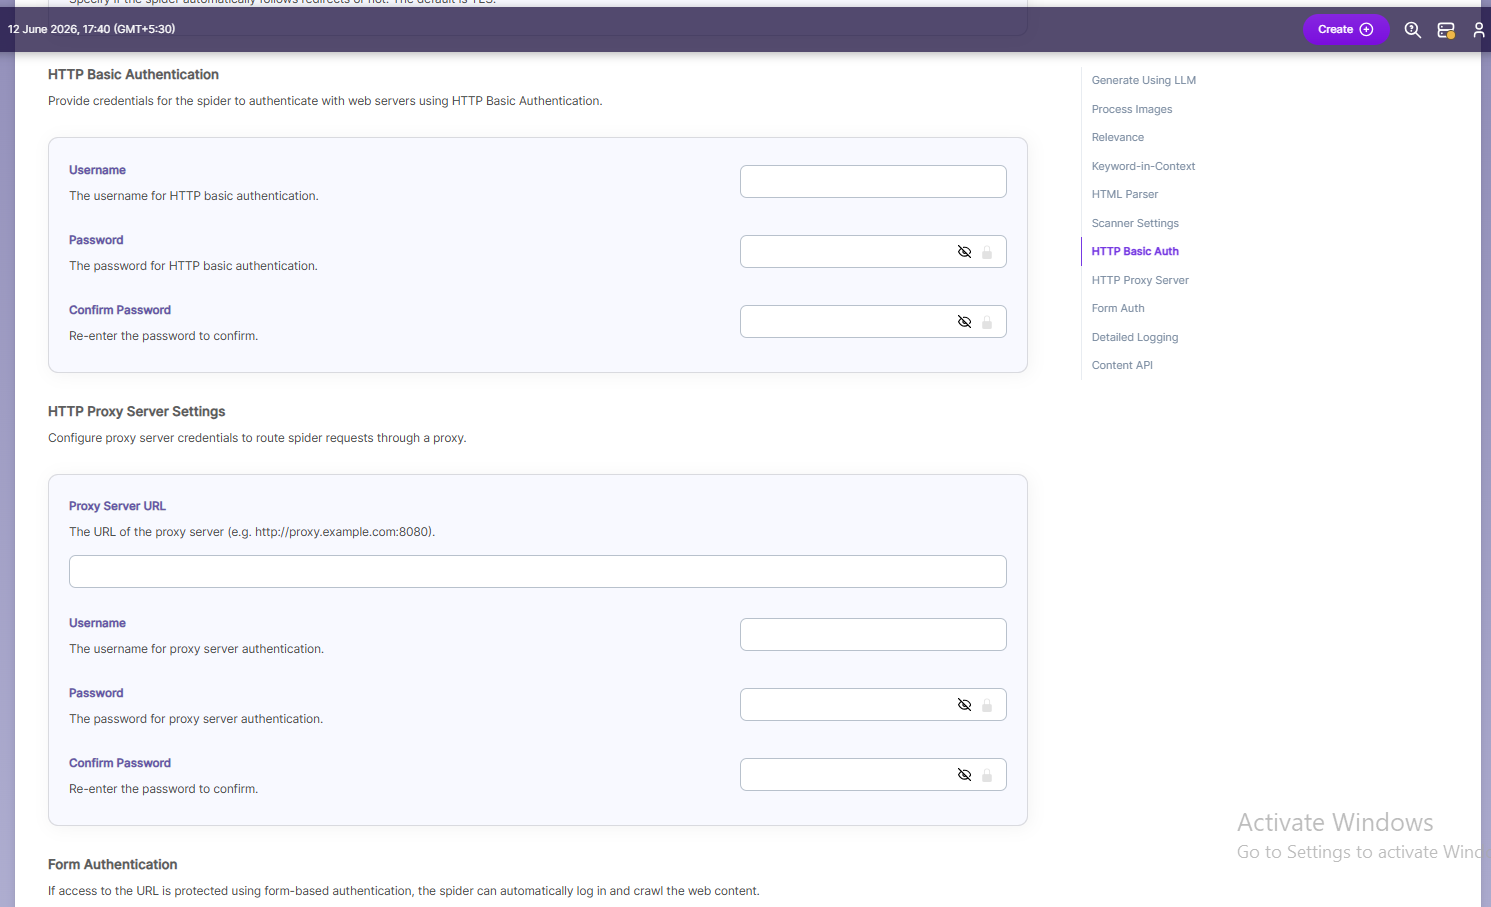
| HTTP Basic Authentication | Basic Authentication credentials | When the spider requests a document, it sends the username and password to the HTTP server through the Authorization MIME header, which is a part of the HTTP message used to describe the type or purpose of the information being sent. In this case, the MIME header tells the server that authentication details are included. For basic authentication, the spider only needs to provide a Username and Password. |
| Proxy server Indexing | Proxy server credentials | When content is accessed through a proxy server, the spider needs the correct proxy settings to reach and index the pages. For proxy indexing, you must provide the Proxy Server URL, Username, and Password. |
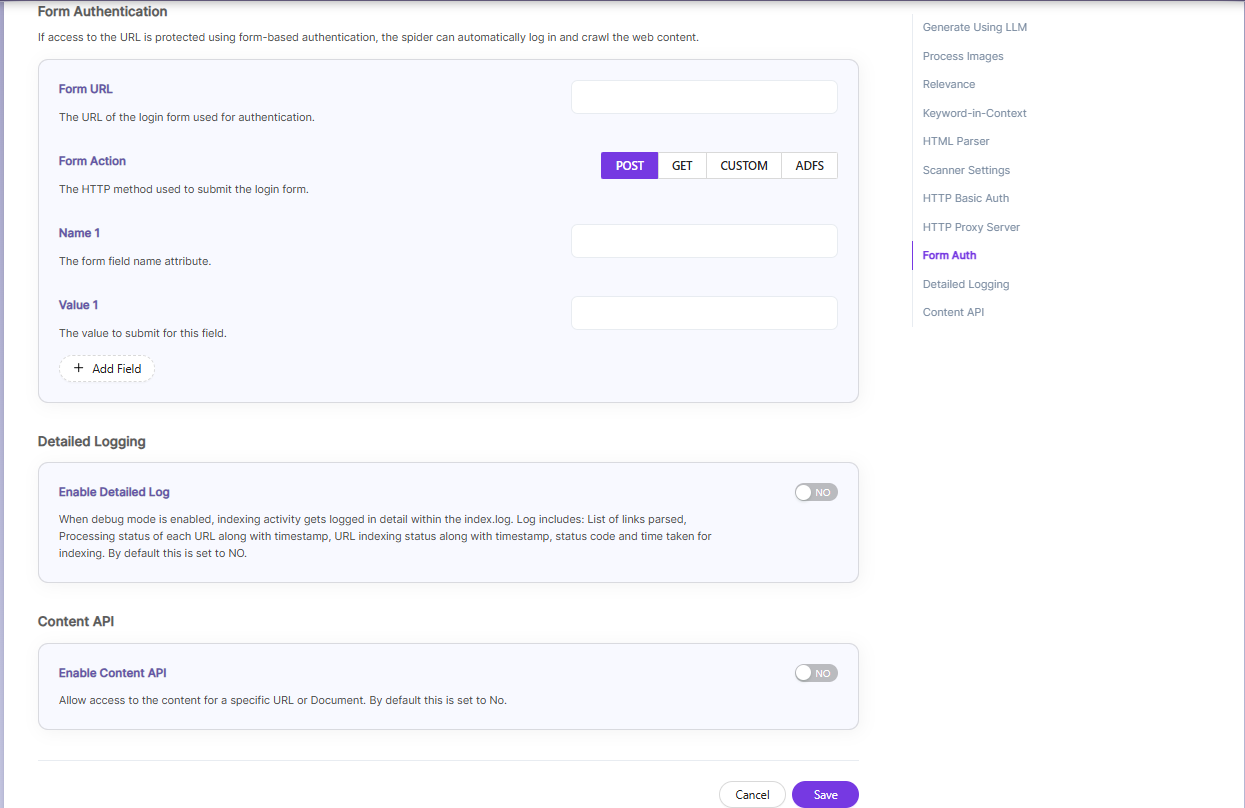
| Form Authentication | Form authentication fields | When documents are protected by form-based login, the spider can log in automatically to access them. For this, you need to provide the Form URL, the Form Action, and the required Name–Value pairs used in the login form. |
| Enable Detailed Log Settings | Enable Logging | Provides detailed indexer activity in ..\webapps\ROOT\logs\index.log. The information recorded in index.log when logging or debug logging is enabled includes: The list of links that were crawled. Details of how each URL was processed, including the timestamp when processing started, whether the URL was indexed or skipped, and the actions taken during indexing. Each step appears as a separate entry in the log. The timestamp showing when indexing finished, along with the total time taken to index each URL. The last modified date of the URL. - Whether the URL was skipped and the reason for skipping it. |
| Enable Content API | Enable Content API | Allows crawling of content that includes special characters. |
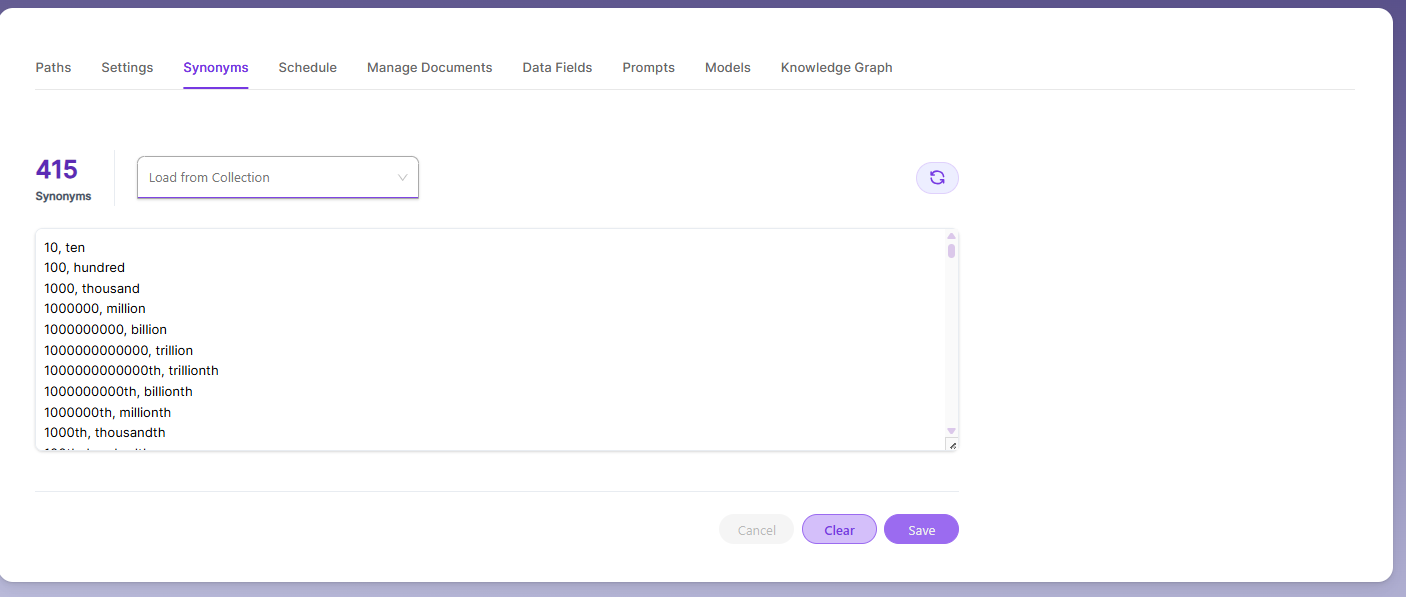
Synonyms
Synonyms help the search show relevant documents even when the exact search word is not used.
For example, if someone searches for “global,” the results can also include documents that use “world” or “international.”
We have an option to load Synonyms from the existing documents.
Schedule and Index
Sets the frequency and the start date/time for indexing a collection, from the root URLs. Schedule Frequency supported in SearchBlox is as follows:
- Once
- Hourly
- Daily
- Every 48 Hours
- Every 96 Hours
- Weekly
- Monthly
The following operation can be performed in WEB collections
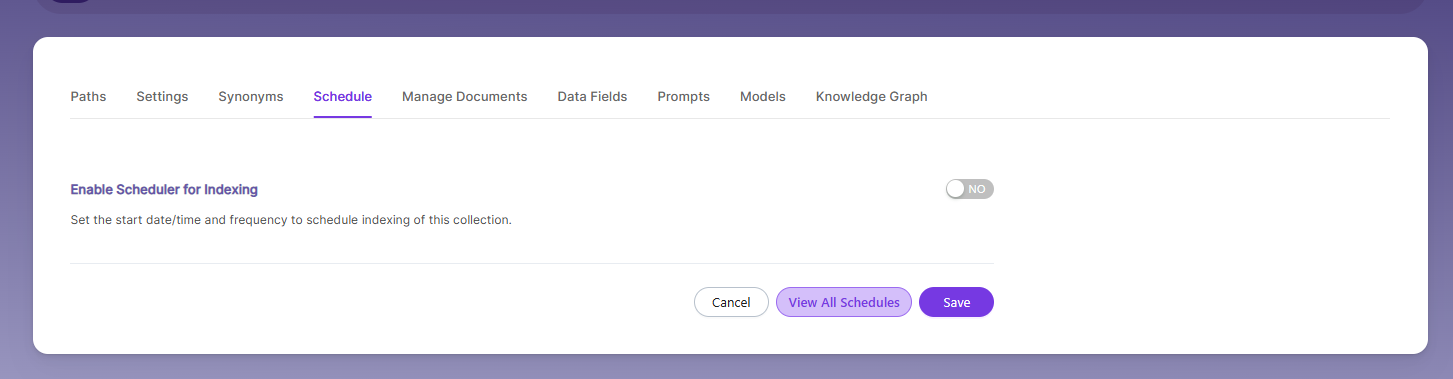
| Activity | Description |
|---|---|
| Enable Scheduler for Indexing | Turn on to set Start Date and Frequency for indexing. |
| Save | Schedule indexing for the collection using these settings. |
| View all Collection Schedules | Go to the Schedules section to see all collection schedules. |
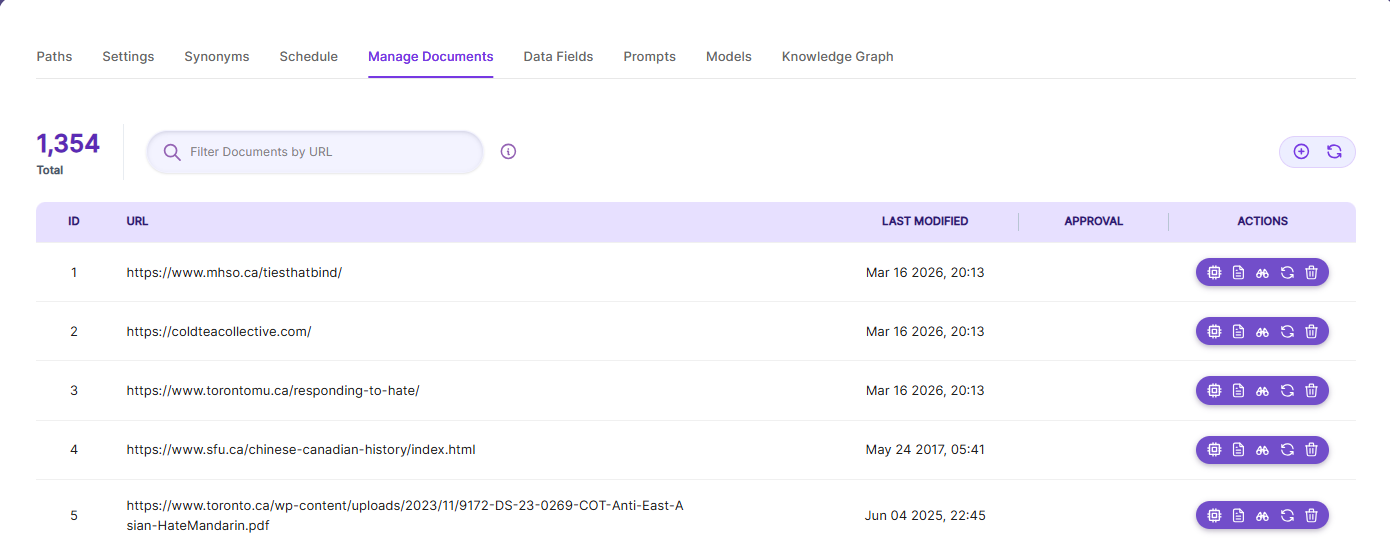
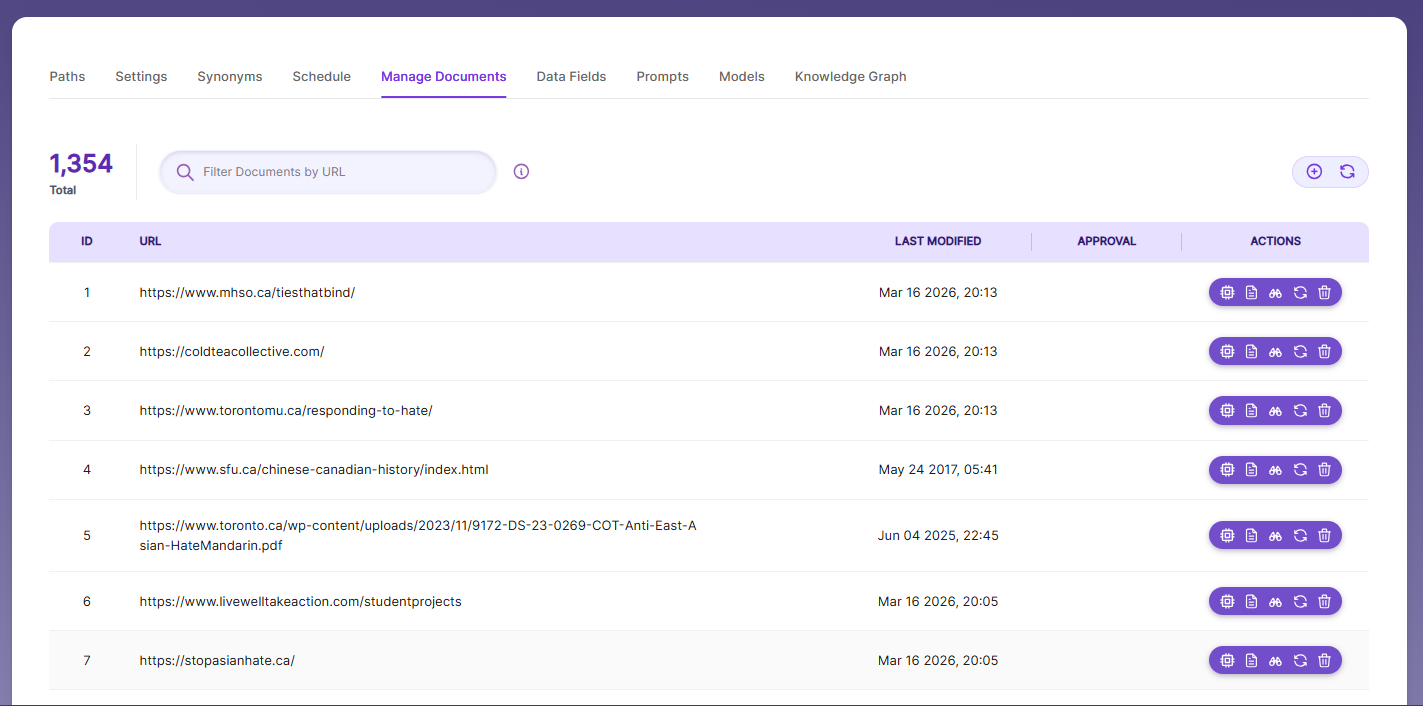
Manage Documents
-
Using Manage Documents tab we can do the following operations:
- Add/Update
- Filter
- View content
- View meta data
- Refresh
- Delete
-
To add a document click on "+" icon as shown in the screenshot.
-
Enter the document/URL, Click on add/update.
-
Once the document is updated you will be able to see the document URL on the screen and we will be able to perform the above mentioned operations.
-
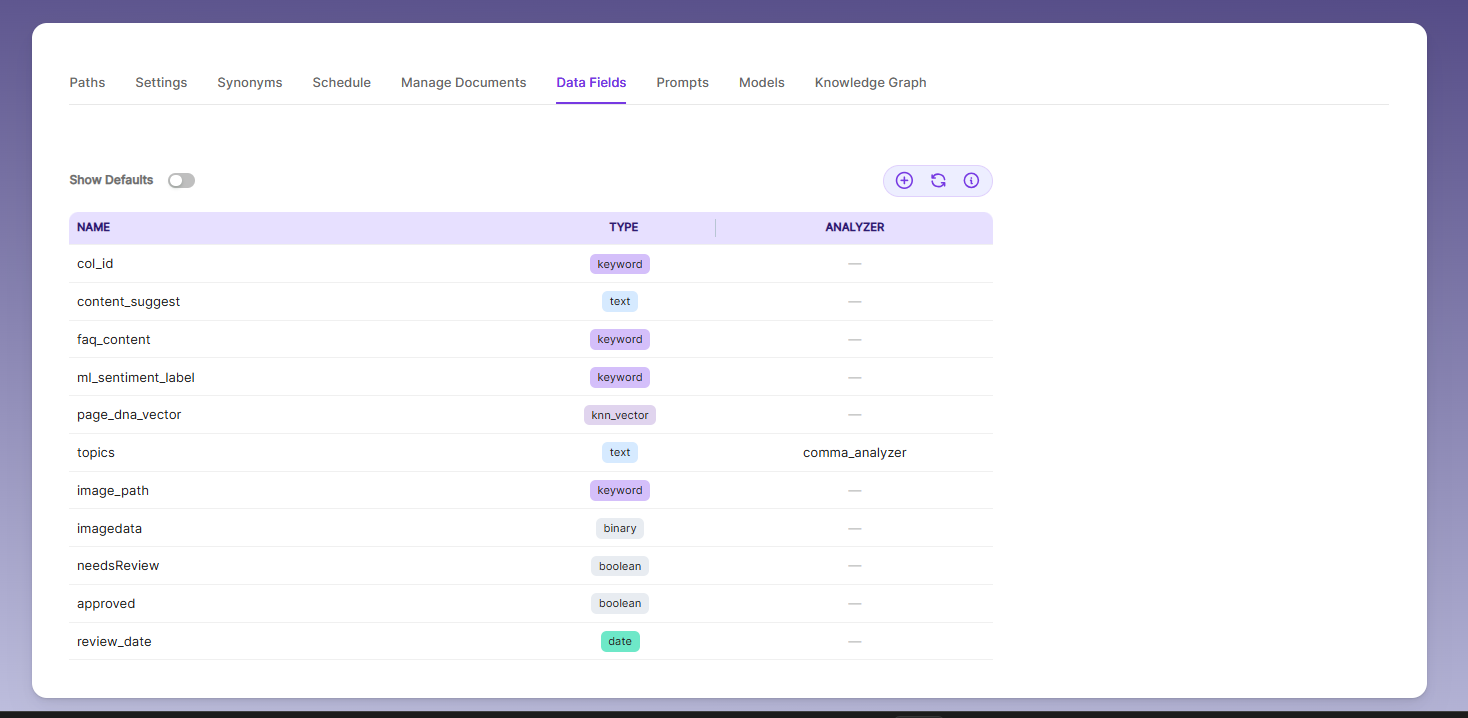
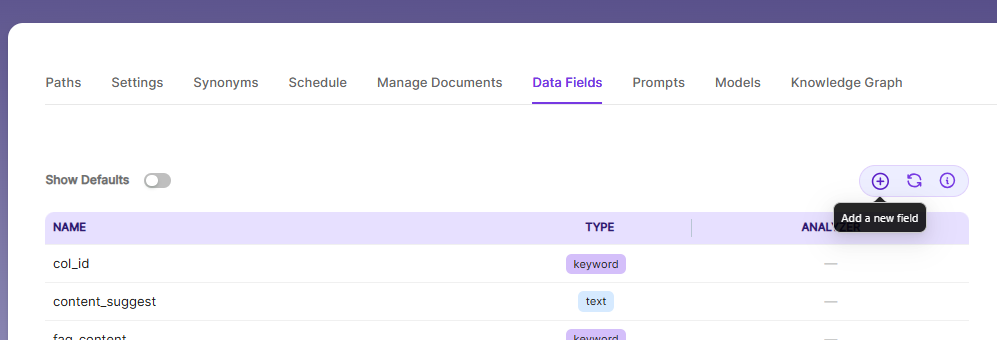
Data Fields
Using Data Fields tab we can create custom fields for search and we can see the Default Data Fields with non-encrypted collection. SearchBlox supports 4 types of Data Fields as listed below:
- Keyword
- Number
- Date
- Text
Note:
Once the Data fields are configured, collection must be cleared and re-indexed to take effect.
- The Data Fields tab is disabled while creating a collection. After the collection is created, you can see and edit the collection’s Data Fields from the Collection Edit page.
- When Default Data Fields are enabled, you will see SearchBlox’s built-in reserved fields. These reserved field names cannot be used for creating custom Data Fields.
- To create a custom Data Field, click the Add Data Field button, enter the field name from your document, choose the type of value it will store, and save it. The newly added Data Fields will then appear in the Data Fields list.
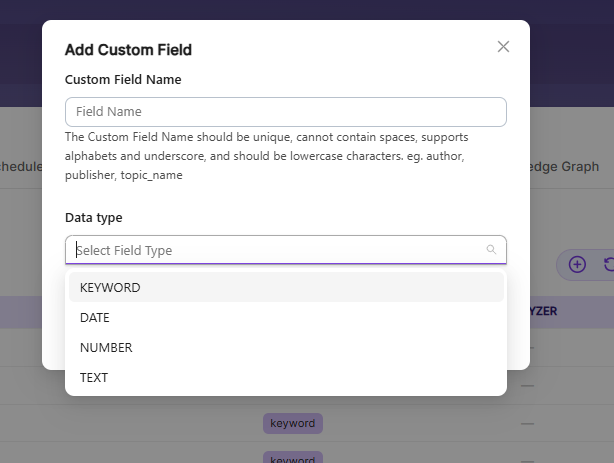
| Field | Description |
|---|---|
| Custom Field Name | The custom field name must be unique, lowercase, no spaces, and can use letters and underscores. ** Example: author, topic_name. |
| Data Type | Data type can be keyword, text, number and date depending on the data field values. _ Keyword Use the keyword type for alphanumeric values like IDs, email addresses, hostnames, status codes, zip codes, or tags. This field is indexed and searchable. _ Number Use the number type to store numeric values from custom fields, such as product prices or inventory counts. Examples: "1001" or "100.50"._ Date Use the date type for custom date values. These dates are indexed, searchable, and can be used as facet filters. Examples: "2015-01-01" or "2015/01/01 12:10:30"._ Text Use the text type for full-text search in custom fields, like page authors or product metadata. This field is indexed, searchable, and can also be used for facet filters. |
- Custom Data Fields can be shown in the Data Fields Tab as well as with the Default Data Fields list.
- Custom fields will also be shown under Deafult Data Fields list as shown below:

- Custom mapping file can be shown under the path: /webapps/ROOT/WEB-INF/mappings/collections

- We can edit the mapping file if we need to add any specific Analyzers. Mapping fields are added at the end of the collection mapping file as shown below:

Note:
SearchBlox version 10.0.1 and above includes ML fields (ml_topic, ml_sentimentLabel, ml_entity_org, ml_entity_product, ml_entity_person, ml_entity_loc, ml_entity_gpe) as default mappings for all type of collections.
Important Note:
- Data Fields tab cannot be used with Encrypted type Collection.
- We recommend not to edit the collection mapping files unlesss we need to add analyzers or fielddata configuration.
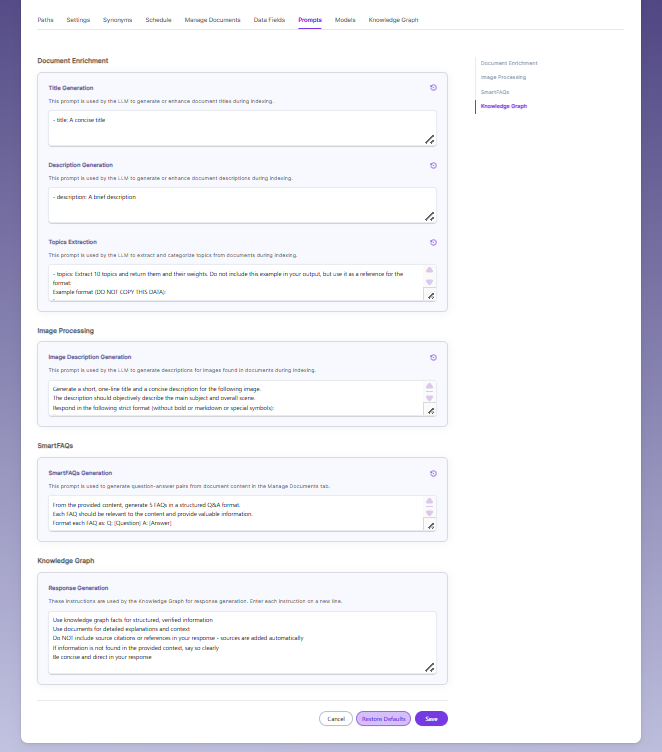
Prompts
- When LLM/RAG is enabled, you can edit AI-based prompts for Title, Description, Topic, Image Description, and Smart FAQs.
- You can customize these prompts anytime, and use Restore Default to reset them back to the original SearchBlox settings.
Models
The Models page allows you to configure and override AI models used for embeddings, reranking, and LLM-based features within the collection.
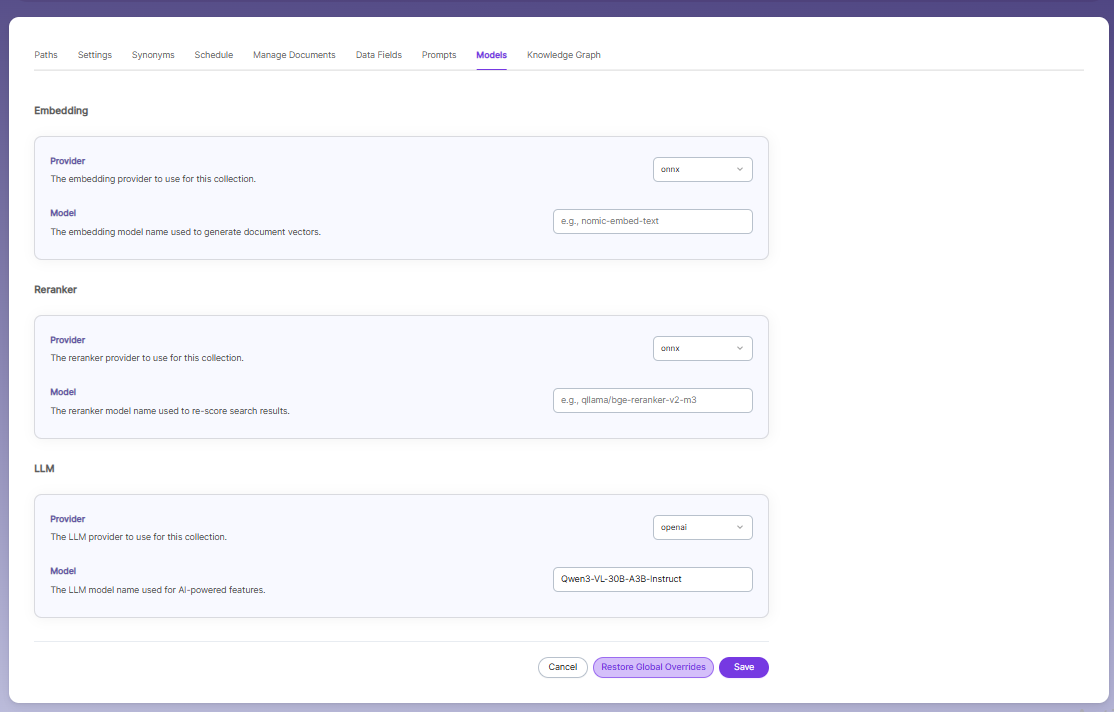
Embedding
- Provider specifies the embedding provider used to generate vector representations of documents.
- Model defines the embedding model used to convert document content into vectors for semantic search.
Reranker
- Provider specifies the reranker provider used for improving search result relevance.
- Model defines the reranker model used to re-score and reorder search results based on relevance.
LLM
-
Provider specifies the Large Language Model provider used for AI-powered features.
-
Model defines the LLM used for tasks such as document enrichment, summaries, and SmartFAQs.
-
These settings override global configurations and apply only to the current collection.
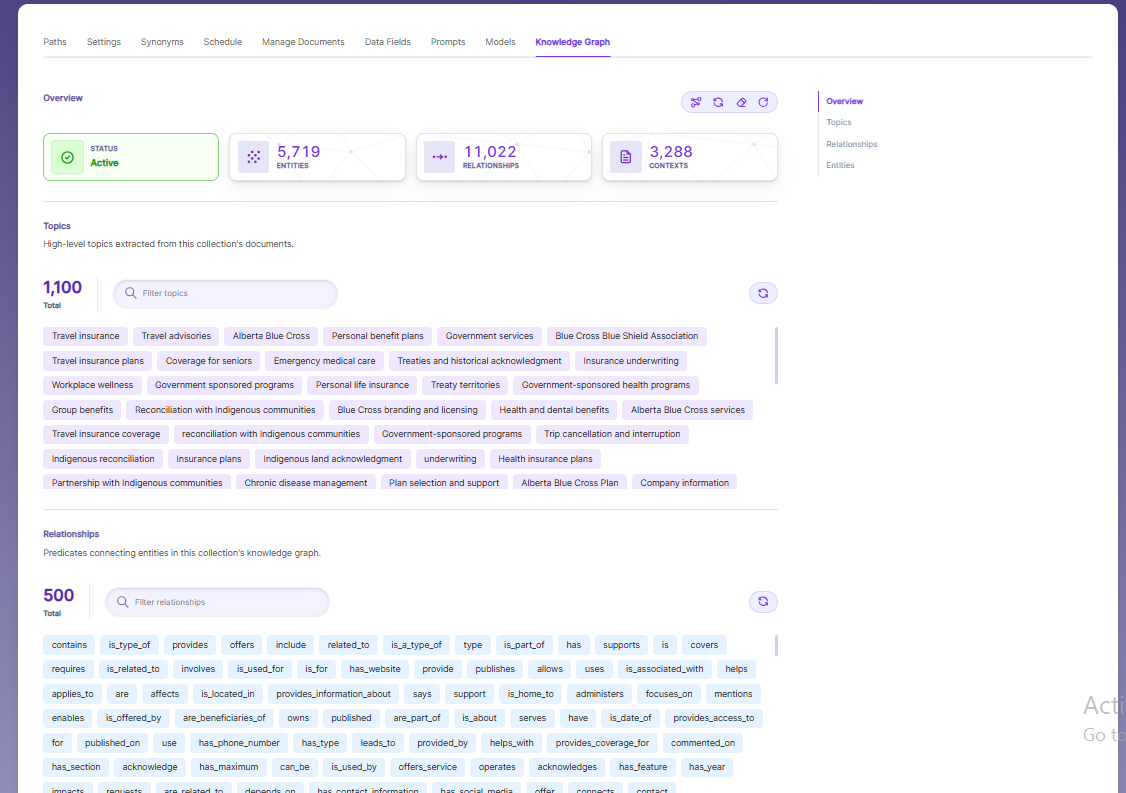
Knowledge Graph
The Knowledge Graph tab provides an AI-powered intelligence layer over the indexed content, automatically extracting and organizing topics, entities, and relationships from the collection's documents.
The Overview section displays the current status of the Knowledge Graph along with key metrics — including the total number of entities extracted, relationships identified, and contexts mapped across the collection.
Topics are high-level subject areas automatically derived from the indexed content, giving a clear picture of what the collection covers. Relationships are predicates that describe how entities are connected to one another within the graph (e.g., contains, offers, is_part_of). Entities represent the individual people, organizations, concepts, and objects identified across the documents.
Each section includes a filter/search bar for quick lookup within large lists, and a refresh option to reload the latest extracted data.
To learn more about Knowledge Graph and how it enhances search intelligence, refer to the Knowledge Graph documentation.
Updated 19 days ago