
Installing on CentOS, RHEL
This guide covers the prerequisites and installation steps to install SearchBlox on CentOS, RHEL
Prerequisites
If upgrading from older versions, follow the steps:
Verify and Update Java Installation
Check Current Java Versionjava -versionRemove Older Java Versions. If the version is older than java-17
- List installed Java packages:
rpm -qa | grep java
- Uninstall outdated versions (replace with actual results from above):
rpm -e <package-name>Important:
- Only remove Java versions older than 25
- Reinstall Java-25 if needed using:
sudo yum install java-25-openjdk -y
Prerequisites
-
Install OpenJDK 25
sudo dnf install java-25-openjdk -y -
Verify the java installation by running the following command:
java -version -
Install wget :
sudo yum install wget -y -
Adjust System Limits
Increase VM Map Count (for Elasticsearch compatibility)
Temporary change:sysctl -w vm.max_map_count=262144Add the line to the file to set this permanently in /etc/sysctl.conf :
vm.max_map_count=262144 -
Verify:
To check the map count you can use the following command:sysctl -q vm.max_map_count -
Configure File Descriptor Limits
Increase ulimit value and validate system settings
To change the file descriptor setting, add the line to the file /etc/sysctl.conf.fs.file-max=100000Apply the changes by running the following command:
sysctl -pTo change the ulimit setting, edit the file /etc/security/limits.conf and set the hard and soft limits:
*          soft      nofile     100000
*          hard      nofile     100000
After these changes, please reboot the server by running the following command:
sudo rebootCheck the ulimit settings by running the following command:
ulimit -a
Installation
Prerequisites
Root access (use sudo su if not root)
-
Create a SearchBlox user by running the following commands:
sudo adduser searchblox sudo passwd searchblox -
SearchBlox has to be installed in /opt folder. Navigate directory to /opt by running the following command:
cd /opt -
Download SearchBlox rpm package by running the following command:
sudo wget https://d2fco3ozzrfhhd.cloudfront.net/v12.1.2/searchblox-12.1.2-0.noarch.rpm -
Install the rpm package by running the following command:
sudo rpm -ivh searchblox-12.1.2-0.noarch.rpm -
Change permission for few folders by running the following commands:
sudo chown -R searchblox:searchblox /opt/searchblox sudo chmod -R 755 /opt/searchblox/bin sudo chmod -R 755 /opt/searchblox/opensearch/ sudo chmod -R 755 /opt/searchblox/logs sudo chmod -R 755 /opt/searchblox/connectors sudo chmod -R 755 /opt/searchblox/webapps/ROOT/logs/ -
Install and run the
SearchAI PrivateLLM modelsandollama.servicefrom the following section:
SearchAI PrivateLLM models
Optional : If you want to use SmartSuggest , download the keyphrase model from following link
keyphrase.zip
Extract the downloaded keyphrase_extractor.zip file and place it inside<SearchBlox-Installation-Path>/webapps/ROOT/models -
Start SearchBlox services by running the following command:
systemctl start searchblox
Note:
SearchBlox service will start opensearch services internally unlike previous versions. If service start up gives any issues, enable searchblox.service using the command below:
systemctl daemon-reload
- Stop SearchBlox services by running the following command:
systemctl stop searchblox - To verify the status of the SearchBlox service please use the following command:
systemctl status searchblox
Verify Installation
-
Console Access
Wait 30 seconds after service startup
Access the management console at:
https://<your-server-ip-or-hostname>:8443/console/
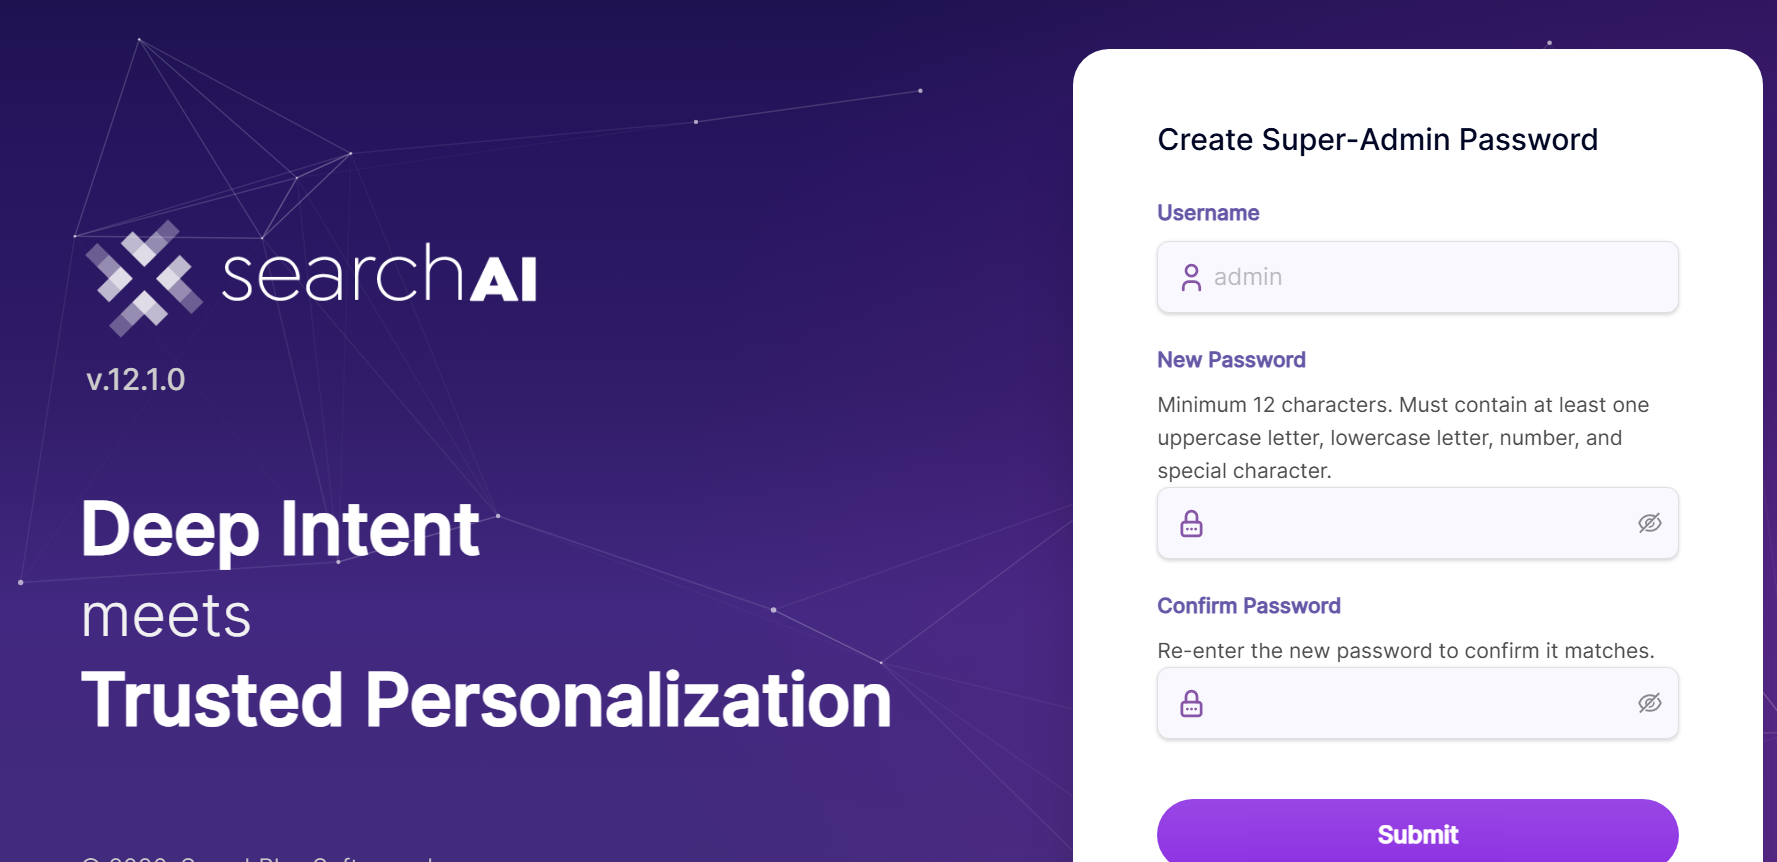
Setup Super Admin Password as shown in image and login using it:

- You can also verify if SearchBlox has started successfully by viewing the status.log file in the
/opt/searchblox/webapps/ROOT/logsfolder. Please confirm the message "Started Successfully" is shown in the log.cat /opt/searchblox/webapps/ROOT/logs/status.log | grep "Started Successfully"
Note
To learn more on Troubleshooting visit: Logging and Troubleshooting
To learn about accessing SearchBlox visit: Overview of SearchBlox
To learn about tuning after installation visit: Installation Tuning
SearchBlox Admin Console Access using IP Address or Domain Name
- You can use your IP instead of localhost in the URL to access the SearchBlox Admin Console.
- If a domain name is mapped to the IP address, you can use the domain name:
https://exampledomain:port/console
https://exampledomain:port/search/index.html
Steps to Install and Run SearchAI PrivateLLM
-
After SearchBlox installation from Installation section, Download the Models folder from the following link.
SearchAI PrivateLLM Models# Download models package wget https://d2fco3ozzrfhhd.cloudfront.net/ollama/models.zip -P /tmp/ -
After downloading , extract the
modelsfolder.# Extract and replace models unzip /tmp/models.zip -d /tmp/ -
Navigate to
/opt/searchblox/ollama/modelsand replace themodelsfolder with the downloaded one.sudo rm -rf /opt/searchblox/ollama/models sudo mv /tmp/models /opt/searchblox/ollama/ -
To create a service file, navigate to
/etc/systemd/system/and create aollama.servicefile by running the following command:vi /etc/systemd/system/ollama.service -
Update the
/etc/systemd/system/ollama.servicefile with following script:[Unit] Description=Ollama Service After=network-online.target [Service] WorkingDirectory=/opt/searchblox/ollama/bin ExecStart=/opt/searchblox/ollama/bin/ollama serve User=root Group=root Restart=always RestartSec=3 Environment="OLLAMA_MODELS=/opt/searchblox/ollama/models/" [Install] WantedBy=default.target -
Provide execute permission for
ollama.servicefile by executing the following command:# Set proper permissions sudo chmod 755 /etc/systemd/system/ollama.service sudo chmod 755 /opt/searchblox/ollama/bin/ollama -
Enable the
ollama.serviceby running the following command:systemctl daemon-reload -
Start ollama Service by running the following command:
systemctl start ollama` -
To check the models run the following command:
./opt/searchblox/ollama/bin/ollama list -
To download the model run the following command:
``` ./opt/searchblox/ollama/bin/ollama pull qwen2.5 ``` -
To stop Ollama Service run the following command:
systemctl stop ollama` -
To auto start ollama service when system reboots run the following command:
systemctl enable ollama
Change SearchBlox Server Port
SearchBlox Server runs on port 8443 by default.
You can change the port by following the steps as shown in the following:
-
Stop SearchBlox service
sudo systemctl stop searchblox -
Edit the file
/opt/searchblox/start.d/https.iniand add the below line to set the required port number:
jetty.ssl.port=443sudo vi /opt/searchblox/start.d/https.ini
jetty.ssl.port=443 # Replace with your desired port
- Save the file https.ini
- Start SearchBlox service
sudo systemctl start searchblox
Port Update
Fix the permission denied error while using searchblox service on less than ports 1024, run the below commands:
Check the Java Path
readlink -f $(which java)Set the capability to bind low ports for non-root searchblox user.
setcap cap_net_bind_service+ep <javapath>
Uninstall
Stop Services:
sudo systemctl stop searchblox
sudo systemctl stop ollama  # If PrivateLLM is installed
Uninstall or remove SearchBlox by running the following command:
sudo yum remove searchblox
Note
For clean SearchBlox uninstallation, it is required to remove SearchBlox directory,
/opt/searchbloxmanually by running the following command:
rm -rf /opt/searchblox
Disk Encryption
An additional Disk is required for disk encryption
-
Installation of cryptsetup
for RHEL / CentOS`yum install cryptsetup-luks` -
LUKS Format disk
Note: while formatting the disk we have to give some passwordcryptsetup luksFormat /dev/sdb
WARNING!
========
This will overwrite data on /dev/sdb irrevocably.
Are you sure? (Type uppercase yes): YES
Enter LUKS passphrase:
Verify passphrase:
- Luks open
Note: We have to use the password created earlier while formatting the disk.cryptsetup luksOpen /dev/sda data
Enter passphrase for /dev/sdb:
- Create a filesystem
mkfs -t ext4 /dev/mapper/data
mke2fs 1.42.13 (17-May-2015)
Creating filesystem with 52428288 4k blocks and 13107200 inodes
Filesystem UUID: 1c71b0f4-f95d-46d6-93e0-cbd19cb95edb
Superblock backups stored on blocks:
	32768, 98304, 163840, 229376, 294912, 819200, 884736, 1605632, 2654208,
	4096000, 7962624, 11239424, 20480000, 23887872
Allocating group tables: done
Writing inode tables: done
Creating journal (32768 blocks): done
Writing superblocks and filesystem accounting information: done
- Mounting the new file system at
/optmount /dev/mapper/data /opt - To get UUID
blkid /dev/mapper/data
/dev/mapper/data: UUID="0a228c13-06d8-4739-99c3-f596c2dcce8e" TYPE="ext4"
- We need to add the UUID into
/etc/fstablike this and save it
Note: We need to add the UUID intoetc/fstabfileLABEL=cloudimg-rootfs / ext4 defaults,discard 0 0 UID="4539b70d-66ab-4c07-b2a2-d4583f461a2f" /secret ext4 defaults 0 0 UID="4539b70d-66ab-4c07-b2a2-d4583f461a2f" /opt ext4 defaults 0 0 UUID="0a228c13-06d8-4739-99c3-f596c2dcce8e" /opt ext4 defaults 0 0 =================================================== - To close encryption
cryptsetup luksClose /dev/mapper/data - To open encryption
cryptsetup luksOpen /dev/mapper/data
CentOS Full Disk Encryption
Important Note
Before installation of OS, the entire root volume can be encrypted using the following steps for GUI based CentOS systems
- To enable the disk encryption please go to installation destination

- While installing Centos7 Installation Enable the Encryption.

- Next create Disk Encryption Passphrase.

- On reboot you would get the following prompt to enter the passphrase so that you can successfully unlock the drive:

- Please use the command as in the following screenshot to verify the disk Encryption

NOTE:
If you face any trouble in starting opensearch and in logs if you find the error as
Opensearch status REDfollow the steps given here:
- Set the
OPENSEARCH_JAVA_HOMEby running the following command:- If you have installed java from
Prerequisitessection, use the below command:export OPENSEARCH_JAVA_HOME=/usr/lib/jvm/java-25-openjdk-amd64- If java is installed in different path, change the value.
export OPENSEARCH_JAVA_HOME=<java installation path>
Updated 1 day ago