Indexing Azure File Storage
Settings in Azure
Create File Share
- Sign in to the Azure portal.
- On the navigation menu, click Storage accounts or Storage accounts (classic).
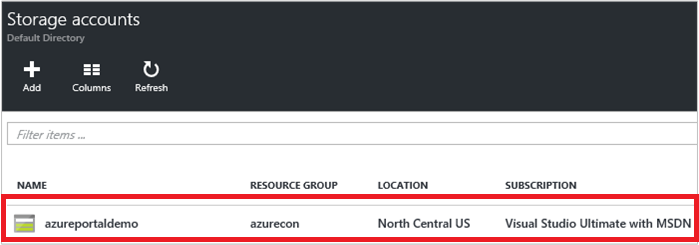
- Choose your storage account.
- Choose "Files" service.

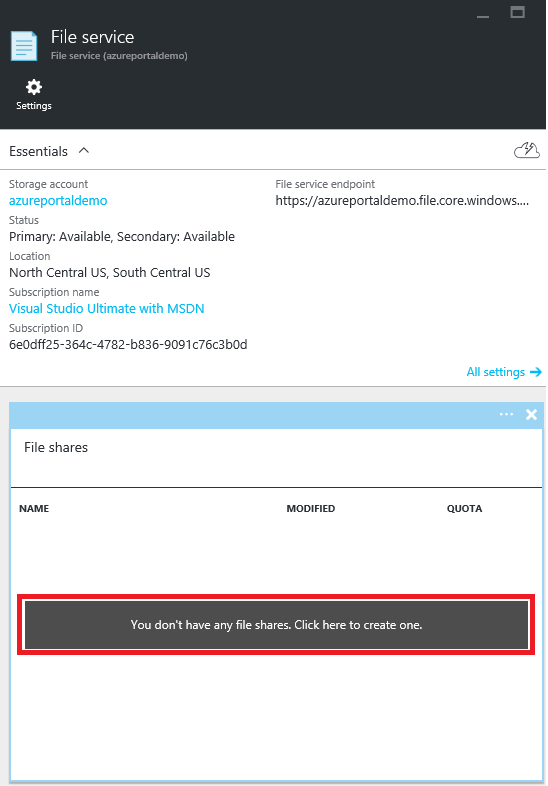
- Click "File shares" and follow the link to create your first file share.
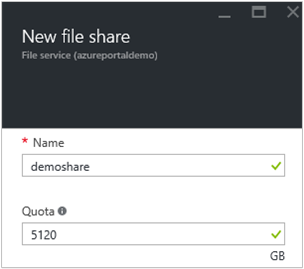
- Fill in the file share name and the size of the file share (up to 5120 GB) to create your first file share.
Upload and Download Files
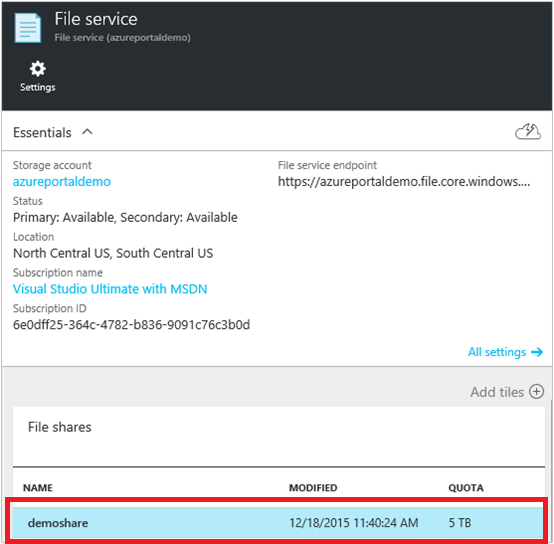
- Choose one file share you already created.
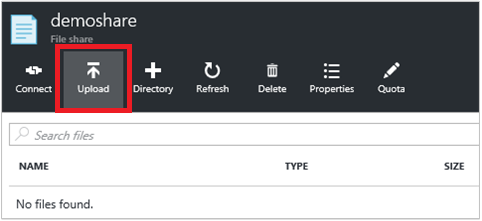
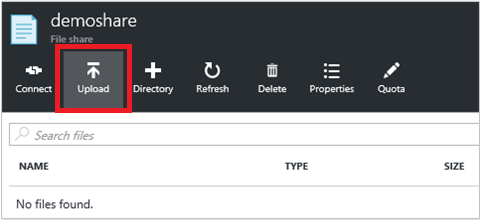
- Click "Upload" to open the user interface for files uploading.
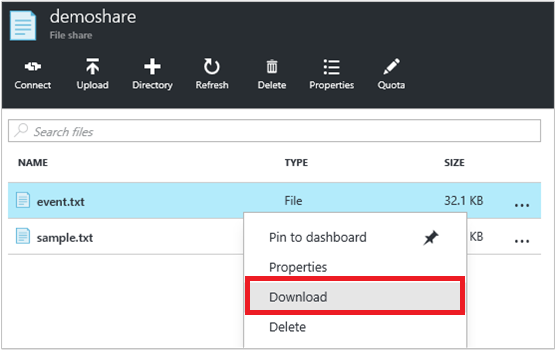
- Right-click on one file and choose "Download" to download it locally.
Manage File Share
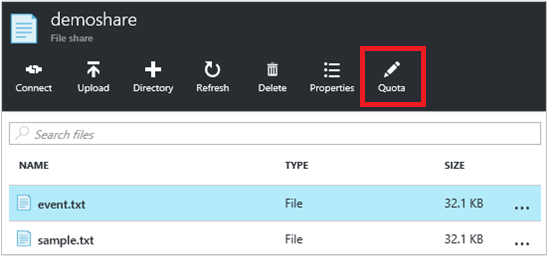
- Click Quota to change the size of the file share (up to 5120 GB).
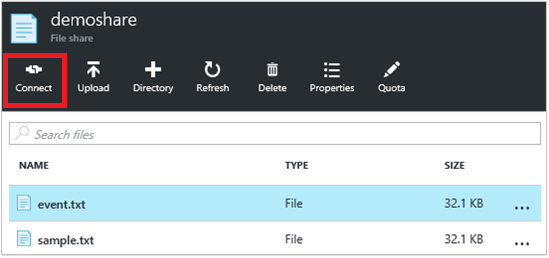
- Click "Connect" to get the command line for mounting the file share from Windows.

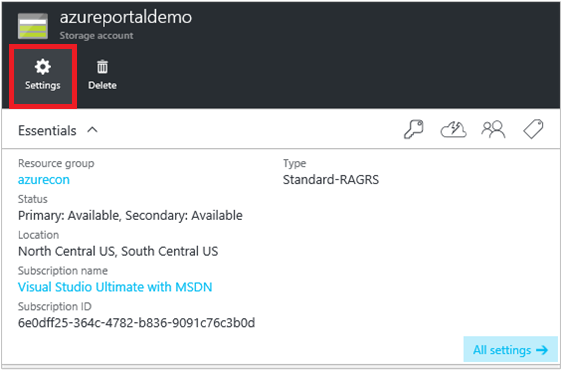
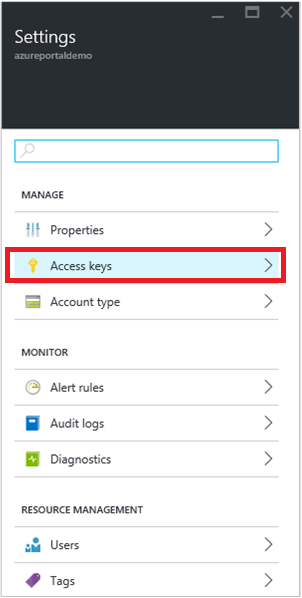
- To find the storage account access key for mounting, click "Settings" in your storage account, and then click "Access keys".
Mount the file share from an Azure virtual machine running Windows
Log on remotely into the virtual machine by following the instructions in Log on to a Windows virtual machine using the Azure Portal..
Once you have a remote connection to the virtual machine, you can run the net use command to mount the file share, using the following syntax. Replace with the name of your storage account, and with the name of your File storage share.

You can now work with the File Storage share from the virtual machine as you would with any other drive.
Creating a File System collection in SearchBlox
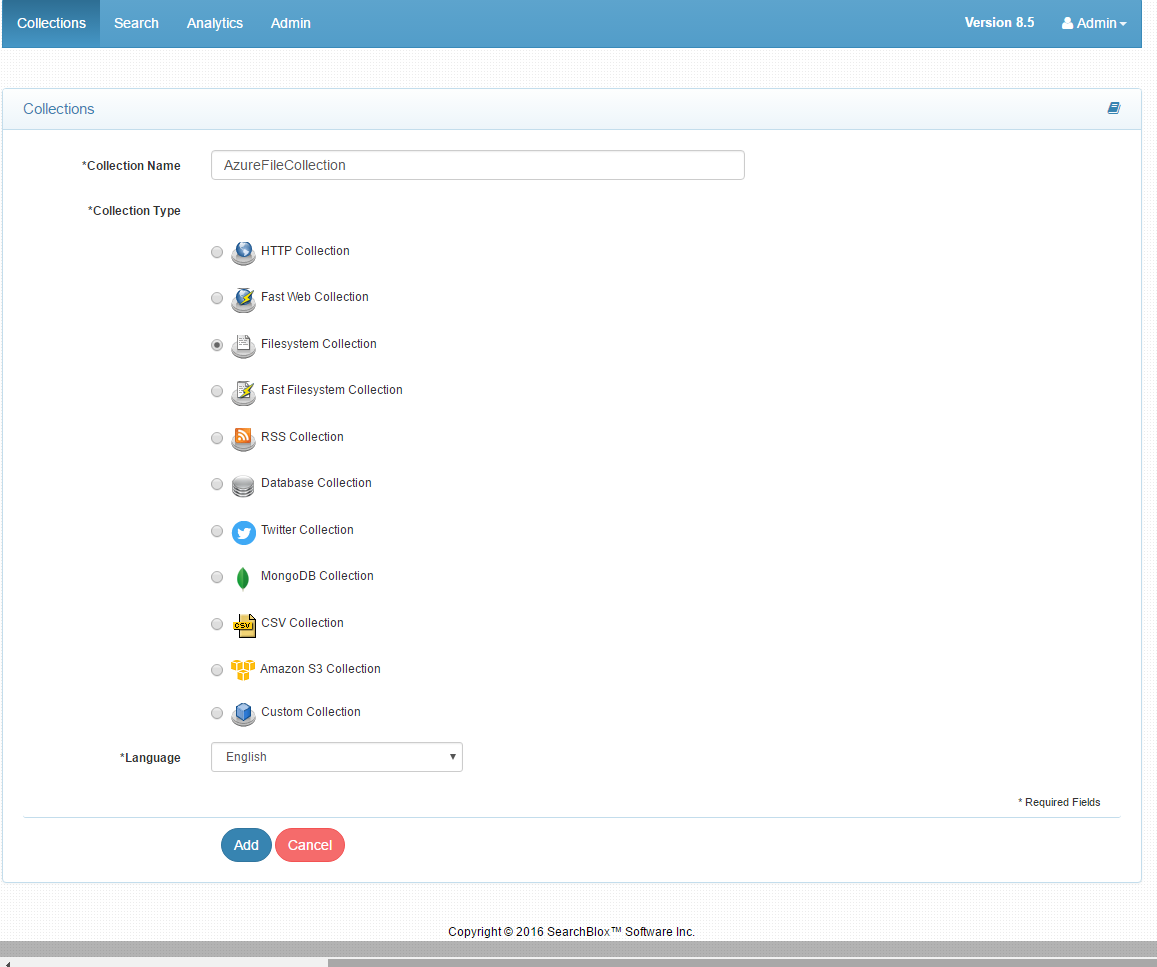
- After logging in to the SearchBlox Admin Console, click on the Add Collection button. The Add Collection screen will be displayed.
- Enter a unique name for the collection (for example, filecollection).
- Click on the File System radio button.
- Choose the language of the web pages that need indexing.
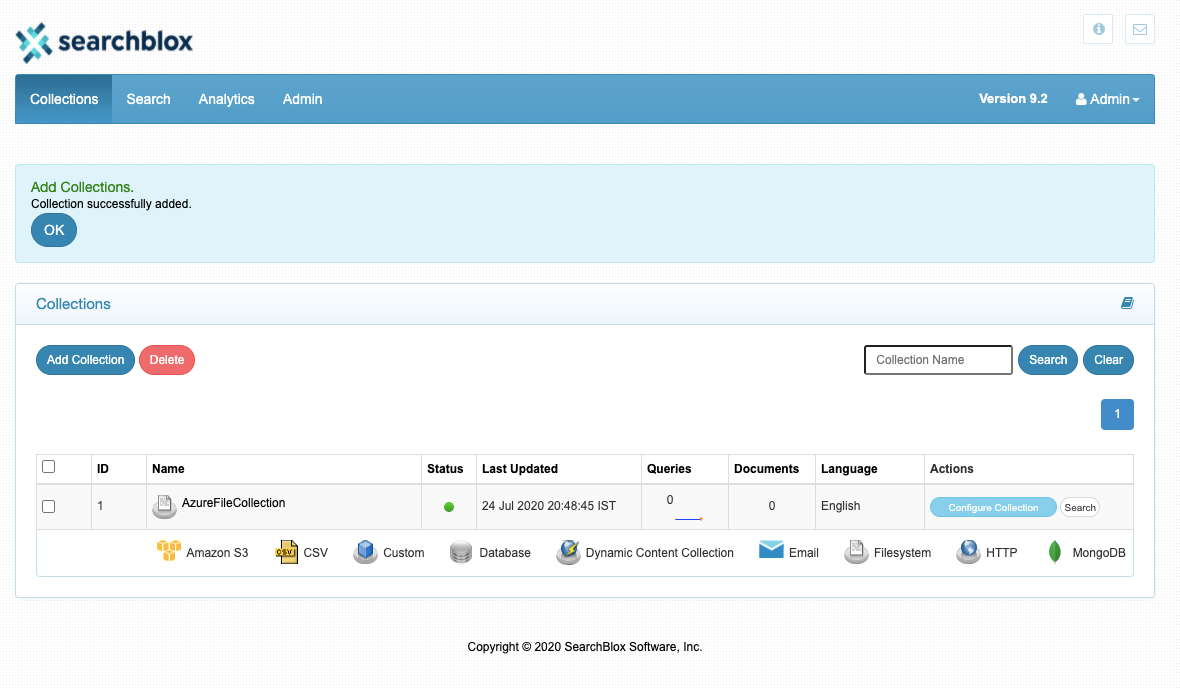
- Click Add to create the collection.
Setting Paths
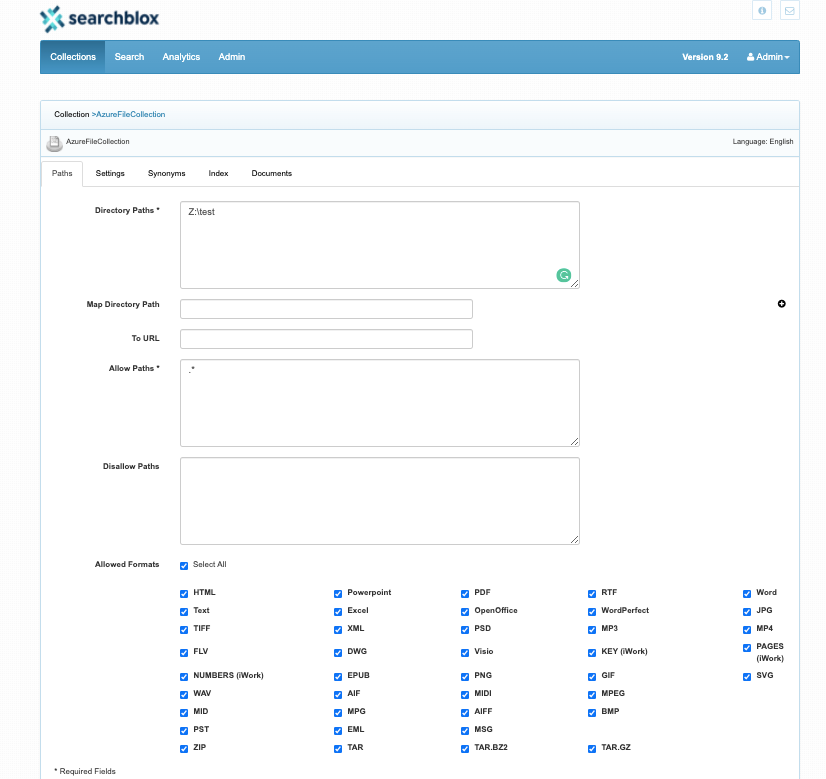
The paths settings configure the directory paths and the filters for the collection. To access the paths settings for the collection, click on the collection name in the collections list.
Directory Paths
The directory path is the starting path for the crawler. The crawler recursively indexes content within the folders.
In the paths tab, enter at least one directory path for the collection. (For example, z:\test)
Click Save to save the values for the file system paths.
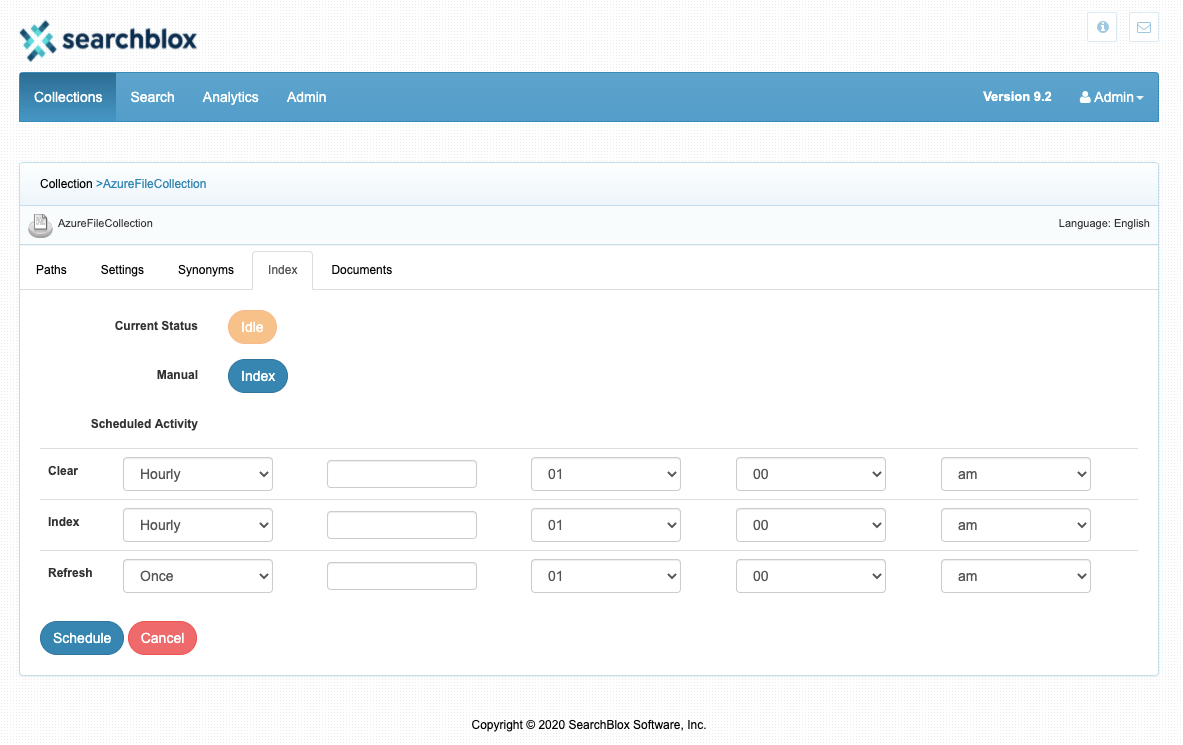
Then, choose the index tab at the top, and click on the 'index' button against the Manual heading.
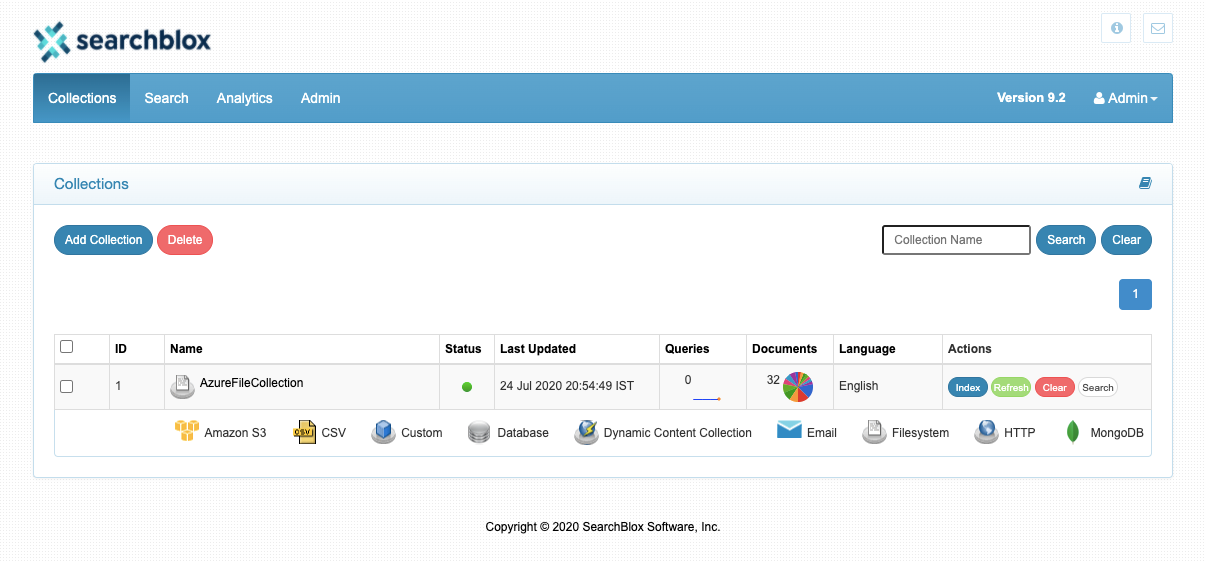
Now, go back to collections page and explore the file collection with search options.
Updated almost 5 years ago
