Google Drive Connector
Configuring SearchBlox
Before using Google Drive Connector, install SearchBlox successfully, then create a Custom Collection.

Configuring Google Drive
Steps to create client_secret.json and configure Google drive
- Go to https://console.developers.google.com/.
- Log in with the account username and password.
- Select a project if it already exists, or create a new project.
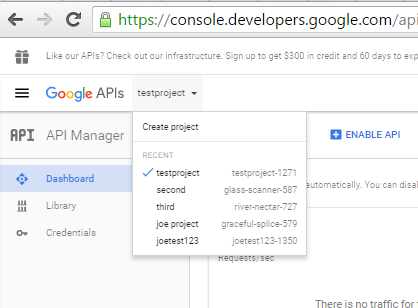
- To create a new project, you will be asked to fill in the project name and agree to terms of service.
- Next, click on the Products and Services list (menu) near Google APIs logo on left side.
- Choose API Manager and then click on credentials on the left side menu.
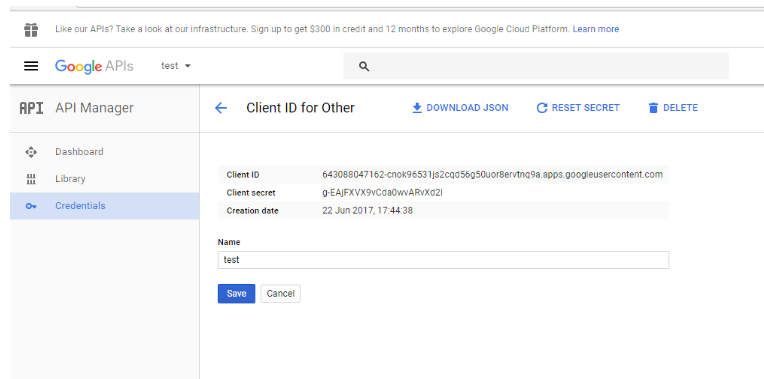
- In the resulting right pane, click on Create Credentials and select 'OAuth client ID' from the list.
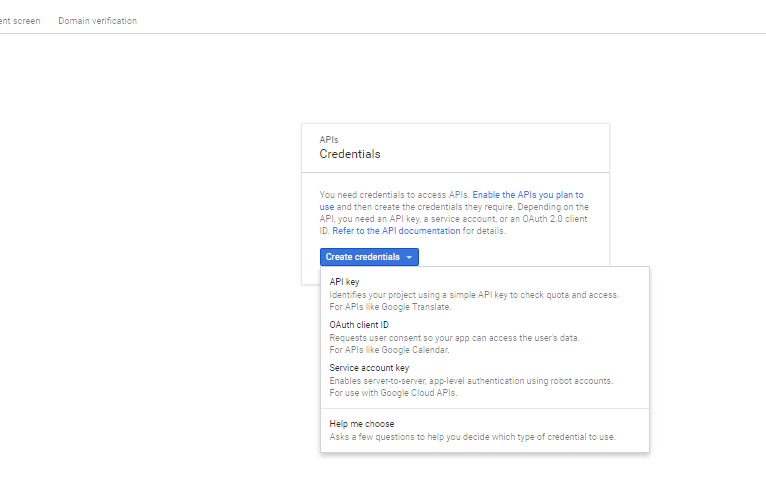
- Configure the consent screen then choose the application type.

- Click on 'Configure consent screen' above the application type options.
- In the landing OAuth consent screen, the email ID field is chosen by default. Fill in the product name field and click on Save. Other fields in this page are optional.
11.Now choose “Other Application”
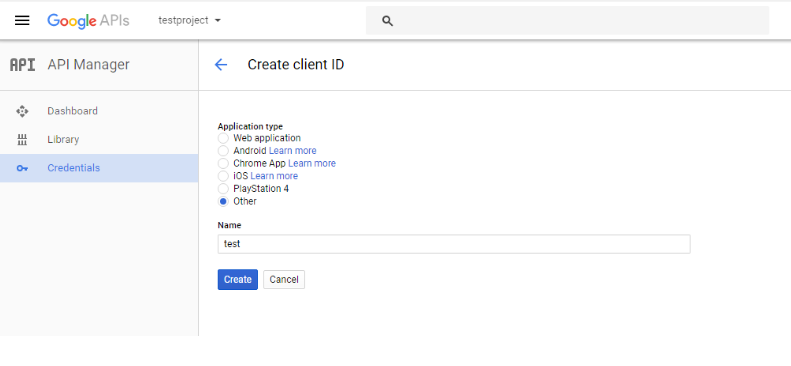
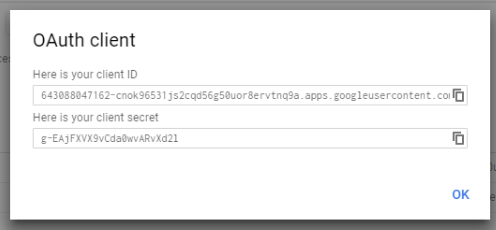
- Download Json and rename it to client_secret.json
- Place it in the folder where the exe file is available
Important Note regarding Google Drive:
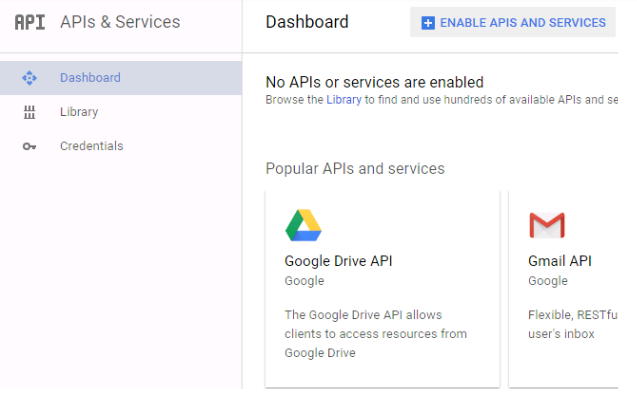
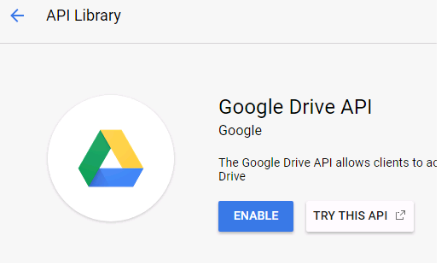
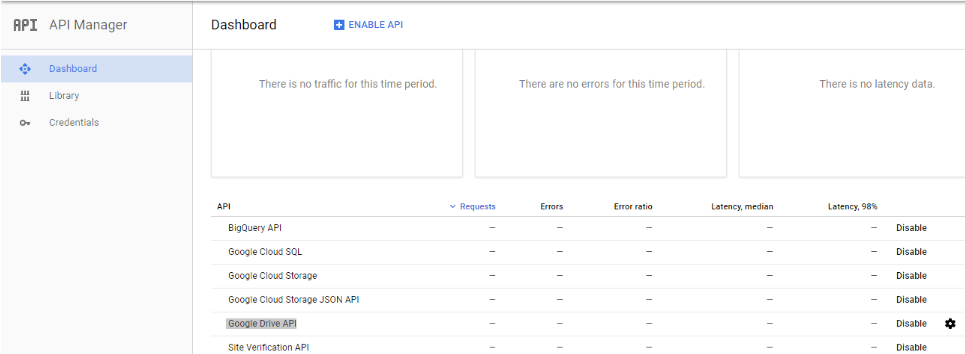
Please enable Drive API for the project in Developer console if you are to index Google Drive
Configuring GoogleDrive Connector
Prerequisites:
- All the files related to the connector should be available in the same folder that is, all files should be extracted into the same folder.
- Create a data folder on your drive where the files would be temporarily stored and mention in yml files.
Contact [email protected] to request the download link for SearchBlox Google Drive connector. The following steps include the example paths for both Windows as well as Linux. In Windows, the connector would be installed in the C drive.
Steps to Configure and Run the GoogleDrive Connector
- Download the SearchBlox Google Drive connector. Extract the downloaded zip to a folder.
- Unzip the archive under *C:*
- Configure the googledrive.yml file which includes Google Drive properties and SearchBlox properties as listed here:
| url | SearchBlox URL |
| api-key | SearchBlox API Key |
| data-directory | Data Folder where the data needs to be stored. Make sure it has write permission. |
| colname | The name of the custom collection in SearchBlox. |
| exclude-formats | File formats to exclude. |
| exclude-google-mime | Google mime types to be excluded |
| exclude-folders | Folders to exclude in Googledrive |
| fetch-interval | Fetch interval between each hits (in seconds) |
| exclude-size | size of file that can be excluded in index |
| servlet url | SearchBlox servlet URL. Make sure that the port number is right. If your SearchBlox runs in 8080 port the URLs should be right. |
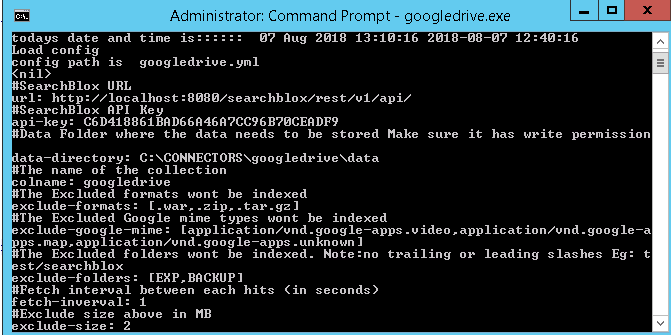
- The content details of googledrive.yml are provided here:
#SearchBlox URL
url: http://localhost:8080/searchblox/rest/v1/api/
#SearchBlox API Key
api-key: C6D418861BAD66A46A7CC96B70CEADF9
#Data Folder where the data needs to be stored Make sure it has write permission
data-directory: C:\CONNECTORS\googledrive\data
#The name of the collection
colname: googledrive
#The Excluded formats wont be indexed
exclude-formats: [.war,.zip,.tar.gz]
#The Excluded Google mime types wont be indexed
exclude-google-mime: [application/vnd.google-apps.video,application/vnd.google-apps.map,application/vnd.google-apps.unknown]
#The Excluded folders wont be indexed. Note:no trailing or leading slashes Eg: test/searchblox
exclude-folders: [EXP,BACKUP]
#Fetch interval between each hits (in seconds)
fetch-inverval: 1
#Exclude size above in MB
exclude-size: 2
servlet-url: http://localhost:8080/searchblox/servlet/SearchServlet
- Start running the googledrive.exe file for Windows
- First time you would get a URL in the console, copy that URL and post it in browser
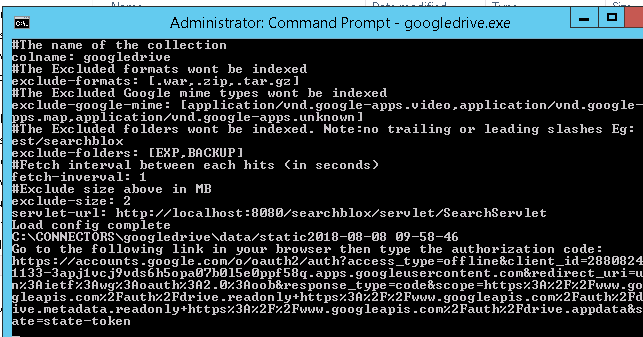
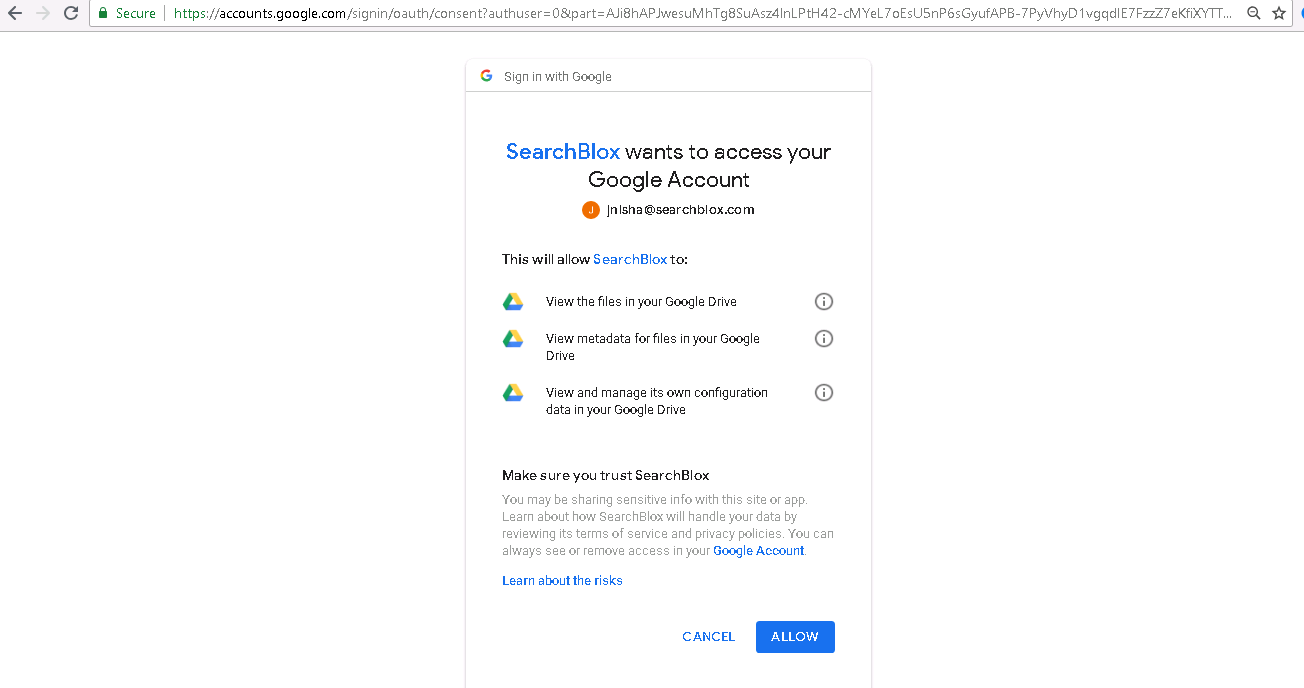
- Allow SearchBlox to access your account
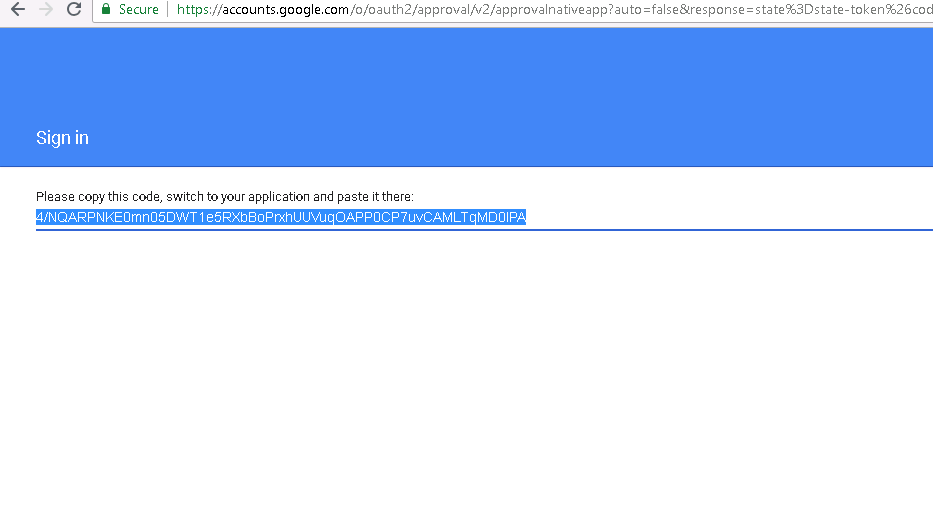
- Copy the string generated and paste it in console
- Once giving enter the files would get indexed
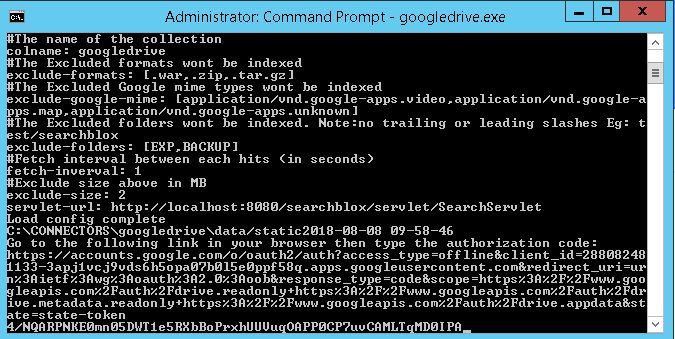
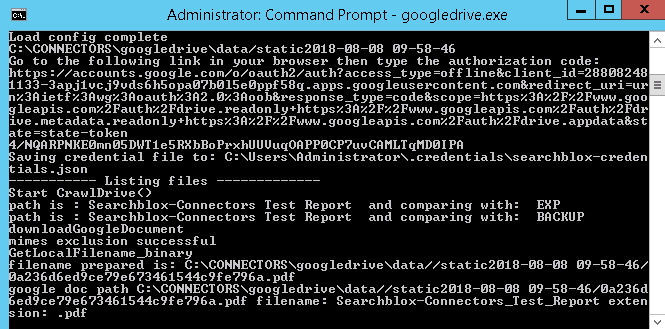
- Please note that this is a one time process, running the connector next time the crawler will start automatically.
Updated almost 5 years ago
