Amazon S3 Connector
Configuring SearchBlox
Before using the Amazon S3 Connector, install SearchBlox successfully, then create a Custom Collection.

Configuring Amazon S3 Connector
Prerequisites
- All the files related to the connector should be available in the same folder that is, all files should be extracted into the same folder.
- Create a data folder on your drive where the files would be temporarily stored and mention in yml files.
Please contact [email protected] to request the download link for Amazon S3 connector.
Steps to Configure and Run Amazon S3 Connector
In Windows, the files related to connector can be installed in the C:\ drive in Windows, in Linux it can be installed in /opt
- Download the SearchBlox Amazon S3 connector. Extract the downloaded zip to a folder.
- Unzip the archive under C:* or /opt*. Please find the screenshot on the extracted files in the following:

- The extracted files would be an executable based on your OS, yml file and an encrypter.
- Using the encrypter you can encrypt your access key and secret key from Amazon S3.
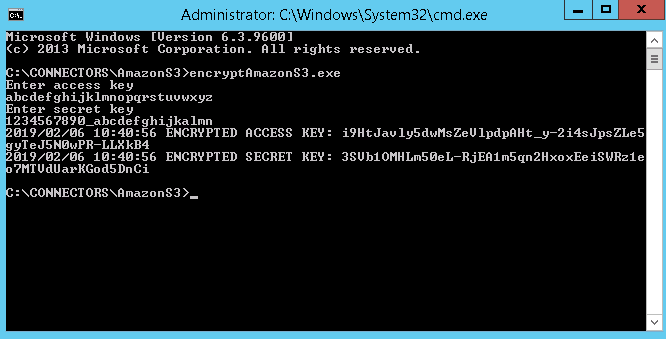
- Configure the amazonS3.yml file which includes Amazon S3 properties and SearchBlox properties as listed in the following:
| encrypted-ak | Encrypted access key from Amazon s3. Encrypter would be available in the downloaded archive |
| encrypted-sk | Encrypted secret key from Amazon s3. Encrypter would be available in the downloaded archive |
| region | Region of Amazon S3 instance |
| data-directory | Data Folder where the data needs to be stored. Make sure it has write permission. |
| api-key | SearchBlox API Key |
| colname | The name of the custom collection in SearchBlox. |
| queuename | Amazon S3 SQS parameter. This is required for update of documents after indexing in a bucket. |
| private-buckets | If set to true the content from private buckets will be indexed |
| public-buckets | If set to true the content from public buckets will be indexed |
| url | SearchBlox URL |
| includebucket | S3 buckets to be included |
| include-formats | File formats to be included |
| expiring-url | Expiring URLs in the search result. Default URL will be expiring URL |
| expire-time | Default expire time will be 300 mins |
| permanent-url: | permanent URLs in the search result. Among the expiring and permanent URL expiring URL is given more preference |
| max-folder-size | Maximum size of static folder after which it should be sweeped in MB. |
| servlet url & delete-api-url: | Make sure that the port number is right. If your SearchBlox runs in 8080 port the URLs should be right. |
- The content details of amazonS3.yml are provided here:
#User credentials
encrypted-ak: oSMMs-K1nkdjukjkk003kdkdW004k9GB0wUXjJoCkZ
encrypted-sk: 8kZf1ZPV_WcU9LBEJFdddIskdFzg5i6kNe-vk6ahffIvc8=
region: us-east-1
#Data Folder where the data needs to be stored Make sure it has write permission
data-directory: D:\GoWorkspace\searchblox\src\sbgoclient\examples\amazonS3
#SearchBlox API Key
api-key: 83F9C9AF71B1D0B334A7DDE36C99BF6A
#The name of the collection
colname: amazon
queuename: [testabcde]
#private-buckets if set to true will index files in private buckets else if set to false the private bucket files will not be indexed
private-buckets: true
#public-buckets if set to true will index files in public buckets else if set to false the public bucket files will not be indexed
public-buckets: false
#SearchBlox URL
url: http://localhost:8080/searchblox/rest/v2/api/
#IncludeBucket
includebucket: [tests3]
#The Included formats wont be indexed
include-formats: [.pdf,.docx,.xml,.json]
#servlet-url
servlet-url: http://localhost:8080/searchblox/servlet/SearchServlet
#expiring urls in search result. Default url will be expiring url and default expire time will be 300 mins
expiring-url: true
#expire time in min
expire-time: 300
#permanent urls in search result. Among the expiring and permanent url expiring url is given more preference
permanent-url: true
#maximum size of static folder aftre which it should be sweeped in MB
max-folder-size: 2
#delete-api-url: http://localhost:8080/searchblox/api/rest/docdelete
delete-api-url: http://localhost:8080/searchblox/rest/v1/api/docdelete
- Please make sure to give the API key, collection name, data folder path and Amazon S3 keys(encrypted) and other related properties.
- Start running the amazonS3.exe file for Windows and ./amazonS3Linux32 or ./amazonS3Linux64
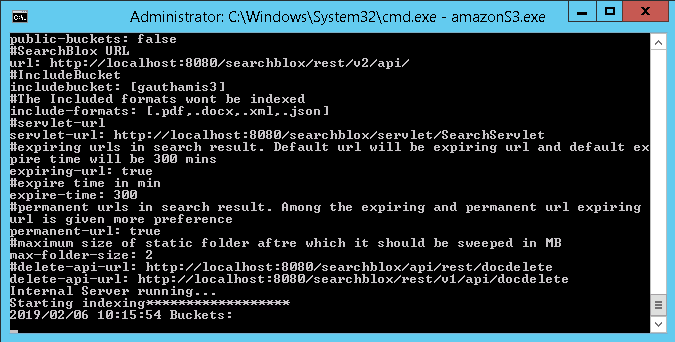
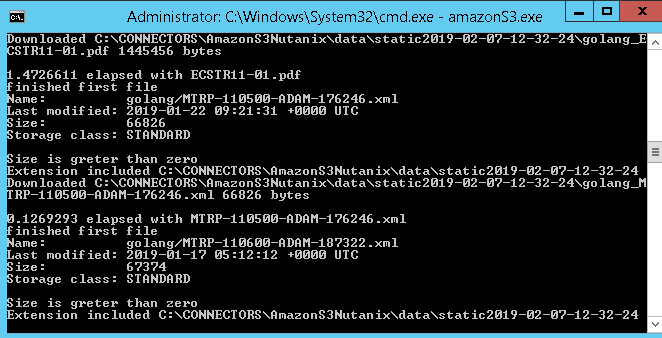
Steps to trigger notification when a document is updated in S3
- In Amazon S3 console under services, click on the Simple Queue Service(SQS) which can be found under application integration.
- The Select Create New Queue, then give an appropriate queue name and configure the queue.

- Set message visibility timeout, retention days and receive message wait time.

- Receive message wait time should be set between 1 - 20 seconds. So as to set the queue for long polling.
- Then in the S3 console select a bucket whose SQS you need to set and click on “Properties”, Then in “Advanced settings” click on events.
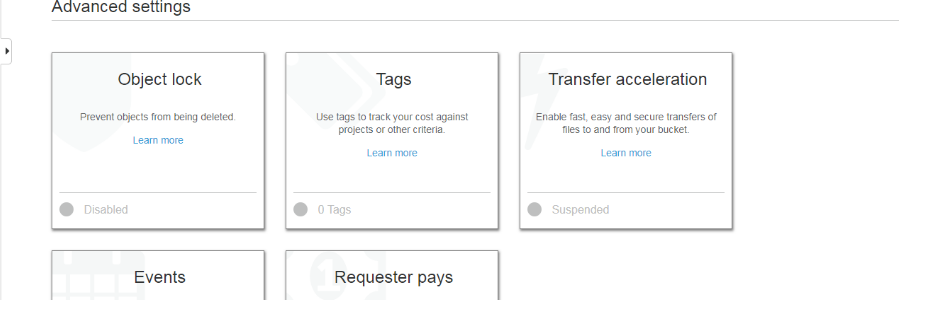
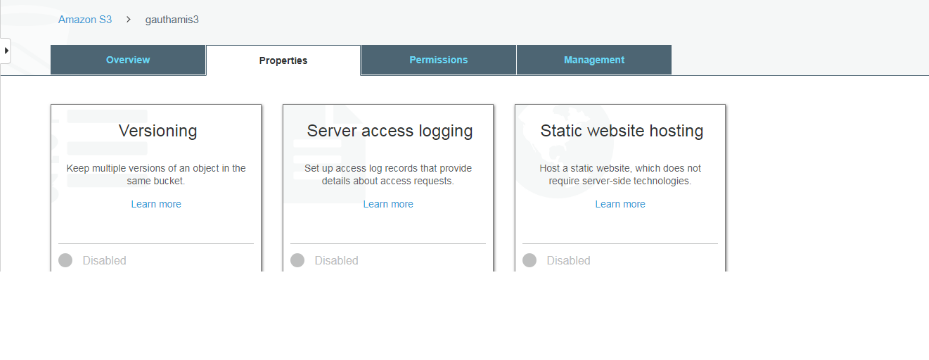
- Now select “Add Notification” and give a name to the notification and check the events for which you need notification.https://files.readme.io/e00dec7-4.png
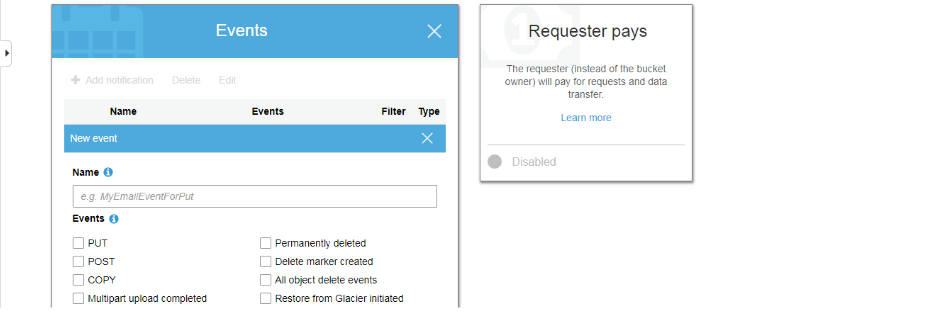
- Then in “Send To” fill SQS Queue and under SQS fill in the name of the queue which we created before and click on Save.
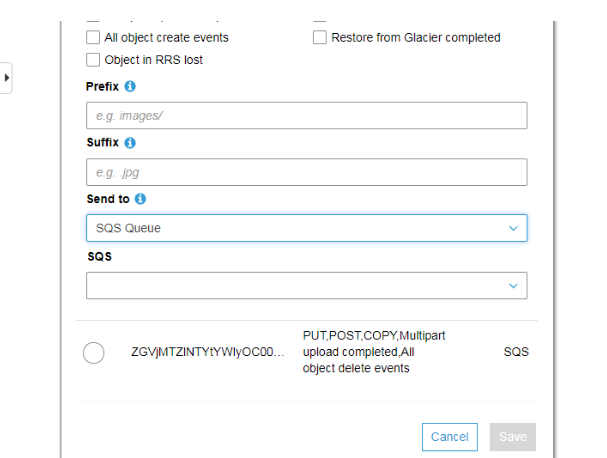
-
Now, whenever there is change to the documents in this particular bucket then a notification will be sent to SQS.
-
The queue names need to be given in the S3 connector yml file in order to trigger indexing whenever a document is updated
Updated over 4 years ago
