Backup and Restore Utility for Linux
With SearchBlox's Backup and restore utility, you can manually perform backup and restore operations for SearchBlox in Linux. Please contact [email protected] to get the download link for this utility.
Steps to Configure Backup and Restore Utility in Linux
- Create a folder called “scripts” inside the folder where Searchblox is installed.
/opt/searchblox/scripts - Download the utility and unzip the contents inside the folder
/opt/searchblox/scripts - Please make sure to provide read, write access to all files within the scripts folder

- Stop SearchBlox and edit elasticsearch.yml from searchblox installation path that is,
/opt/searchblox/elasticsearch/config/elasticsearch.ymlto add path.repo variable as
path.repo: /opt/searchblox/backup/data/currdata - Edit
/opt/searchblox/scripts/config.ymland provide the values provided in the following table:
| Field | Description |
|---|---|
| username | Username of the user who uses Sbutility for backup. The default username is admin |
| password | Encrypted Password of the user who uses Sbutility for backup. The default password is admin. Users can change the password from UI. |
| elasticsearch-username | Username of Elasticsearch instance running. The default username for Elasticsearch in SearchBlox is admin |
| elasticsearch-password | The password of Elasticsearch instance running. The default password for Elasticsearch in SearchBlox is admin |
The content of the config.yml file is:
#The Admin username
username: admin
#password encrypted
password: mvL3TfhnuJaz5v7IXRGEy8yWFNNa
#note: do not change encrypted password manually, use change passwrod option in UI
#elasticsearch instance username
elasticsearch-username: admin
#elasticsearch instance password
elasticsearch-password: admin
-
Run
./backup_restore_linuxas root user.
You can change the password from UI once you start running the utility. -
The utility would be accessible in UI in the following link
http://localhost:9090/
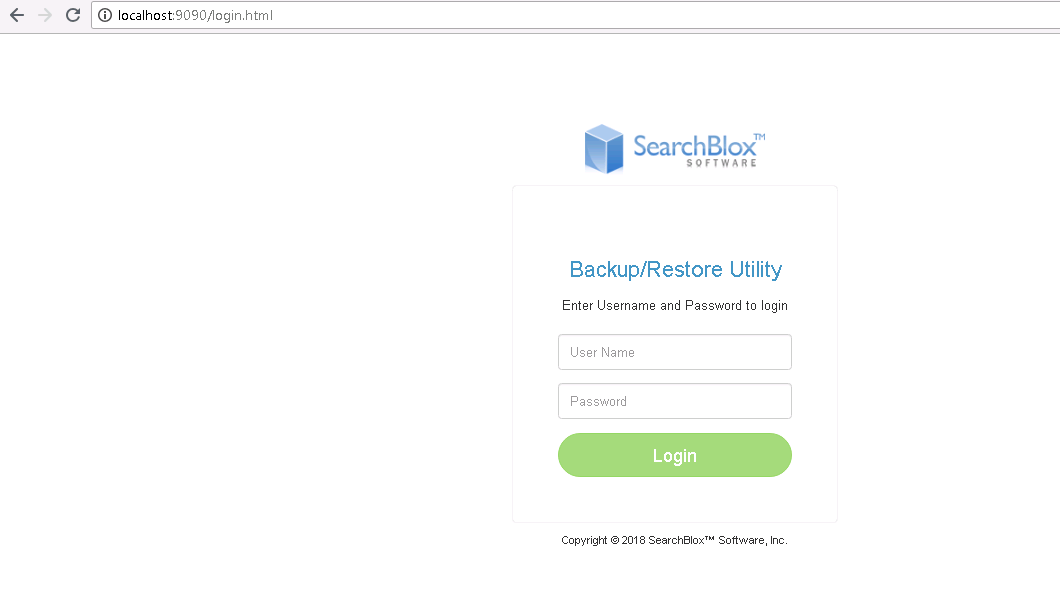
- The default credentials are
username: admin
password: admin
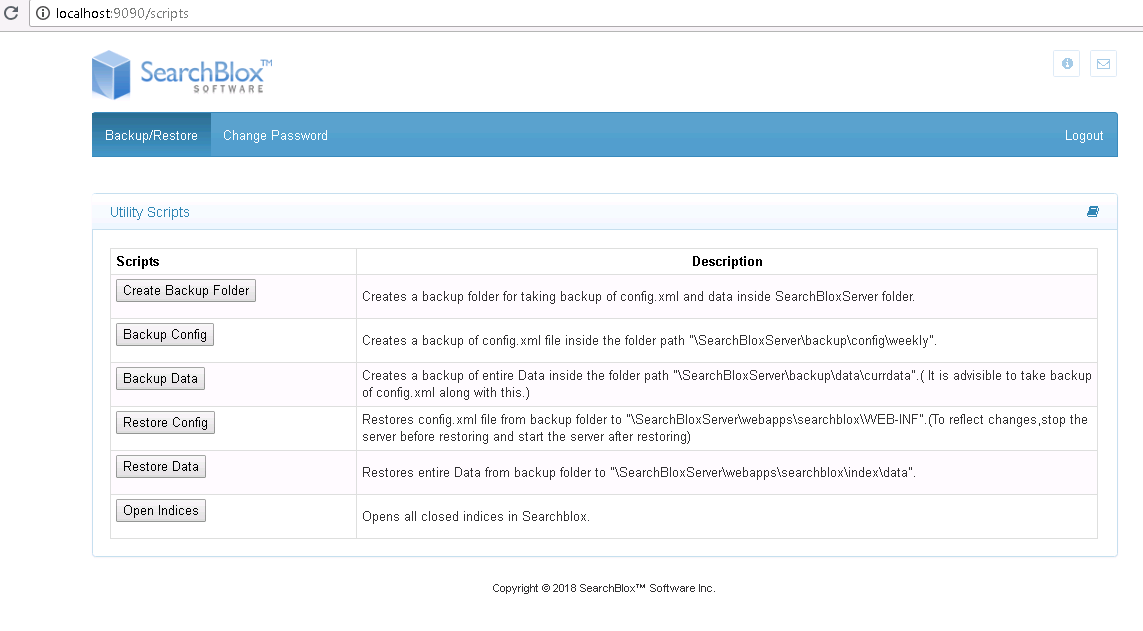
Log in using the credentials and you would get the following page:
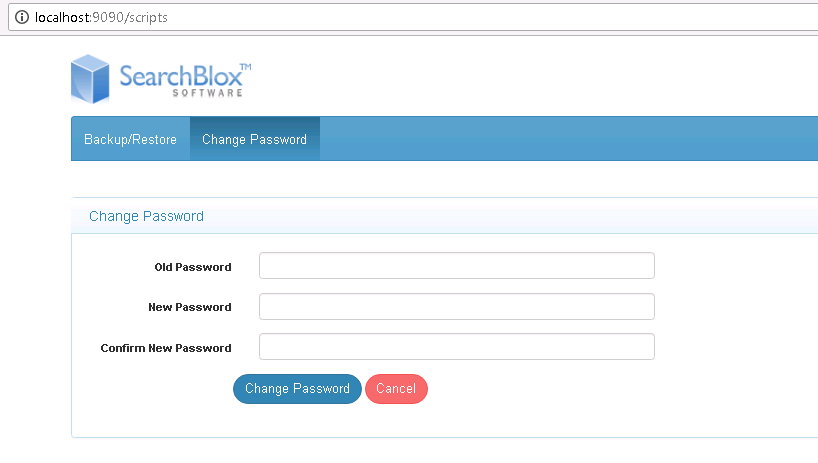
- You can change the password from UI by clicking on change password from Menu.
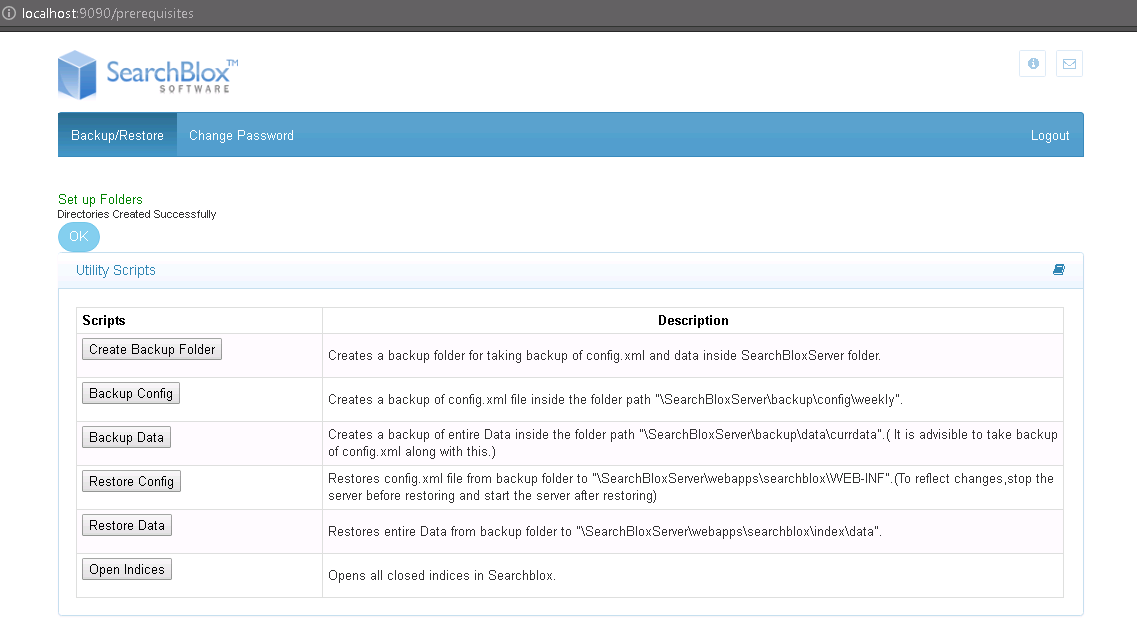
- Prerequisites for the Backup and Restore:
The initial steps for running backup and restore is to create the folder structure by clicking on Create Backup Folder button.

- As mentioned earlier give the path.repo in
../elasticsearch/config/elasticsearch.ymlfile.
path.repo: /opt/searchblox/backup/data/currdata
SearchBlox Configuration BackUp
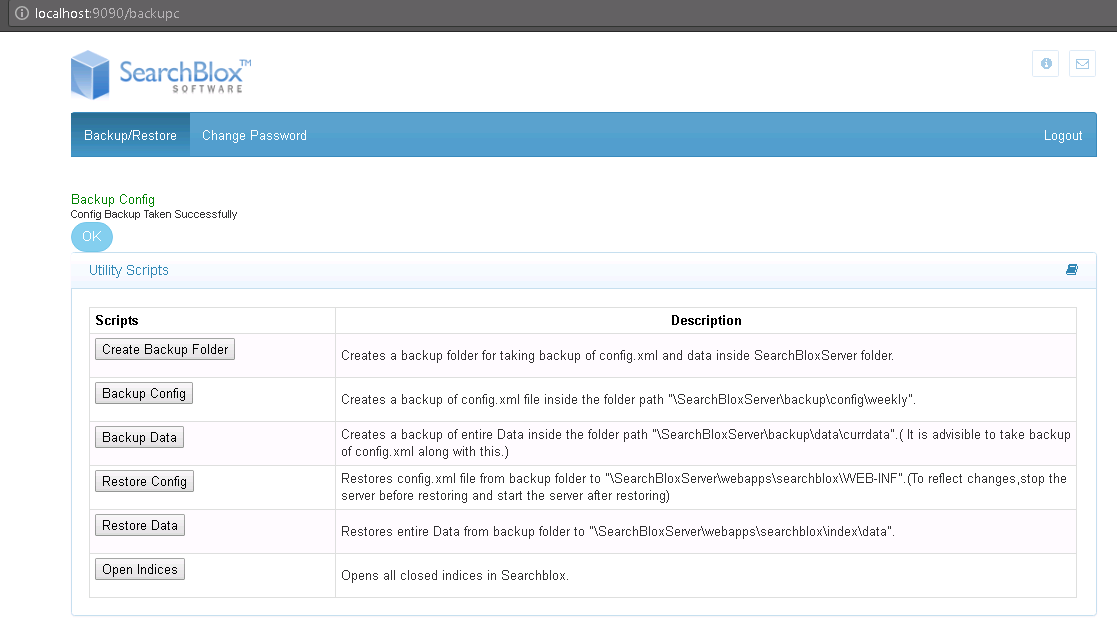
Using this feature it is possible to take a backup of the SearchBlox config file. On clicking Backup Config button the config.xml is validated and the backup is performed in the backup folder.
Restoring the Previous Configuration
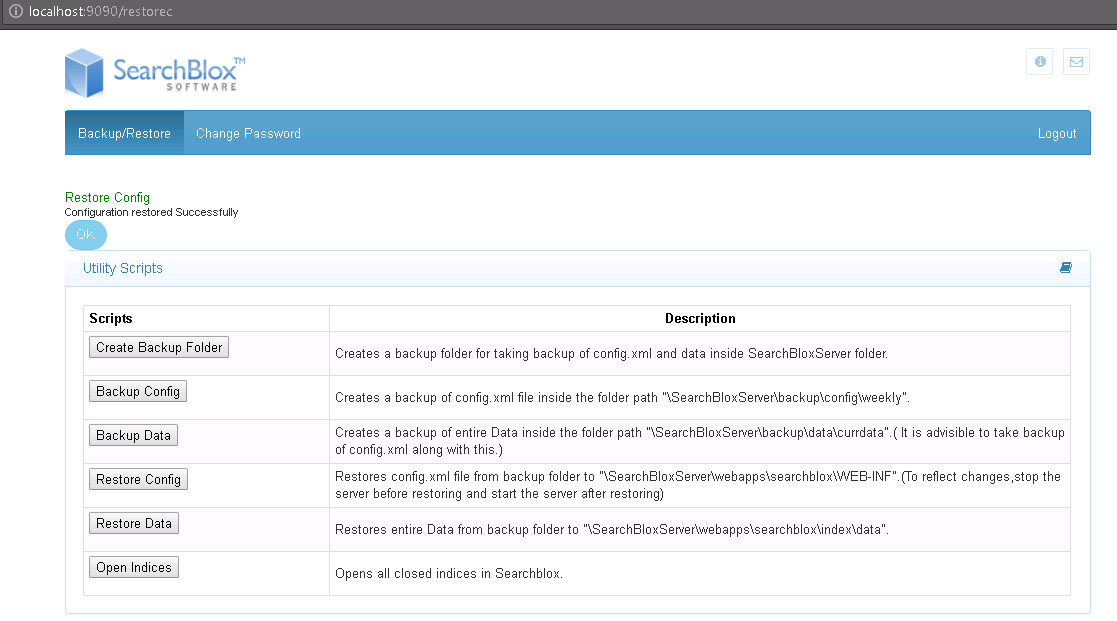
- click the Restore Config button.
- Stop SearchBlox
- Start SearchBlox
Your SearchBlox configuration would be restored to the backed-up version.
Please make sure to restart SearchBlox after restoring config.
Indexed Data Backup
Backups of indexed data from Elasticsearch can be performed the utility.
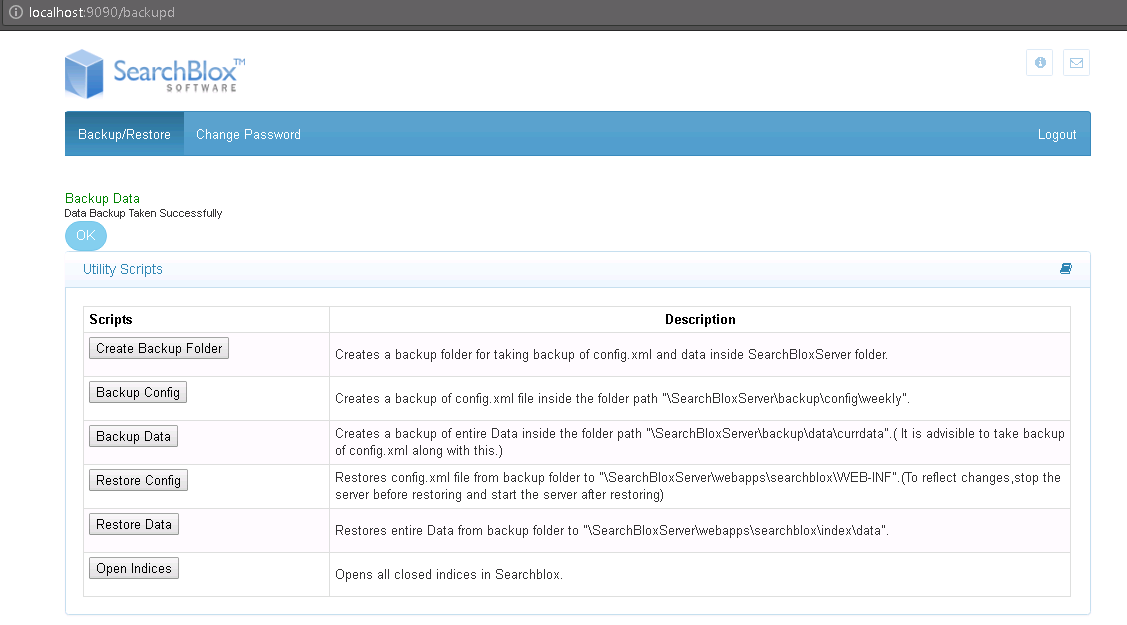
Click BackupData button from the console of the utility. The data will be stored in the path: /opt/searchblox/backup/data
Please note that this is the same path must be mentioned in elasticsearch.yml
path.repo: /opt/searchblox/backup/data/currdata
Restore Indexed Data
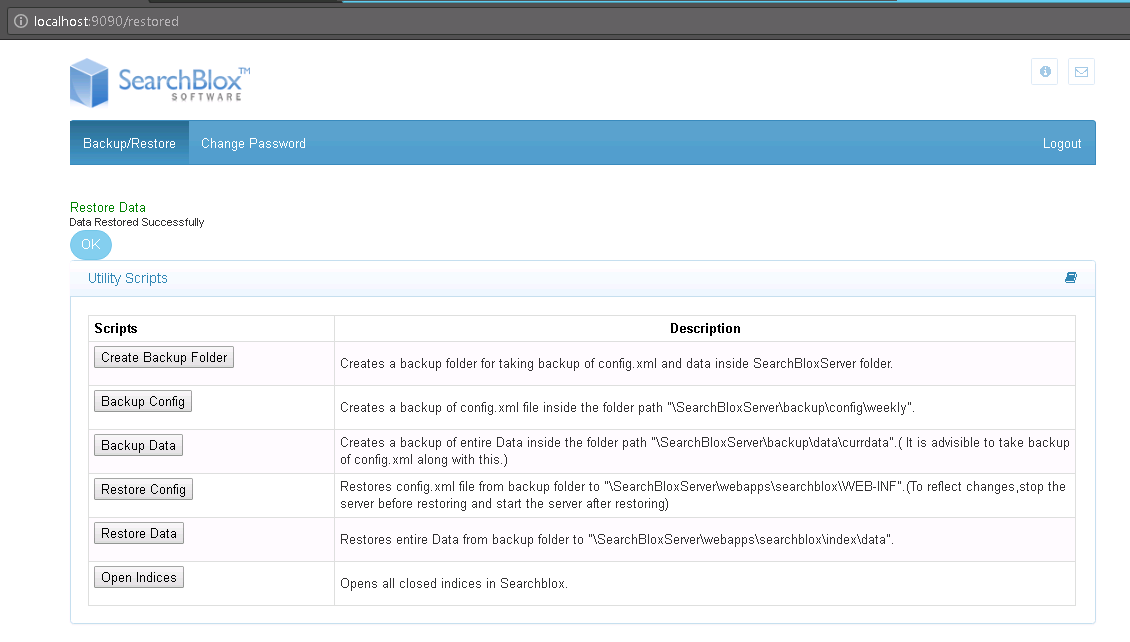
The data that has been taken as a backup can be restored by clicking on Restore Data button in the utility.
Please make sure the backupdata is available in the path /opt/searchblox/backup/data
Please note that this would work as expected if the build has the same number of collections and the path. repo specified in the elasticsearch is
path.repo: /opt/searchblox/backup/data/currdata
If the restore is successful you would get acknowledged the true message as in the screenshot.
Opening closed indices
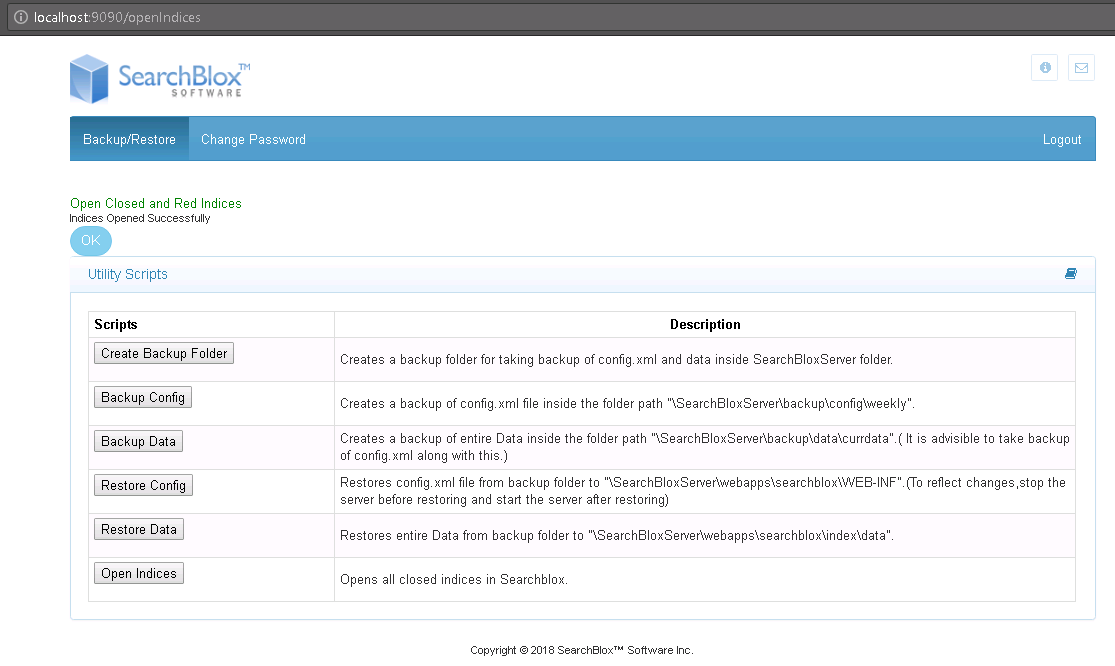
When any of the SearchBlox index is closed you can open the indices by clicking on Open Indices button
Backup Utility for Cluster
There are two important prerequisites for running the backup utility in the SearchBlox cluster setup in Linux.
- For the backup and restore commands to work from the utility it is required to make
/opt/searchblox/backupfolder of index server to be accessible in the search servers. The backup and restore actions are to be performed in the index server.
For that, you can mount the folder using tools such as NFS or Samba.
Please find the sample steps for centos 7
#INDEXING SERVER END
yum install nfs-utils

#folder to be shared to make cluster work
chmod -R 755 /opt/searchblox/backup
chown nfsnobody:nfsnobody /opt/searchblox/backup

systemctl enable rpcbind
systemctl enable nfs-server
systemctl enable nfs-lock
systemctl enable nfs-idmap
systemctl start rpcbind
systemctl start nfs-server
systemctl start nfs-lock
systemctl start nfs-idmap

vi /etc/exports

/opt/searchblox/backup    *(rw,sync,no_root_squash,no_all_squash)

#for more hosts
/opt/searchblox/backup 10.10.1.23 (rw,no_root_squash)
/opt/searchblox/backup 10.10.2.51 (rw,no_root_squash)

systemctl restart nfs-server

(optional if firewall is enabled)
firewall-cmd --permanent --zone=public --add-service=nfs
firewall-cmd --permanent --zone=public --add-service=mountd
firewall-cmd --permanent --zone=public --add-service=rpc-bind
firewall-cmd --reload

#SEARCH SERVER END
yum install nfs-utils

#backup folder to be created for backup tool
mkdir -p /opt/searchblox/backup

mount -t nfs 104.236.76.124:/opt/searchblox/backup/ /opt/searchblox/backup/

#To check mounted/shared drive
 df -kh


#FOR PERMANENT MOUNT
 vi /etc/fstab

104.236.76.124:/opt/searchblox/backup/ /opt/searchblox/backup/   nfs defaults 0 0
External link for folder sharing https://www.howtoforge.com/nfs-server-and-client-on-centos-7.
Based on your OS used please share the folder where the backup is taken to be accessible directly in the same path in other servers. Only then backup and restore would work from the utility.
This data folder sharing is an important prerequisite for elasticsearch snapshot and restore.
- It is required to change the localhost to IP address or hostname in the following scripts in
/opt/searchblox/scriptsfolder
- backupdata.sh
- restoredata.sh
- openindex.sh
Scripts have been hardcoded to run only with http://localhost:9200, In a cluster, Elasticsearch would run in IP address or hostname so it is required to change localhost to relevant IP in the sh code.
Updated about 4 years ago
