Dropbox Connector
Configuring SearchBlox
Before using Dropbox Connector, install SearchBlox successfully, then create a Custom Collection.

Configuring Dropbox Connector
Prerequisite
Install Java JDK 1.8.x for the Dropbox Connector to work. The environment variable is set as shown here:
JAVA_HOME = C:\Program Files\Java\jdk1.8.0_31
Link to download Java: http://www.oracle.com/technetwork/java/javase/downloads/jdk8-downloads-2133151.html
Steps to set up Dropbox Connector
Please contact [email protected] for the download link for SearchBlox Dropbox connector.
Download the SearchBlox Dropbox connector. Extract the zip file to C:\searchblox-dropbox and save the folder as searchblox-dropbox.
Unzip searchblox-dropbox-connector under C:. After extracting, C:\searchblox-dropbox should contain searchblox-dropbox-0.0.1.jar, application.properties and readme.txt

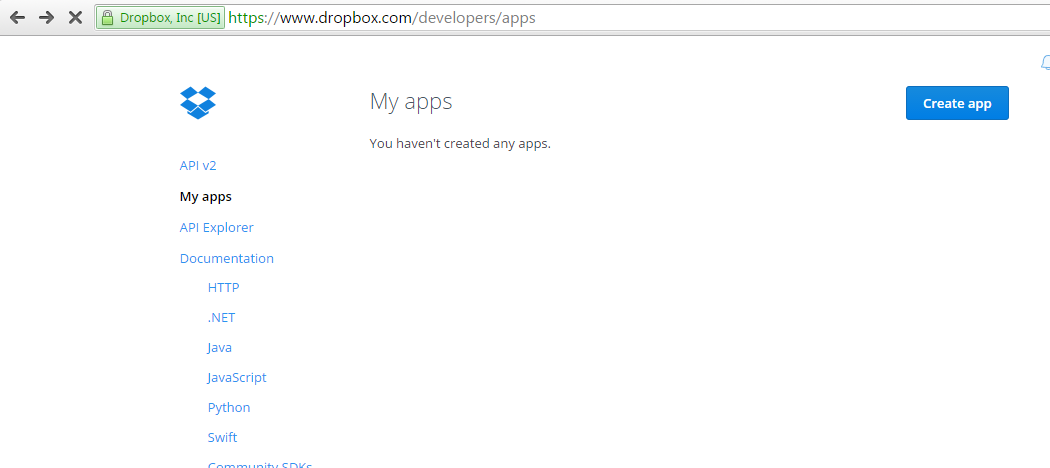
- Go to https://www.dropbox.com/developers/apps and sign in with your DropBox username and password.
Under My apps, Click on Create app.
- Select Dropbox API.
- Choose the type of access you need: Select 'Full Dropbox -- Access to all files and folders in a user's Dropbox'.
- Name your app.
- Click on create app.
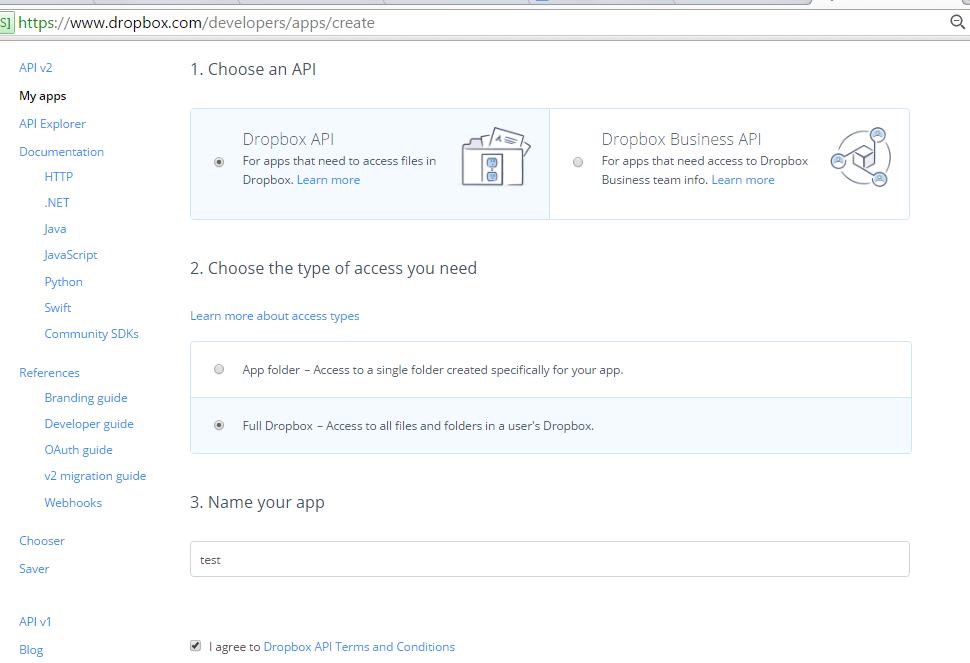
- The app will be created and you will be redirected to Settings. Under Redirect URIs, provide the following URIs and click on Add.
http://localhost:8181/dropbox-auth-finish
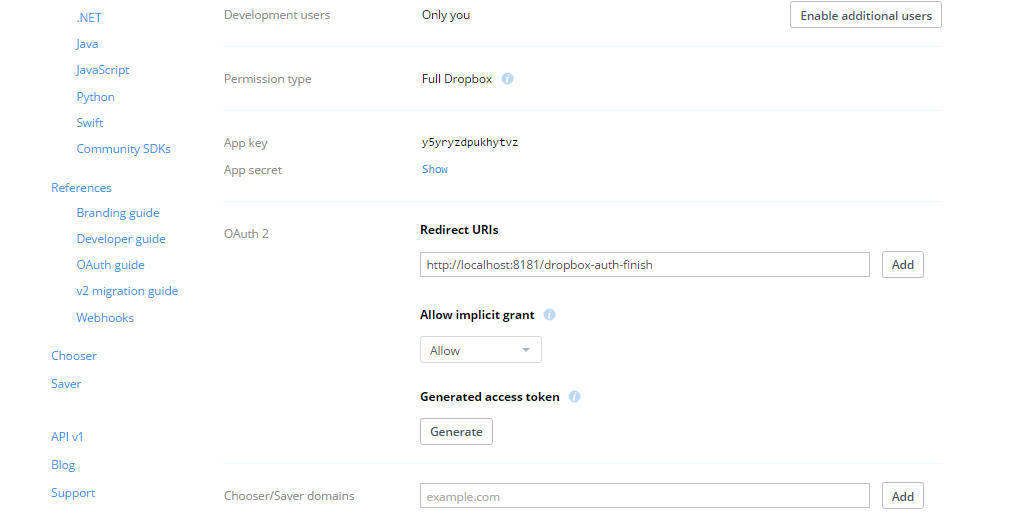
- Provide the details in C:/searchblox-dropbox/application.properties. The properties with the prefix dbxApi are Dropbox properties. The properties with the prefix SearchBlox are SearchBlox properties.
| dbxApi.clientId | ClientId from Dropbox developer console. |
| dbxApi.clientSecret | Client Secret from Dropbox developer console. |
| dbxApi.batchSize | Batch size. |
| searchblox.restJsonApi | Searchblox rest API URL. Make changes based on IPaddress and port number used. |
| searchblox.apiKey | Searchblox application's API key in Menu → Admin. |
| searchblox.colname | Name of custom collection. |
| searchblox.excludeFolders | Folders to be excluded. The URLs should be separated by commas. |
| searchblox.excludeFormats | Formats to be excluded. The formats should be separated by commas. |
| searchblox.cronExpression | Schedule value should be in cron format (http://www.nncron.ru/help/EN/working/cron-format.htm). Default value is 1 minute (0 0-59 0-23 ? * ). To index every day at midnight, the cron value for Poll is 0 0 0 * To index every hour daily, the cron value for Poll is 0 0 |
- Provide the details in C:/searchblox-dropbox/application.properties. The content details for application.properties are listed here:
dbxApi.clientId = 9pp8r5bbc8sv5ea //ClientId From dropbox developers console
dbxApi.clientSecret= exr11xtk5r0sptx //Client Secret From dropbox developers console
dbxApi.batchSize= 20

searchblox.restjsonapi  = http://localhost:8080/searchblox/rest/v1/api/add
searchblox.apiKey = 1BDECF7B40DEA1BD266C79710DEE44B6 //Searchblox APIKey
searchblox.colname = dropbox3 //same collection name as in searchblox
searchblox.excludeFolders - folder1,folder2 //folder names to exclude separated only by comma
searchblox.excludeFormats - txt,.tar,.doc,.docx,.xls,.xlsx //specify file extension to exclude, separated only by comma.
searchblox.cronExpression = 0 0 0/24 * * ?//enter cron expression (example to run every 24 hours : searchblox.cronExpression = 0 0 0/24 * * ? )
-
Make sure the SearchBlox server has been started.The log files will be written to C:\searchblox-Dropbox.
-
Port 8181 must be available before running the following command. If it is not available, change -Dserver.port number to any available port number.
-
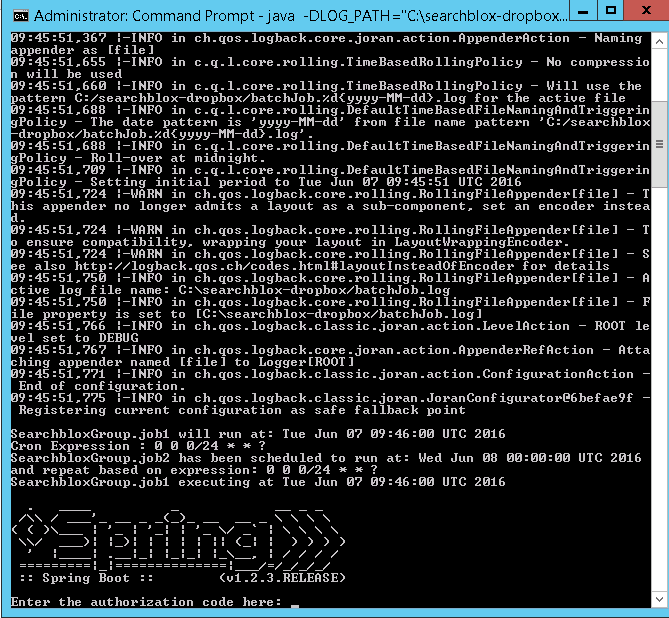
Open the command prompt, the go to C:\searchblox-dropbox and execute.
java -DLOG_PATH="C:\searchblox-dropbox" -DLOG_LEVEL=DEBUG -DpropertySource=file:C:/searchblox-dropbox/application.properties -Dserver.port=8181 -jar searchblox-dropbox-0.0.1-SNAPSHOT.jar -
If you are installing the connector for the first time, you will be redirected to a webpage requesting approval to access Dropbox. Click 'Allow'.
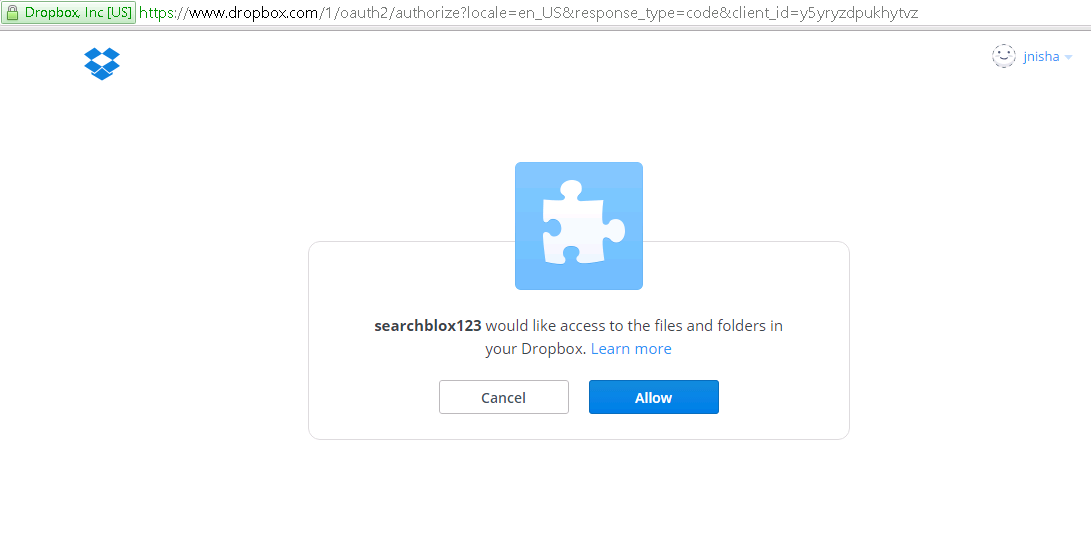
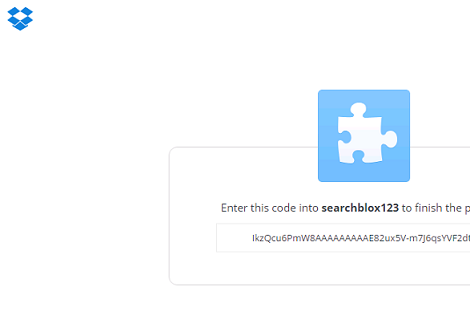
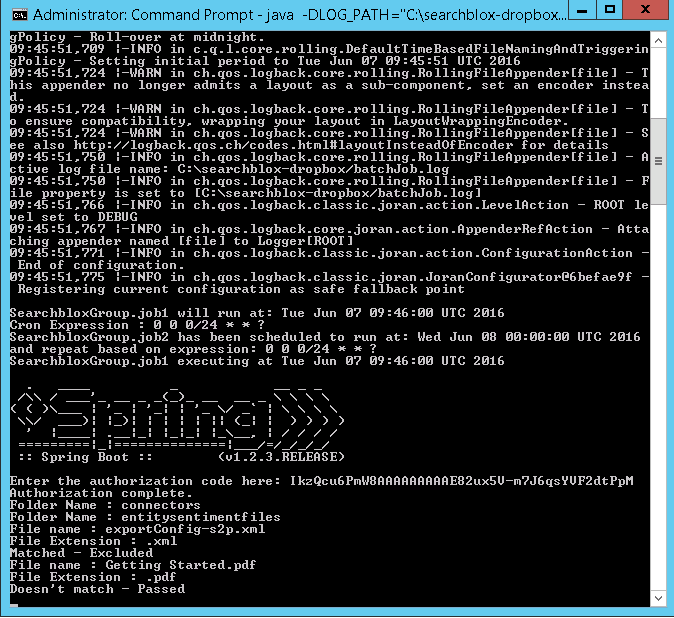
- Copy the code displayed and paste it in the execution command prompt.
Note:
The log level in the above command is set to DEBUG, which prints out the detailed explanation of requests and responses to the log. This can be changed to INFO for a short explanation.
Updated almost 5 years ago
