SearchBlox for Amazon Elasticsearch Service
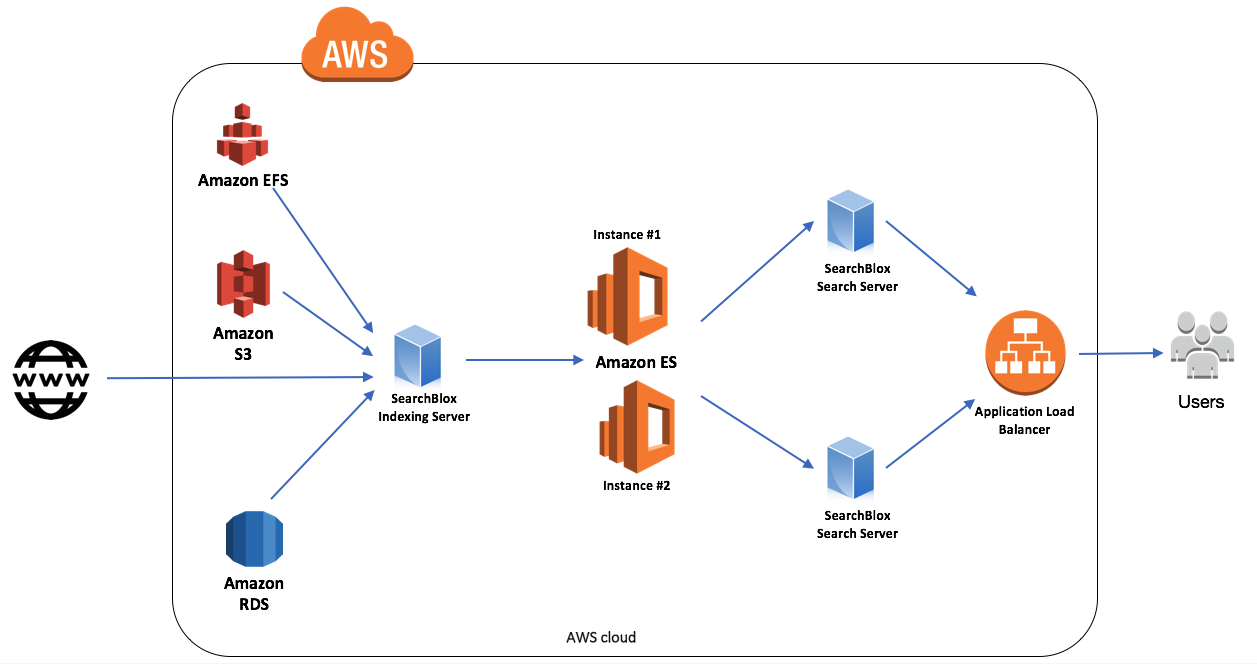
SearchBlox for Amazon Elasticsearch Service is an enterprise search platform for the AWS Cloud thats uses the Amazon Elasticsearch Service, the fully managed and scalable Elasticsearch service available on Amazon Web Services (AWS). SearchBlox for Amazon Elasticsearch Service can crawl, index and search content across multiple datasources including file systems, websites, databases and applications.
Architecture
This service consists of two types of SearchBlox servers that are available through the AWS marketplace. The first is SearchBlox IndexServer. The SearchBlox IndexServer can crawl and index content in over 40 document formats including PDFs, HTML and Microsoft Word, Excel, Powerpoint directly into Amazon Elasticsearch Service. The second type of server is the SearchBlox SearchServer. The SearchBlox SearchServer provides ready-to-use, fully customizable search front-ends including faceted search for the indices created by the SearchBlox IndexServer in the Amazon Elasticsearch Service.
Setup
AWS Region
Please make sure to select the same AWS Region in all the following steps mentioned. For example, we have chosen "us-east-1" for creating elasticsearch, SearchBlox IndexServer , SearchBlox SearchServer, etc.
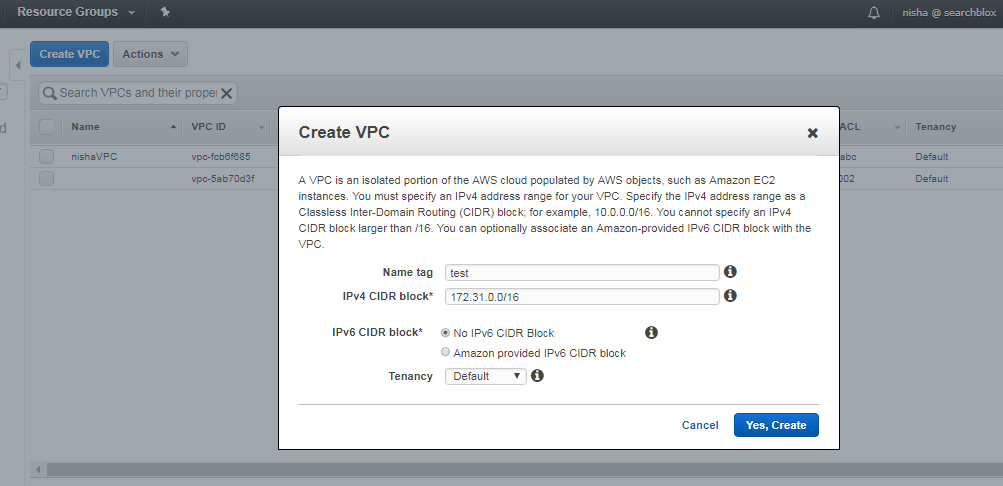
1. Create VPC
Create a VPC, which needs to be mentioned while creating a SearchBlox IndexServer at AWS Marketplace.

2. Create KeyPair
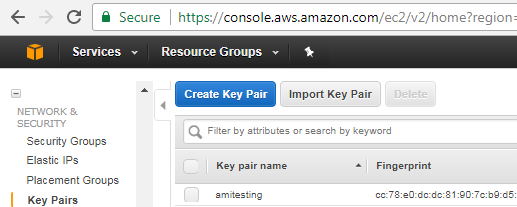
Create a Key Pair, and store it safely to access your AWS instance.
SSH
Use the key pair to SSH to the AWS instance. If you are using Windows, use puttygen to convert the pem file to ppk file. Use this ppk file to connect to the instance using putty.
3. Create IAM Role
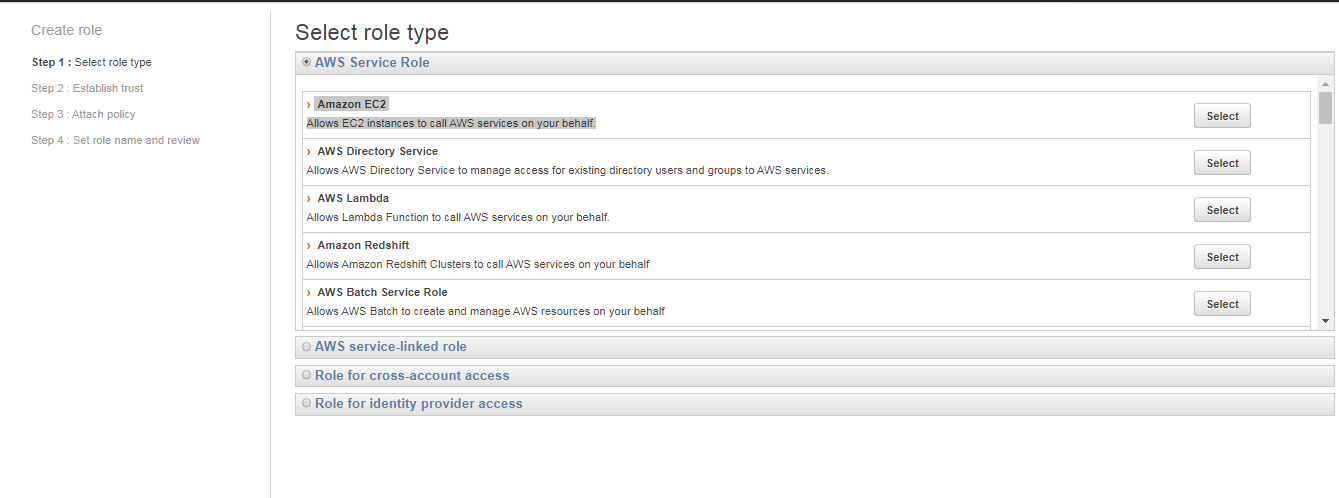
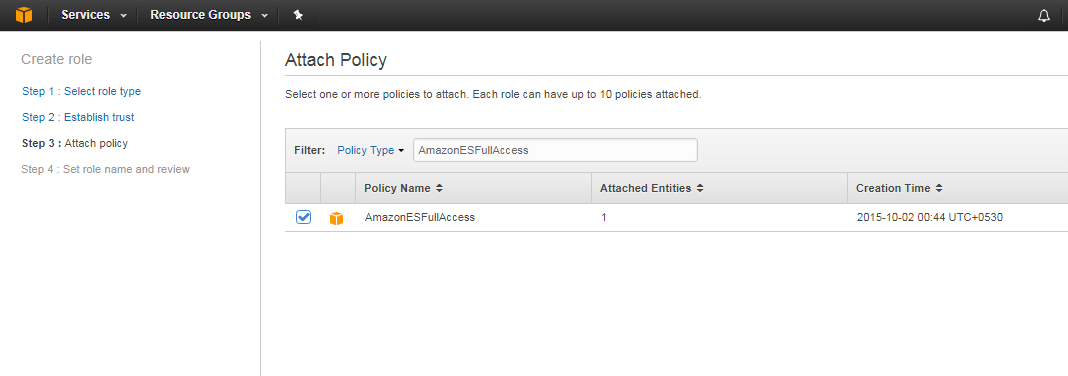
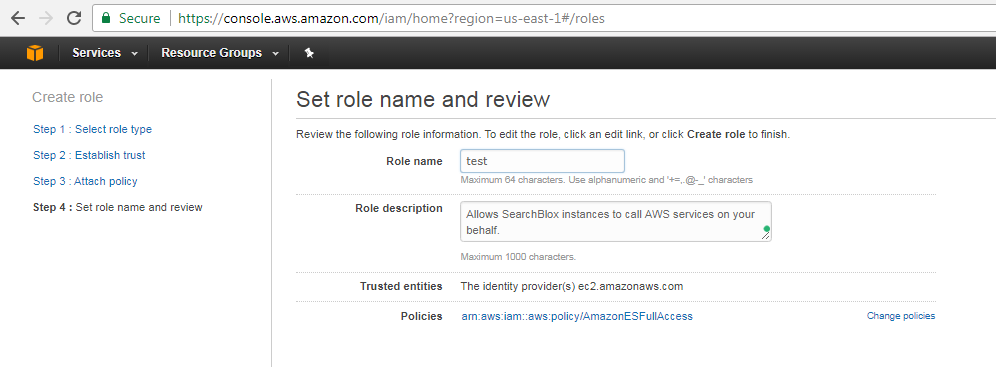
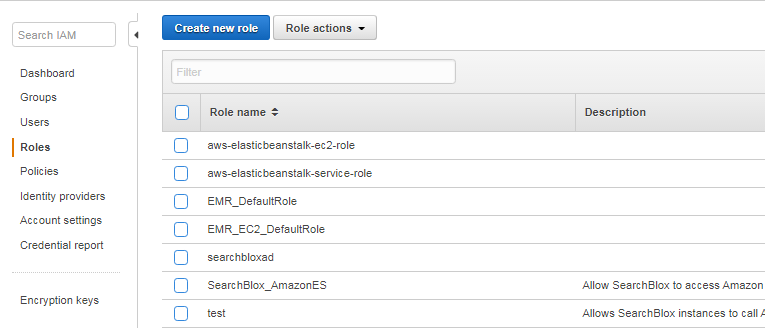
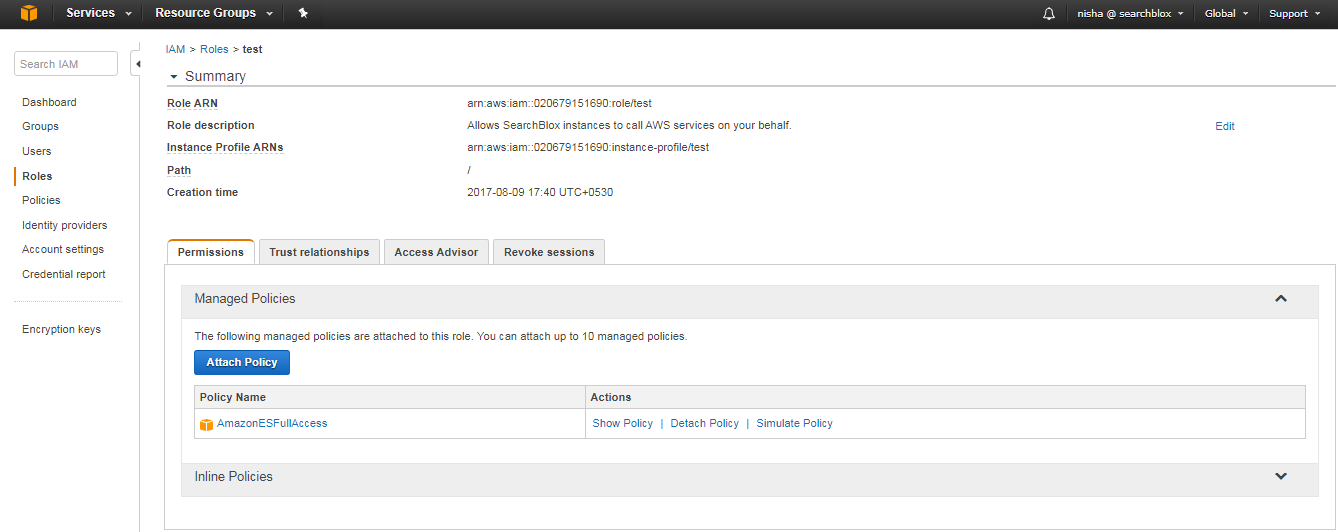
Create an IAM role called SearchBlox_AmazonES with an AmazonESFullAccess Policy, as shown in the screenshot. This role has to be configured after creating the SearchBlox IndexServer (and search server, if available) instance.
4. Create AWS Elasticsearch Domain
1.Give the Domain name and select Elasticsearch version 5.1.
Elasticsearch Version
SearchBlox currently supports only Elasticsearch 5.1 on Amazon Elasticsearch Service.
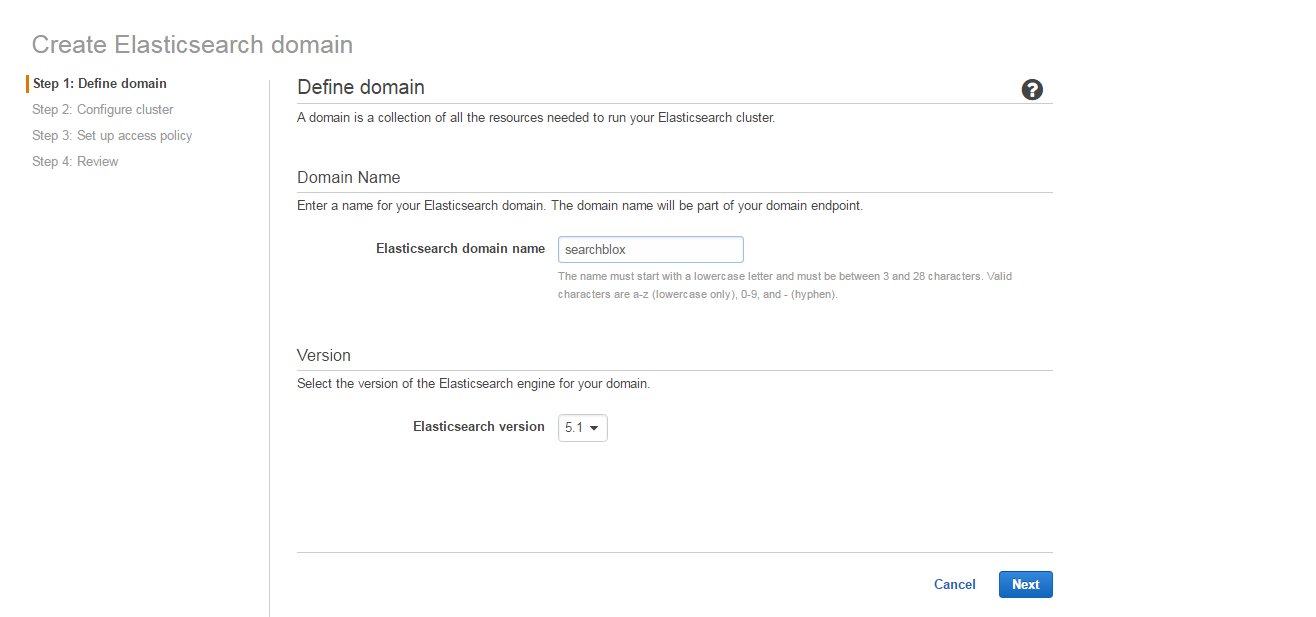
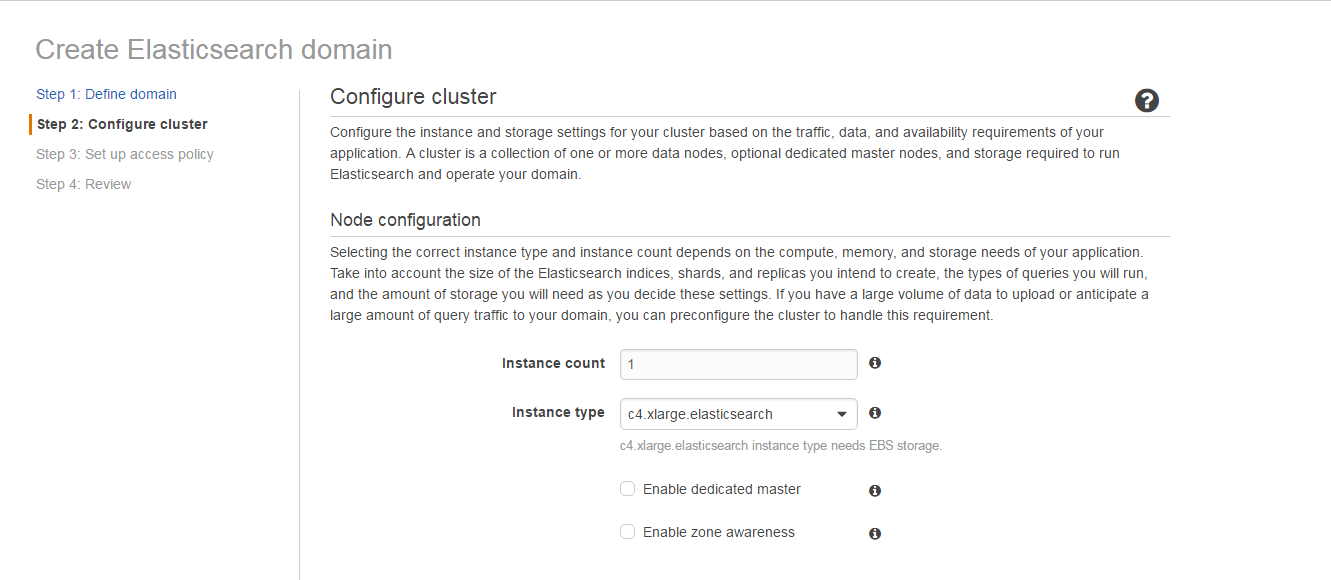
- Give the number of instances (between 1 and 20) and select the instance type as c4.xlarge.elasticsearch.
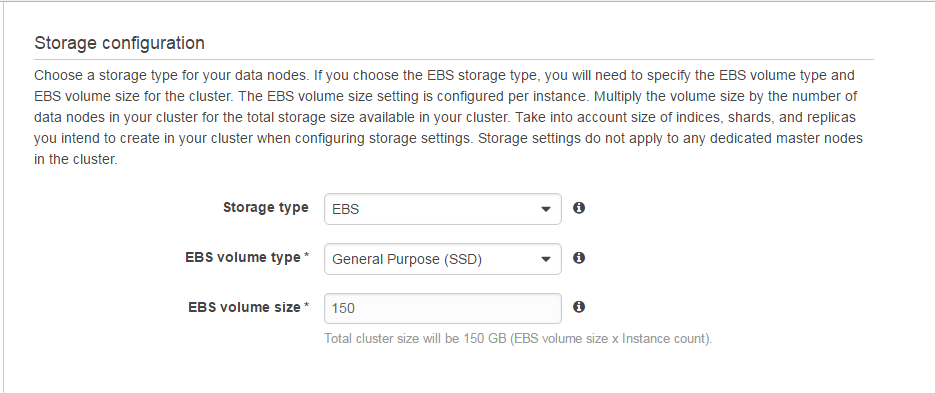
- The EBS Volume size can be set to 150GB or higher.
- You can specify the start hour where Amazon AWS takes a snapshot of the cluster. Please specify the UTC time in the field.

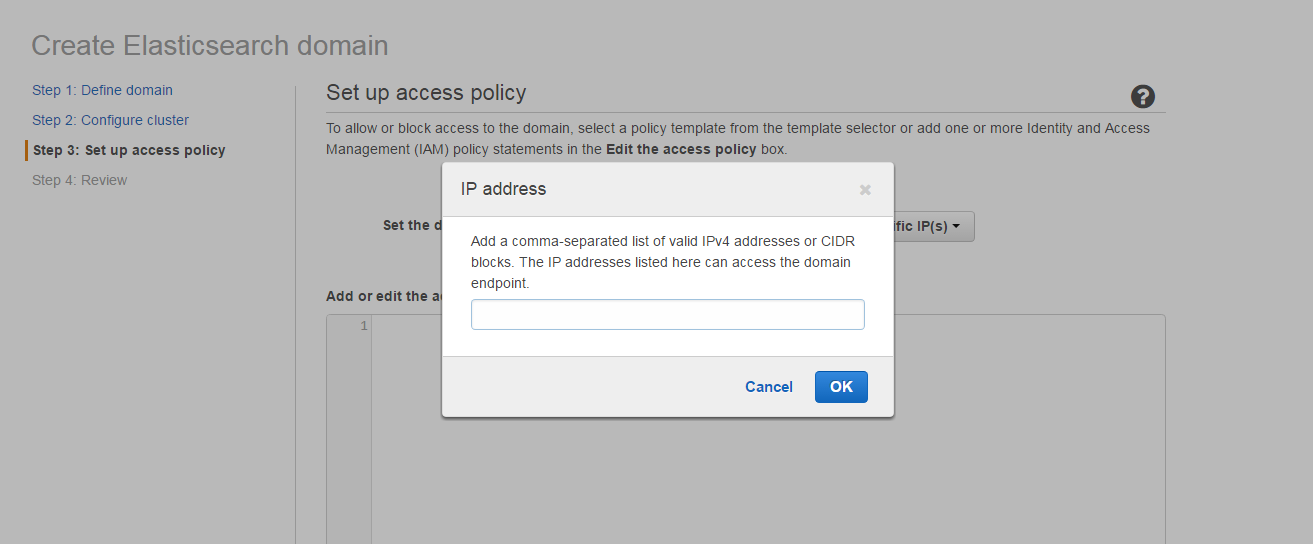
- You can specify access to and from a specific domain, i.e., index and search servers, by giving the private IPs of those servers. Select Allow access to the domain from the specific IP(s).
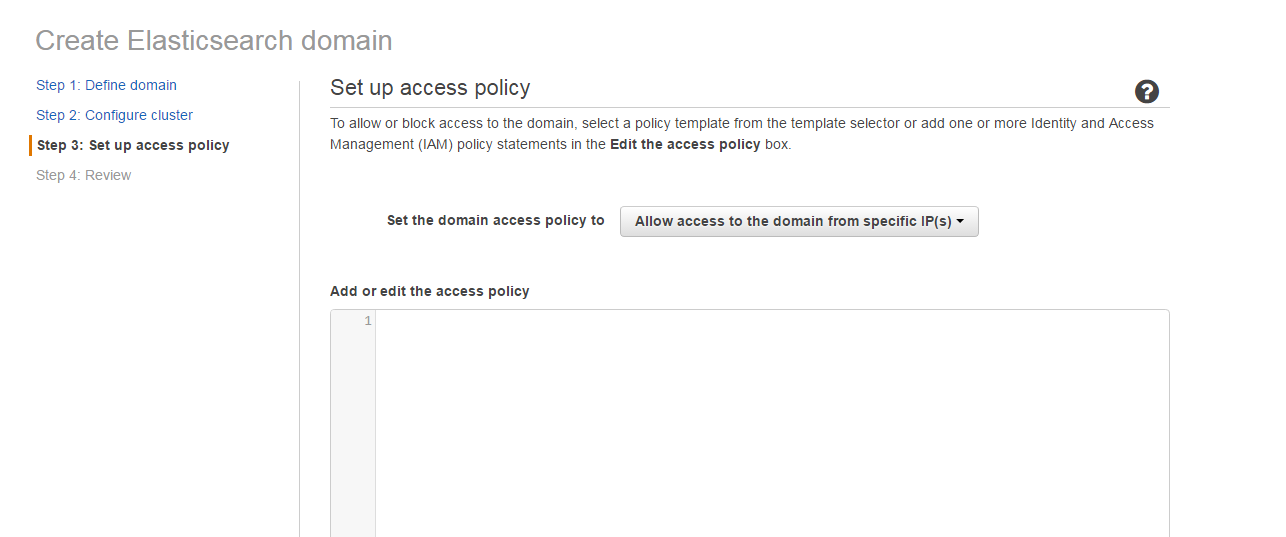
- Specify the comma-separated IPs.
- Review and create Elasticsearch domain.
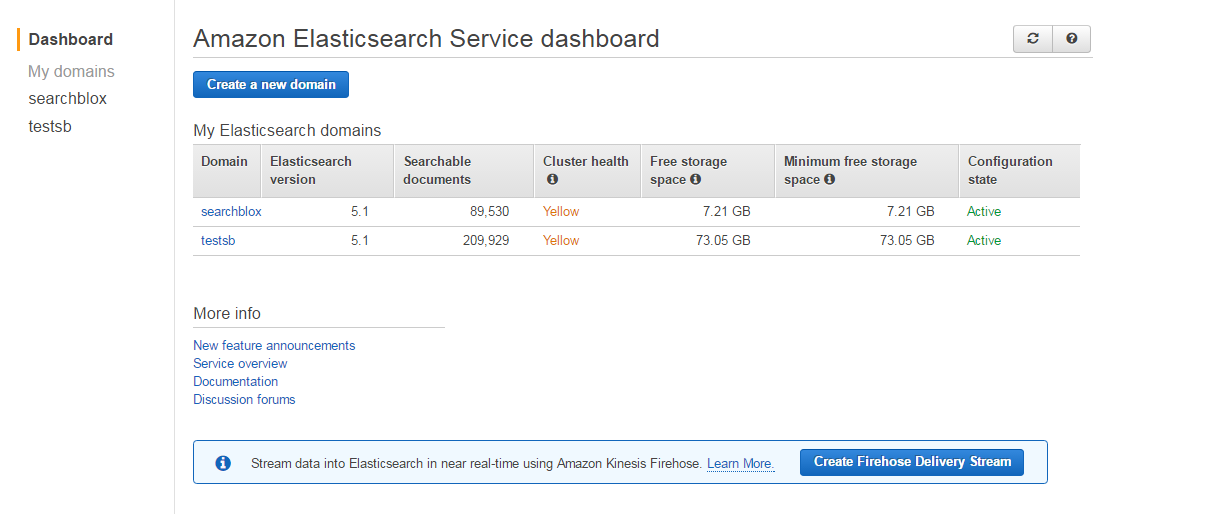
Elasticsearch Service Dashboard will have the domains created after 10 to 15 minutes.

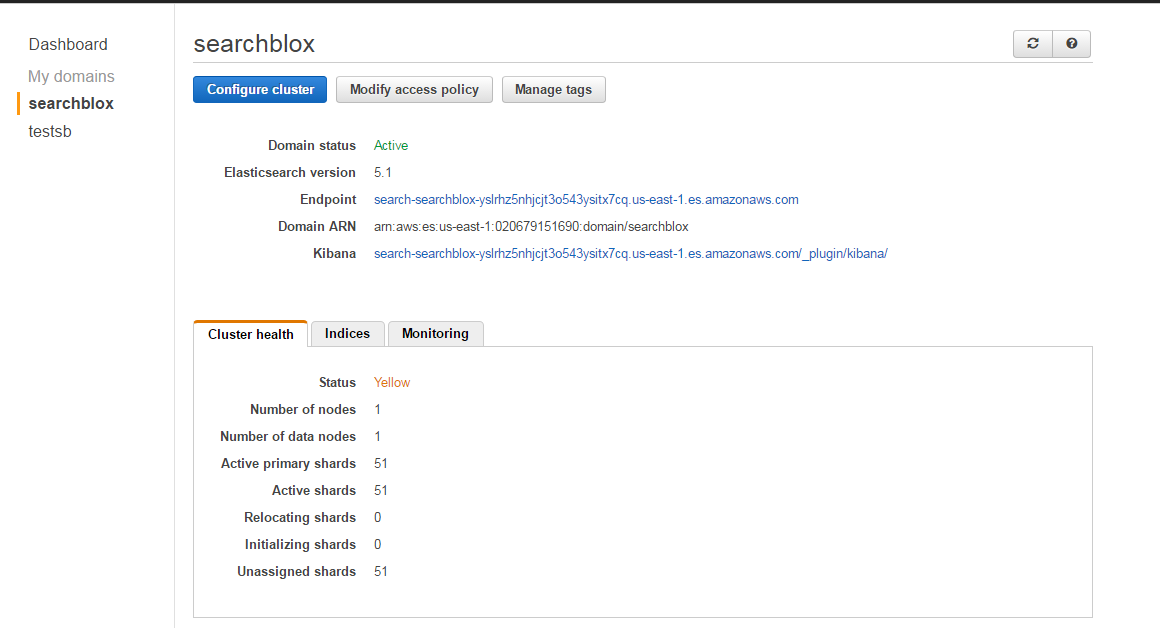
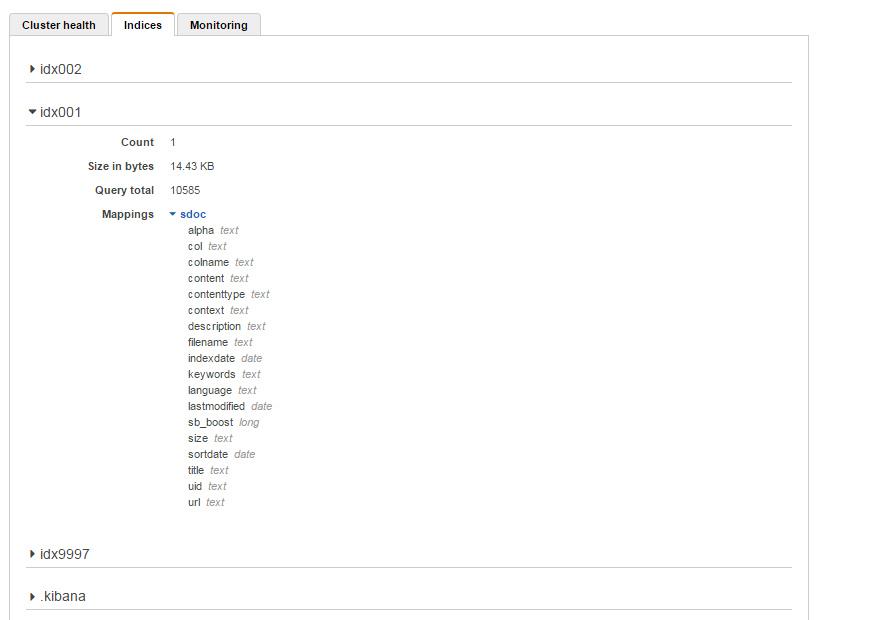
- After configuring and connecting SearchBlox IndexServer (check the next section) you can
- View Cluster health
- View Status of Indices
- View the mappings of fields within the indices
- Monitor the status of the Elasticsearch service
5. Start SearchBlox IndexServer via Amazon Marketplace.
Go to the AWS Marketplace: https://aws.amazon.com/marketplace.
Search for SearchBlox and select IndexServer. For cluster setup, create SearchBlox SearchServer after creating SearchBlox IndexServer.
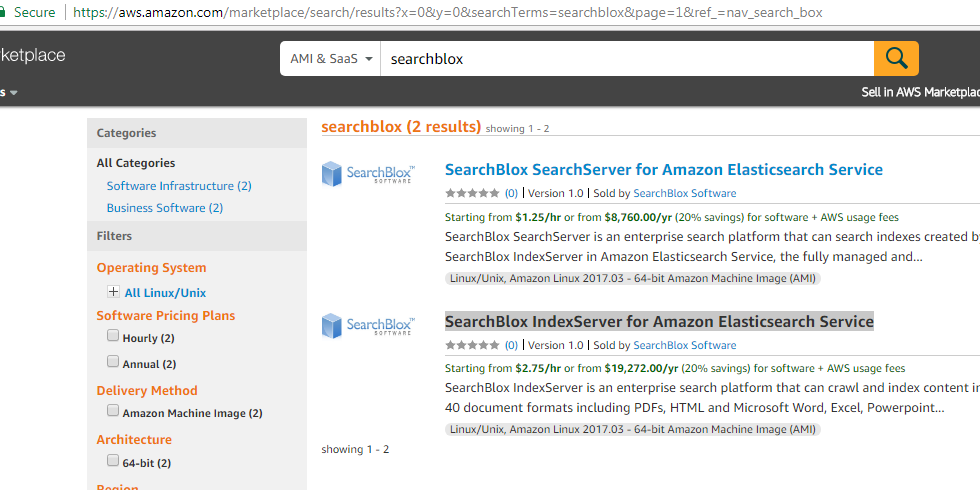
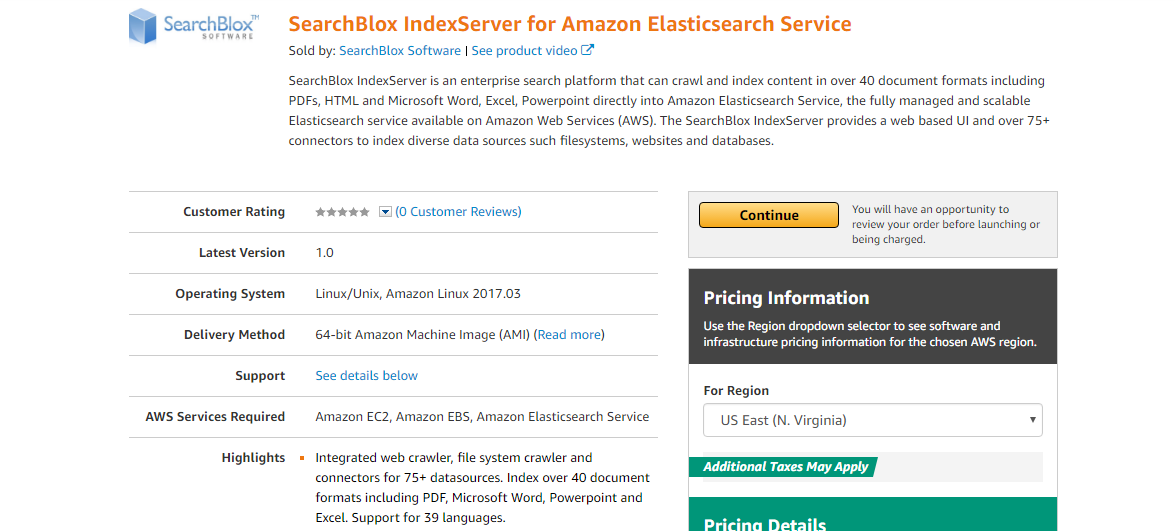
Check and click continue, which will take you to the following page:
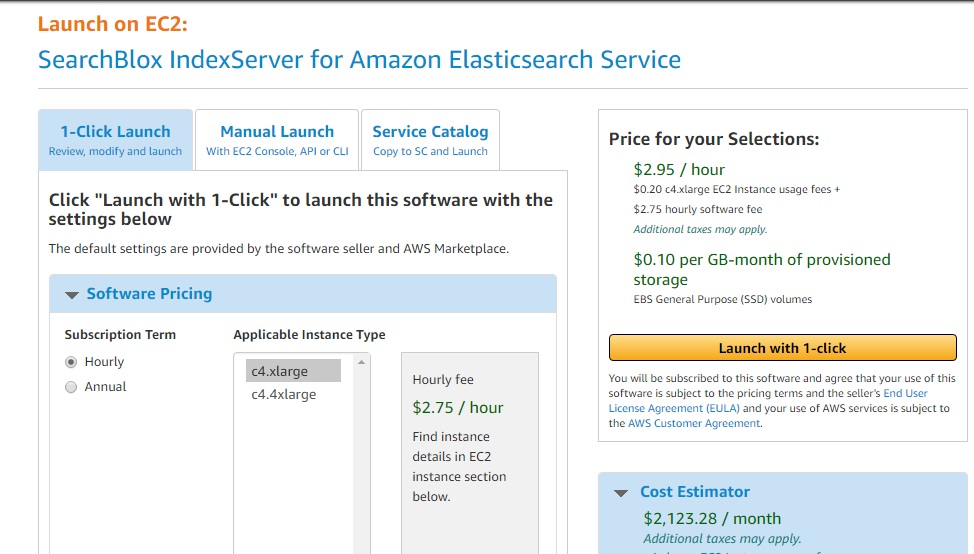
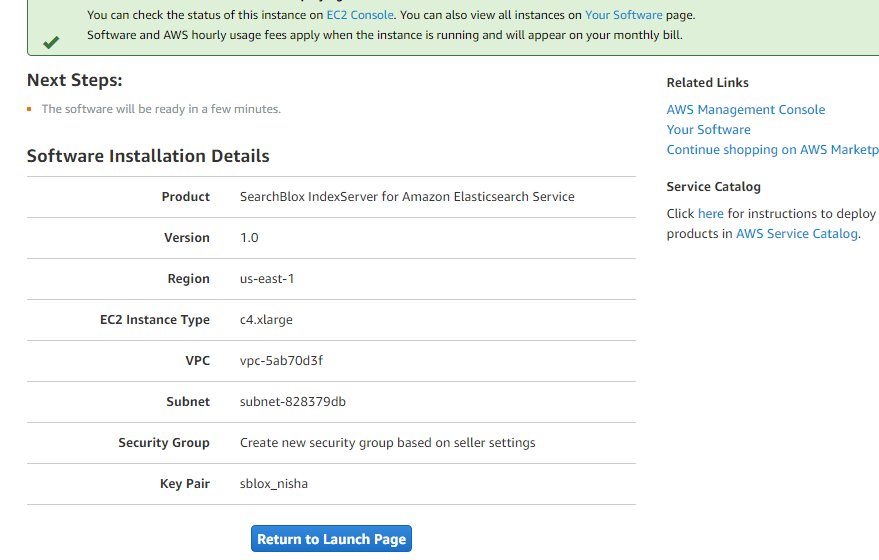
Select the VPC created in earlier step.
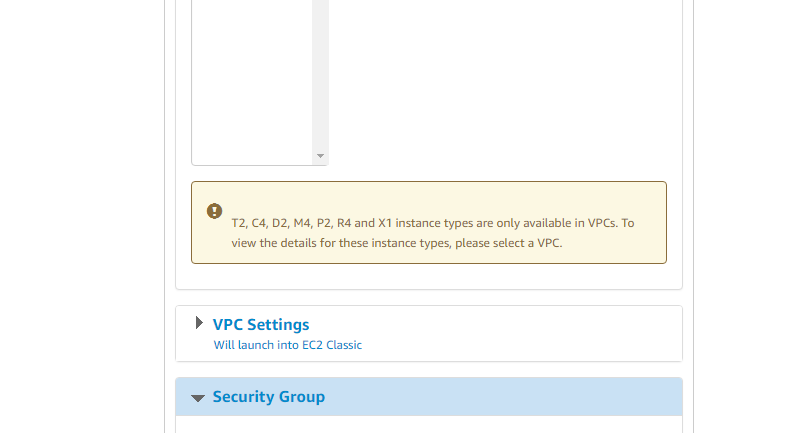
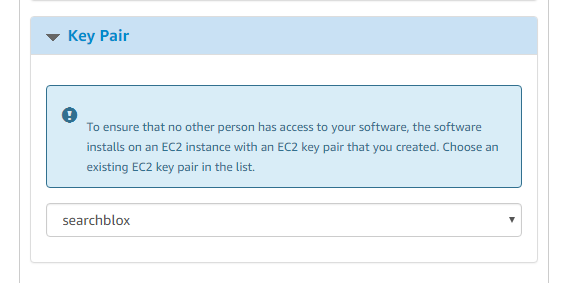
Select the Key Pair created earlier and launch the instance.
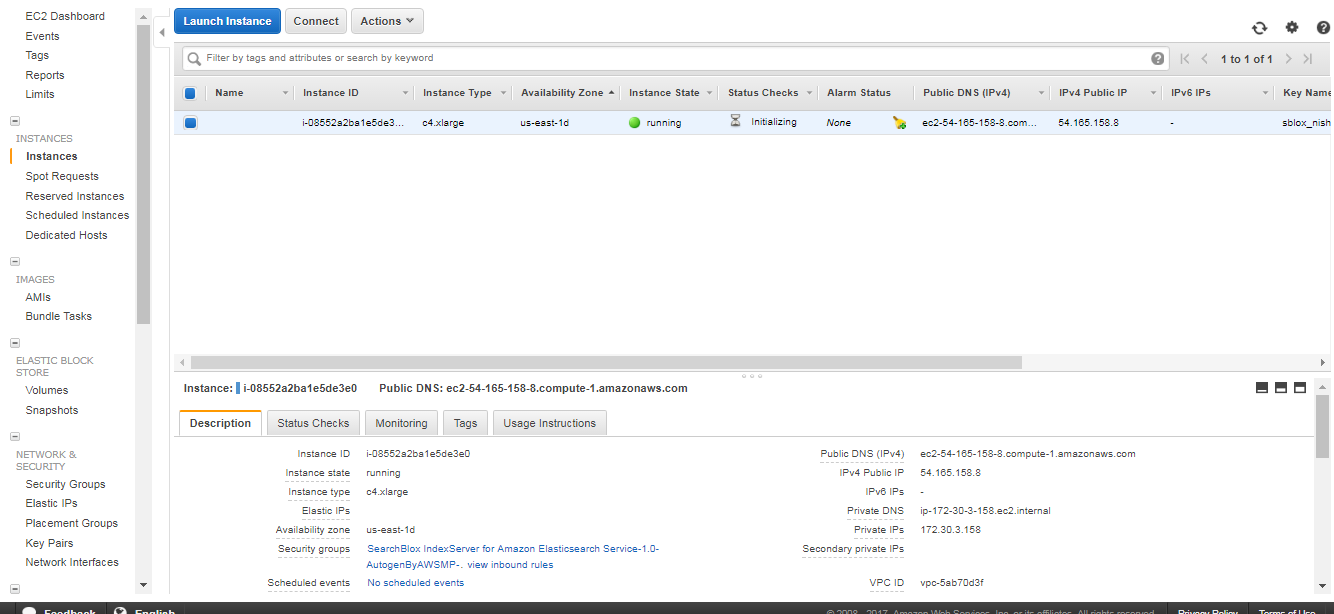
Go to EC2 Dashboard.
Integrate with IAM Role
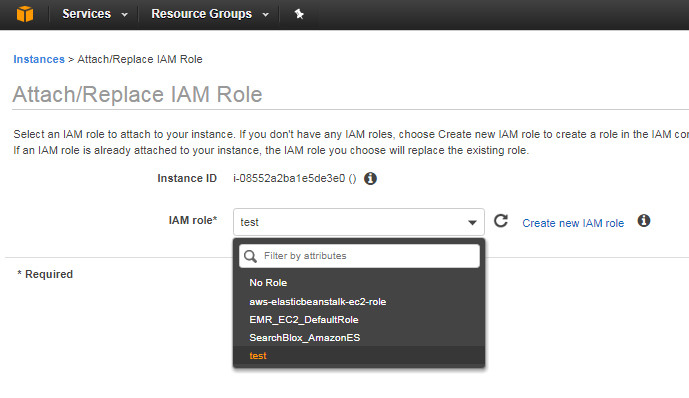
This is an important step where we integrate IAM role with SearchBlox IndexServer.
Right-click the Server Instance, then go to Instance Settings -> Attach Replace IAM Role.

Select and save the role to the instance.

SSH into SearchBlox IndexServer
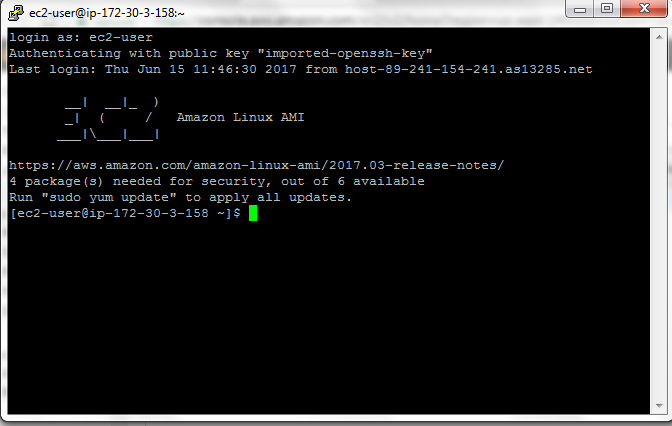
- SSH into the SearchBlox IndexServer instance using the user ec2-user and the pem or ppk file.
- Change user to jetty.
sudo su - jetty
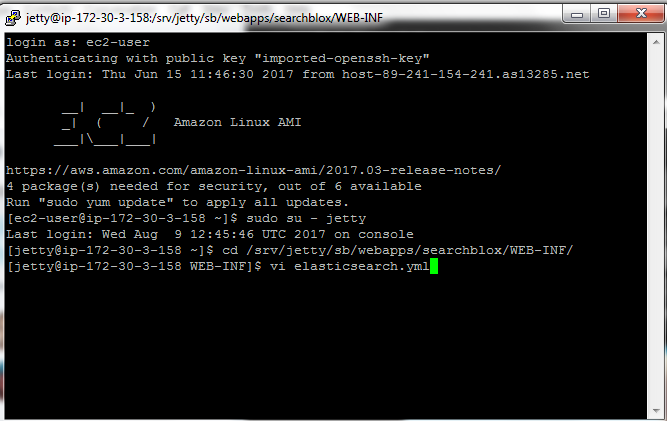
- Edit /srv/jetty/sb/webapps/searchblox/WEB-INF/elasticsearch.yml to update the properties for AWS ES domain as follows:
searchblox.aws.region: us-east-1
searchblox.aws.url:  https://search-XXXXXX.us-east-1.es.amazonaws.com
The aws.region is the region selected while creating SearchBlox IndexServer and the Elasticsearch instance, which will also be available in the AWS URL in Elasticsearch. The aws.url is the endpoint specified in the Elasticsearch instance.
- Restart SearchBlox as follows:
service jetty restart

-
Access the SearchBlox Admin Console at https://xxxx:8443/searchblox/admin/main.jsp where xxxx is the Public DNS of the SearchBlox IndexServer instance.
-
Access the SearchBlox Search URL as follows:
SearchBlox Faceted Search url : https://xxxx:8443/searchblox/plugin/index.html
where xxxx is is the Public DNS of the SearchBlox SearchServer instance.
Increase RAM memory for SearchBlox in AWS.
After logging on as a jetty user using the following command:
sudo su - jetty
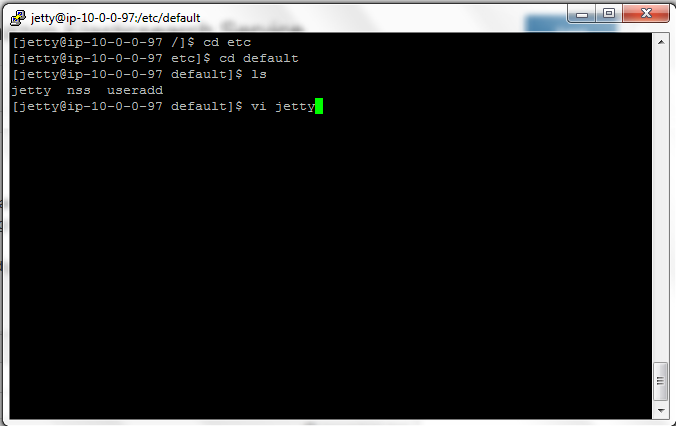
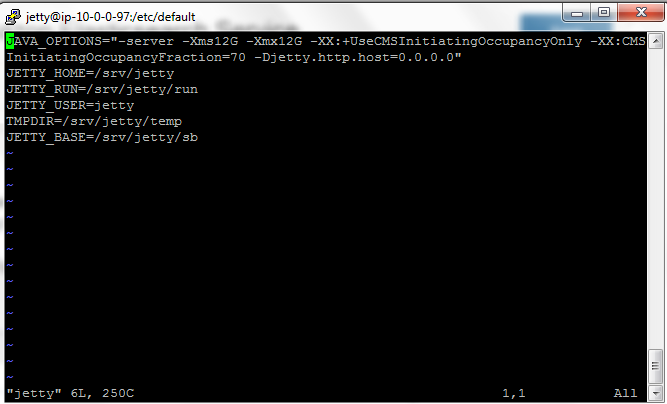
Go to edit /etc/default/jetty file and give the memory parameters in JAVA_OPTIONS. The content of the jetty file is given in the following:
12G refers 12 GB memory has been allocated to SearchBlox
JAVA_OPTIONS="-server -Xms12G -Xmx12G -XX:+UseCMSInitiatingOccupancyOnly -XX:CMSInitiatingOccupancyFraction=70 -Djetty.http.host=0.0.0.0"
JETTY_HOME=/srv/jetty
JETTY_RUN=/srv/jetty/run
JETTY_USER=jetty
TMPDIR=/srv/jetty/temp
JETTY_BASE=/srv/jetty/sb
Kibana and Amazon Elasticsearch Service
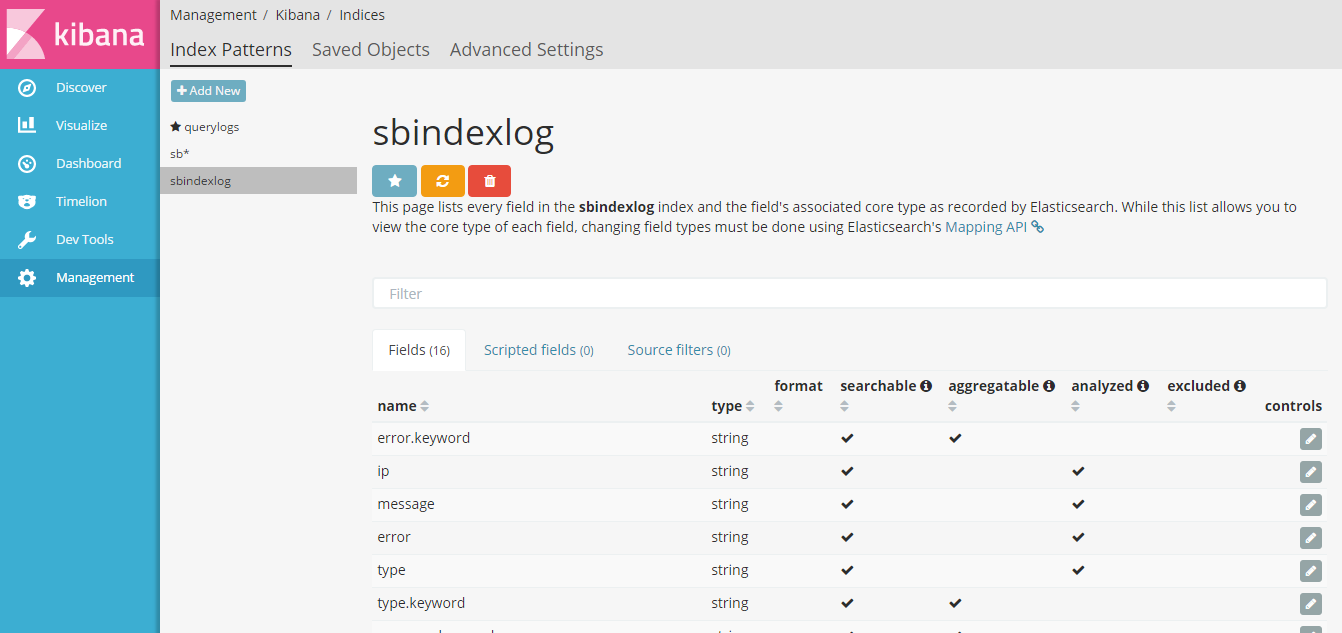
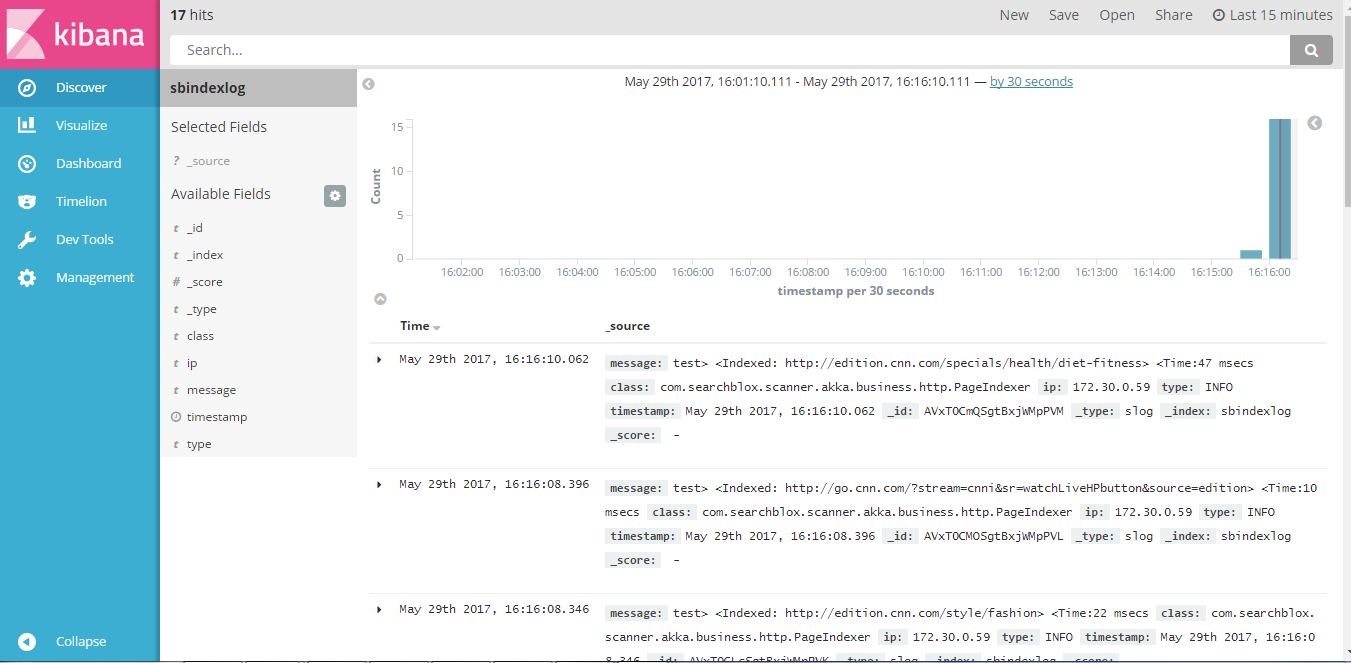
- Data indexed, as well as logs, are stored in the Elasticsearch domain. To view the logs, you can map the Elasticsearch index named sbindexlog in Kibana and search for the entries.
The Kibana link will be available in the Domain dashboard. Refer to the following screenshot:
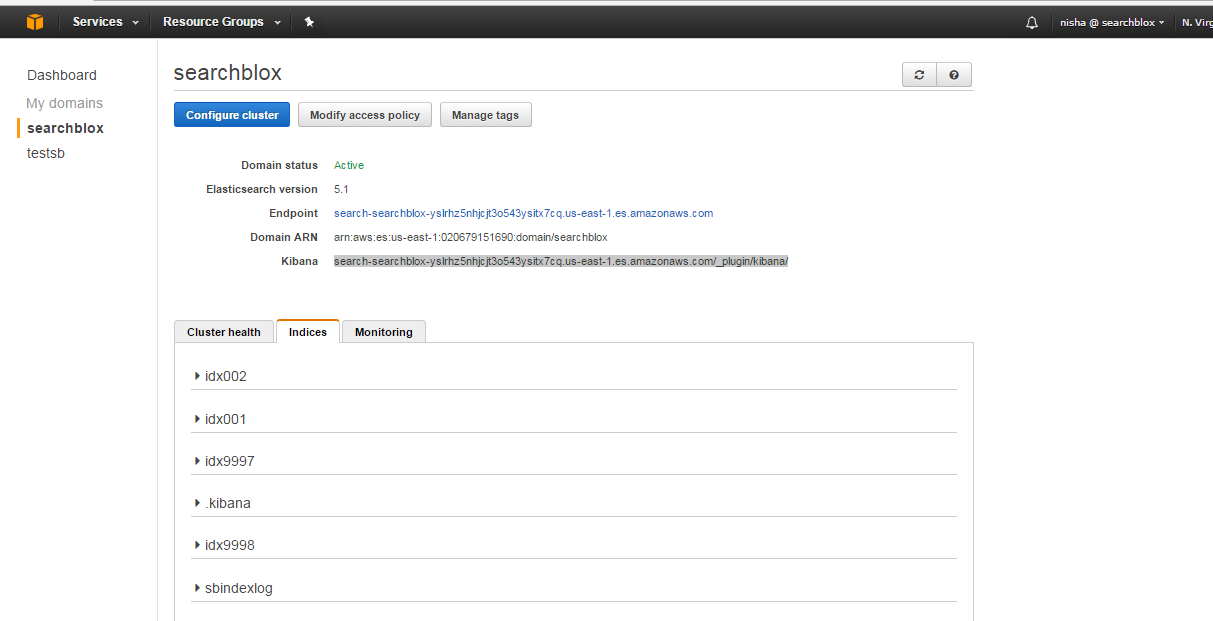
- Click the link and access Kibana.
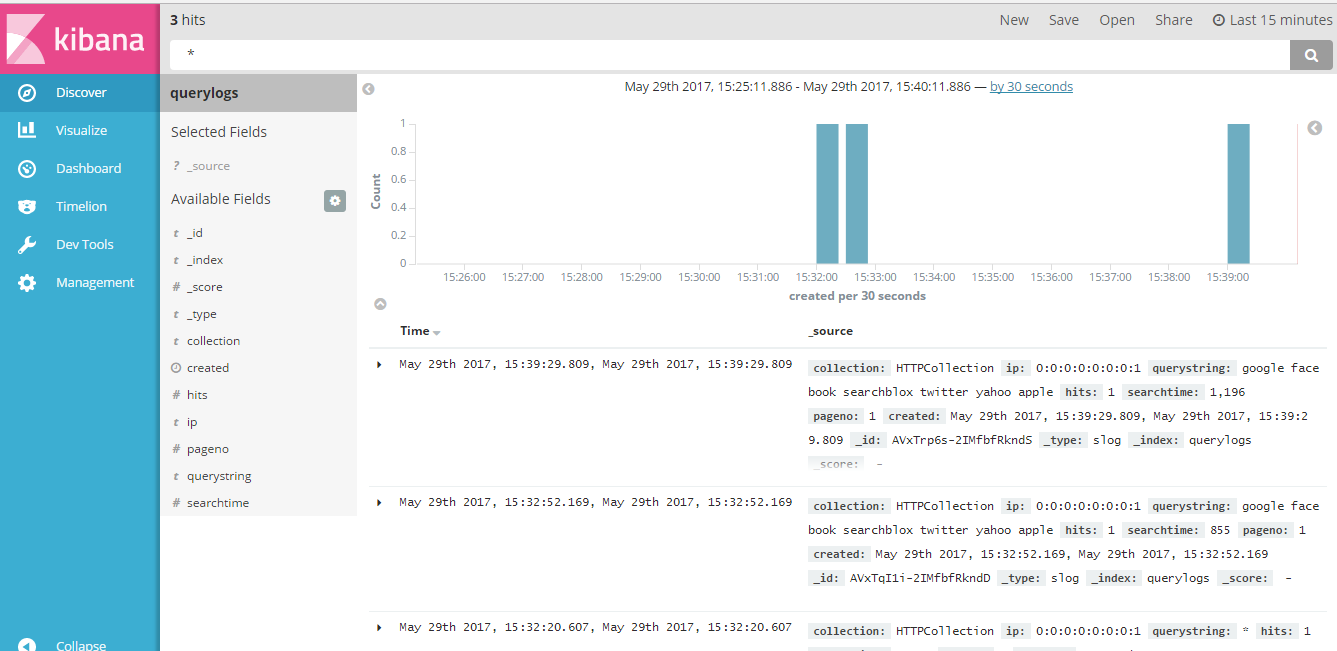
- Adding log indices in Kibana.
The two logs that can be added in Kibana are sbindexlog and sbstatuslog. You can add both logs in one index pattern.
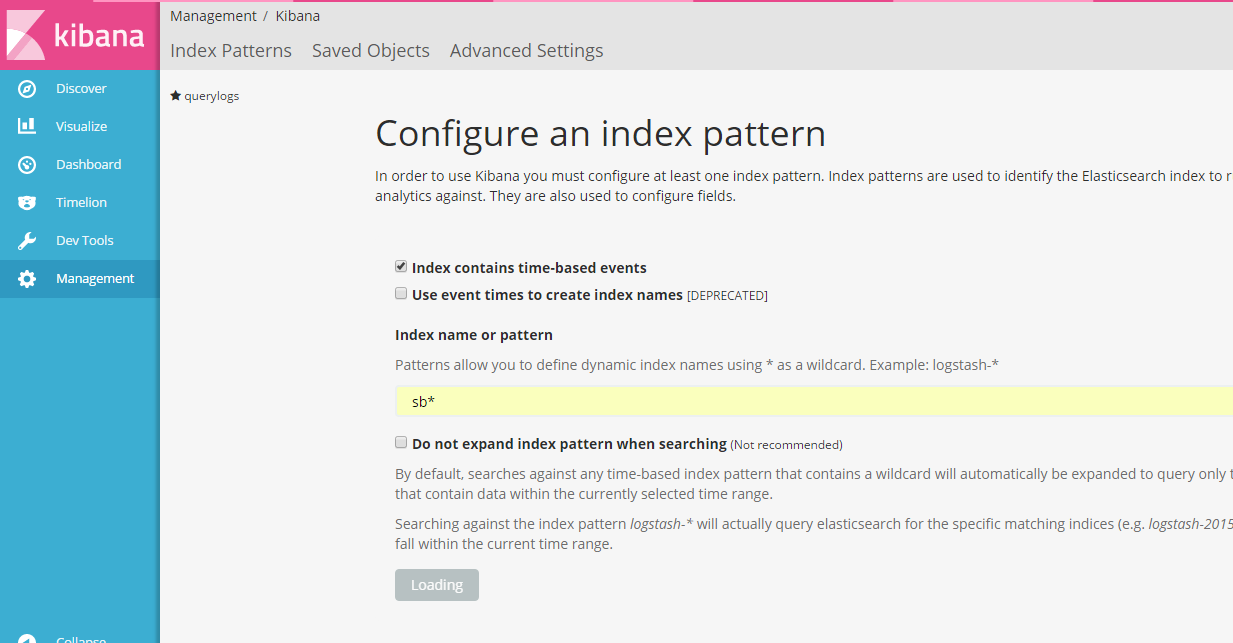
Alternatively, you can create a separate index pattern for each log.
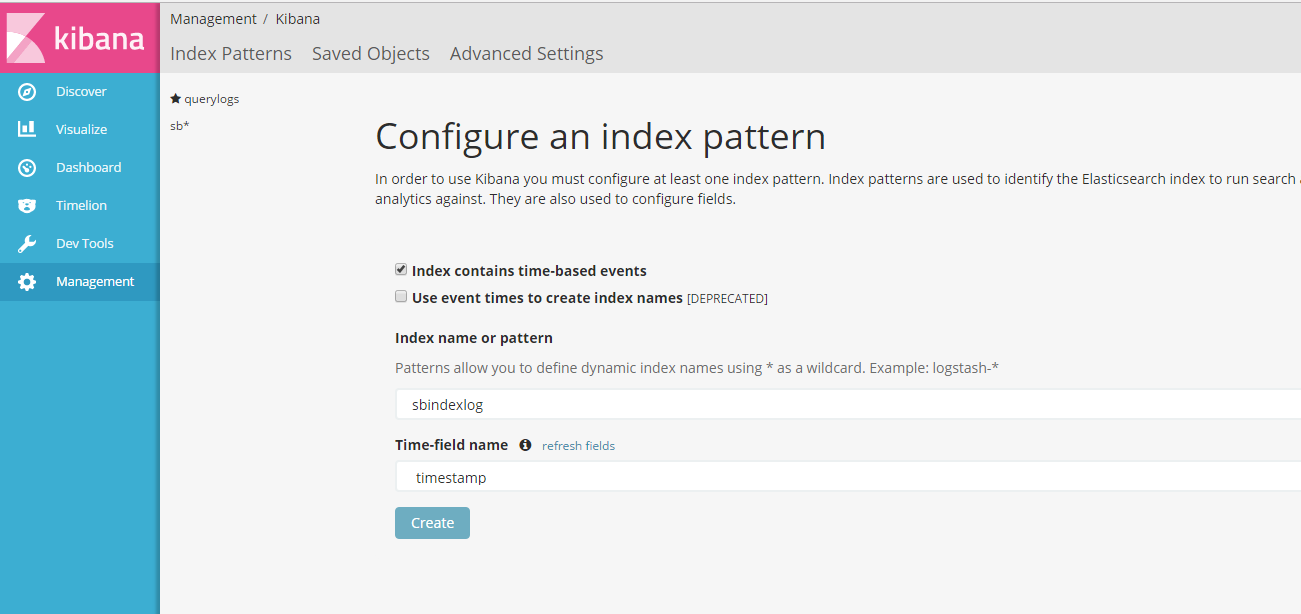
You can also query the logs based on URL, timestamp, etc.
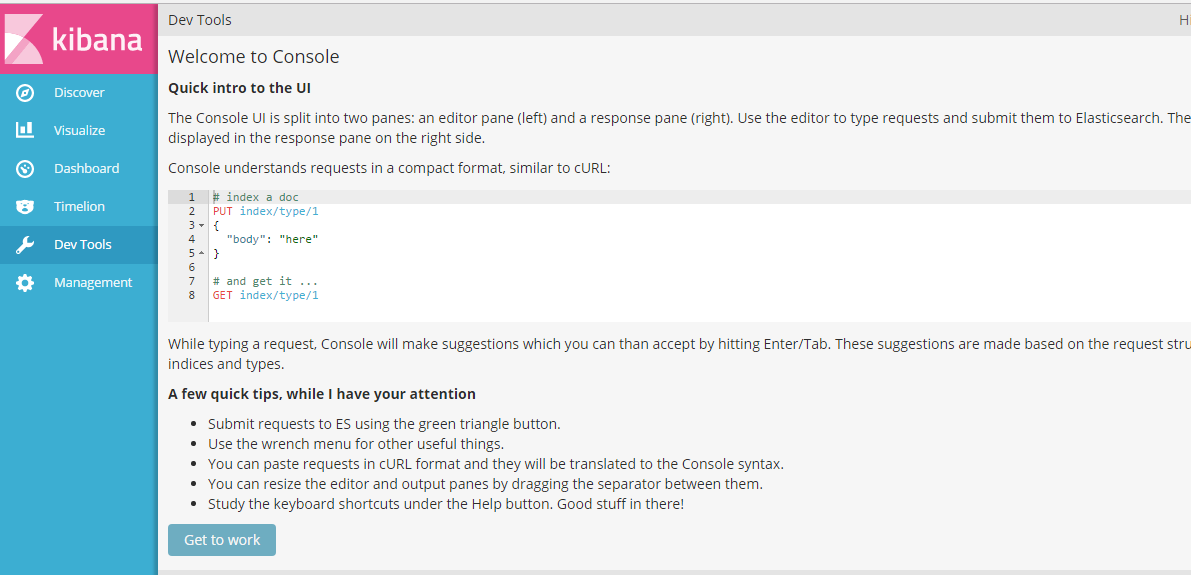
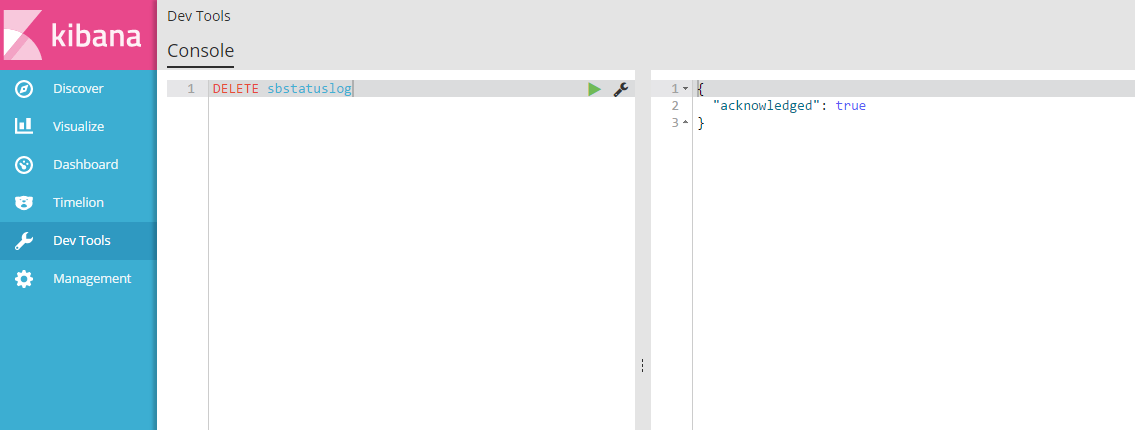
- It is also possible to delete indices via Kibana. Go to Dev Tools in the left-hand menu. * To delete the Elasticsearch indices, click Get to Work .
Updated over 4 years ago
