Connectors UI
Connectors UI
SearchBlox provides connector UI to index content from applications that are not directly supported by SearchBlox through collections.
Please find the following list of data sources, on clicking the link you would be redirected to the help page
Box Data Source
Confluence Data Source
Filesystem Crawler
GitHub Data Source
Google Drive Data Source
Google Sites Data Source
Alfresco Data Source
Drupal Data Source
One Drive Data Source
Azure File Data Source
Azure Blob Data Source
Sharepoint 2013 Data Source
SharePoint Online Data Source
- Contact support@searchblox for Connectors UI utility.
- Download Connectors UI and save it in local.
- Start connectorsgui as Administrator.

- Navigate to http://localhost:8085.
Here, by default Connectors UI will be running on 8085 port. You can even change the port in <CONNECTORS_UI_PTAH>/config.xml file
Create an account
- Create an account to use Connectors UI.
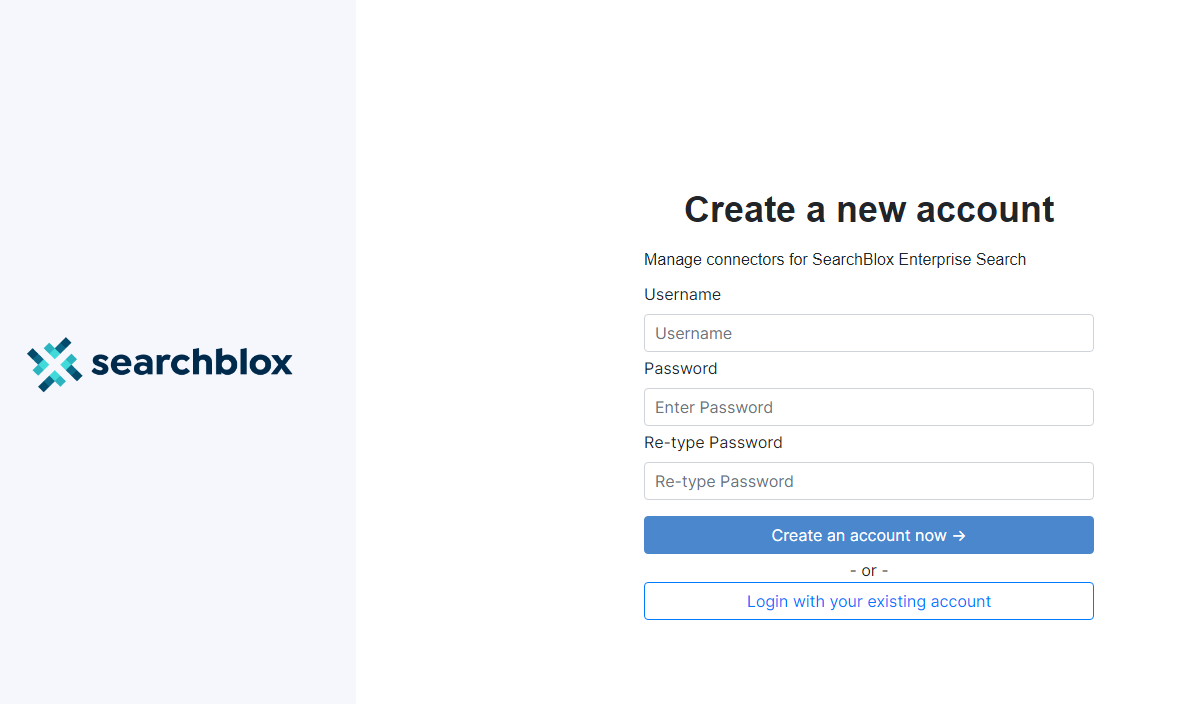
Create an endpoint
- After creating an account, click on the "+" icon on the top right to create a new endpoint.

-
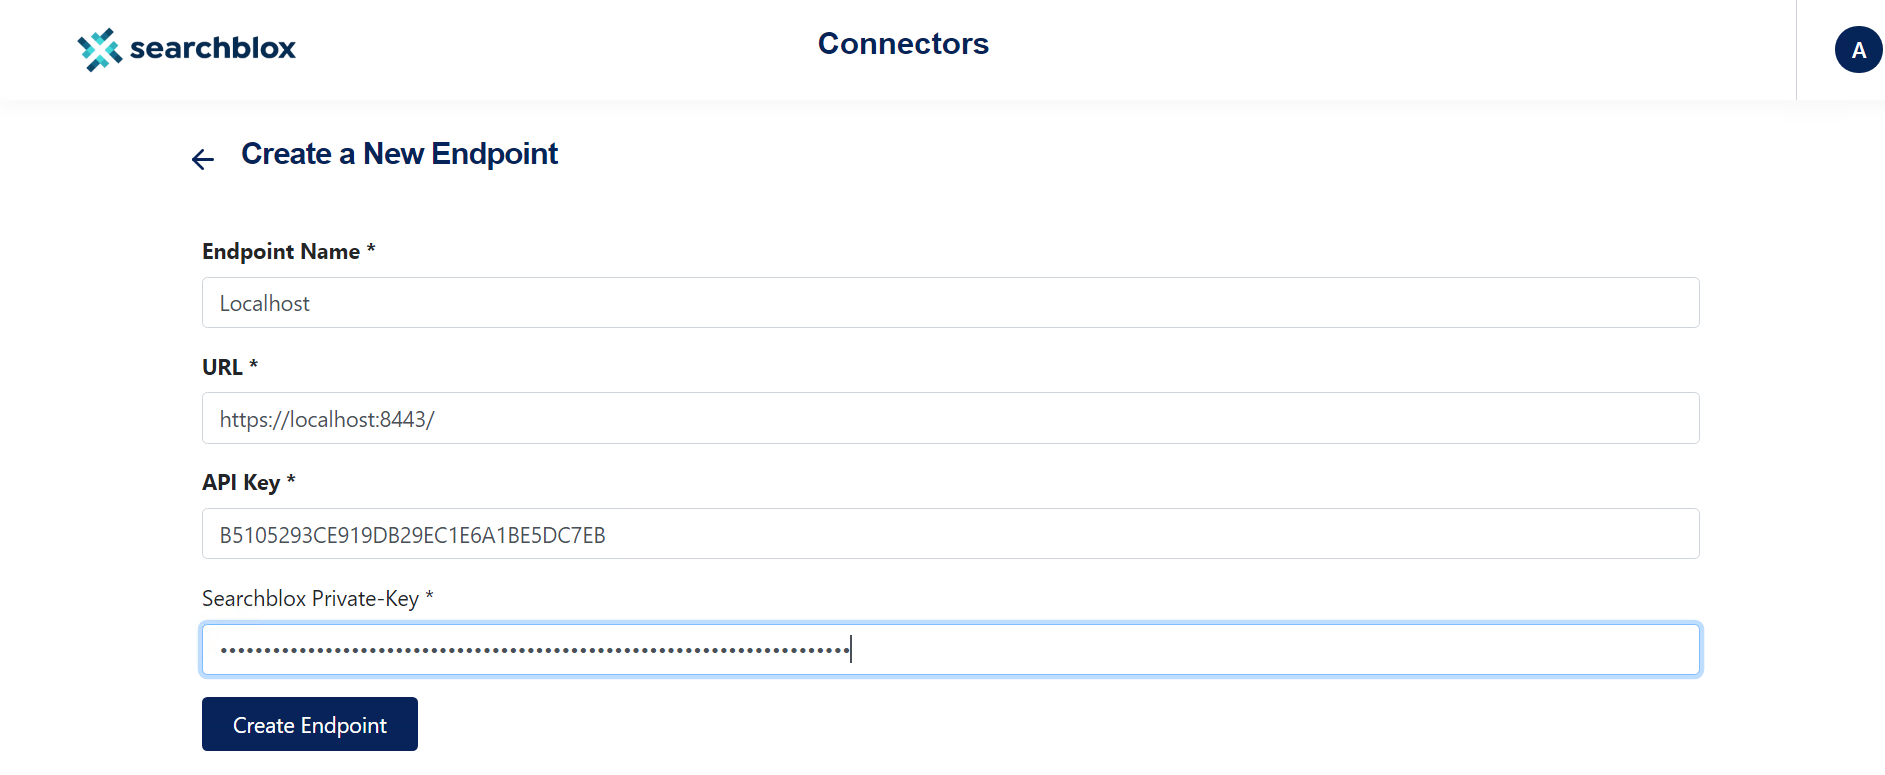
Provide the following details to create an endpoint:
- Endpoint name should be unique for each account created.
- URL, the SearchBlox endpoint (https://localhost:8443/). "localhost" can be replaced with IP address where SearchBlox is installed.
- API key of the above SearchBlox instance
- SearchBlox Private-Key can be found on the SearchBlox user tab for SBAdmin or Admin Users.
-
Make sure the SearchBlox server is up and running before creating an endpoint. Otherwise, it will throw an error.
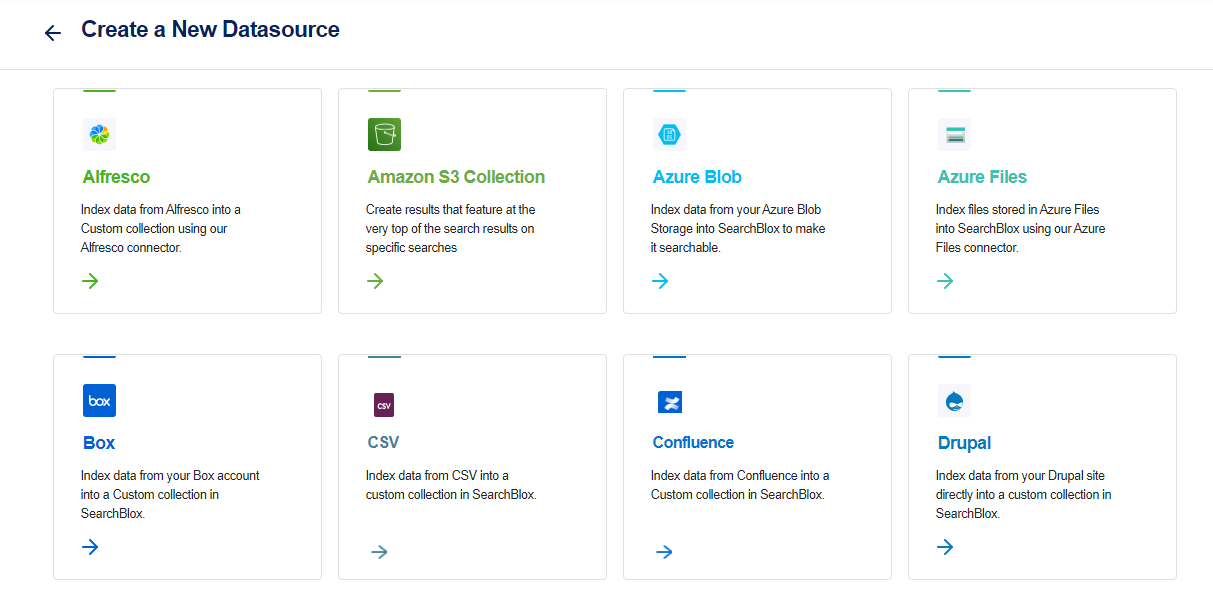
Create a new Data Source
- Click on Setup a new Data Source to index the documents using a connector.

- Select the type of Data Source with which you want to index the documents from the UI.
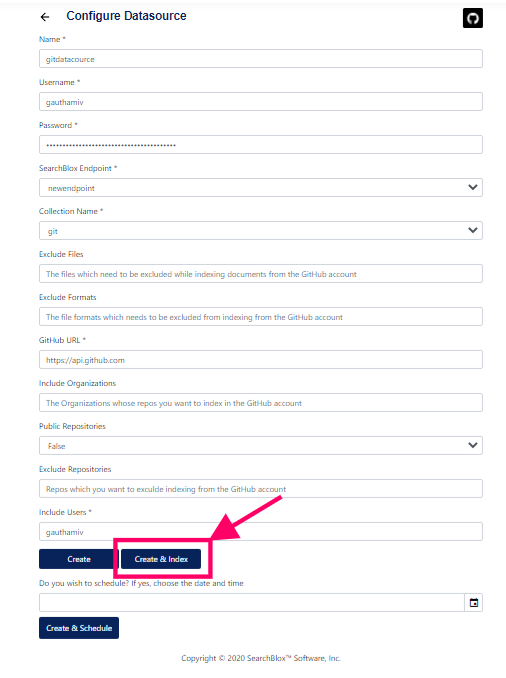
- Provide all mandatory fields and click on Create & Index.
- Make sure you have a corresponding Custom Collection in the SearchBlox server to index the documents.
- State will be RUNNING while the connector is indexing the documents.


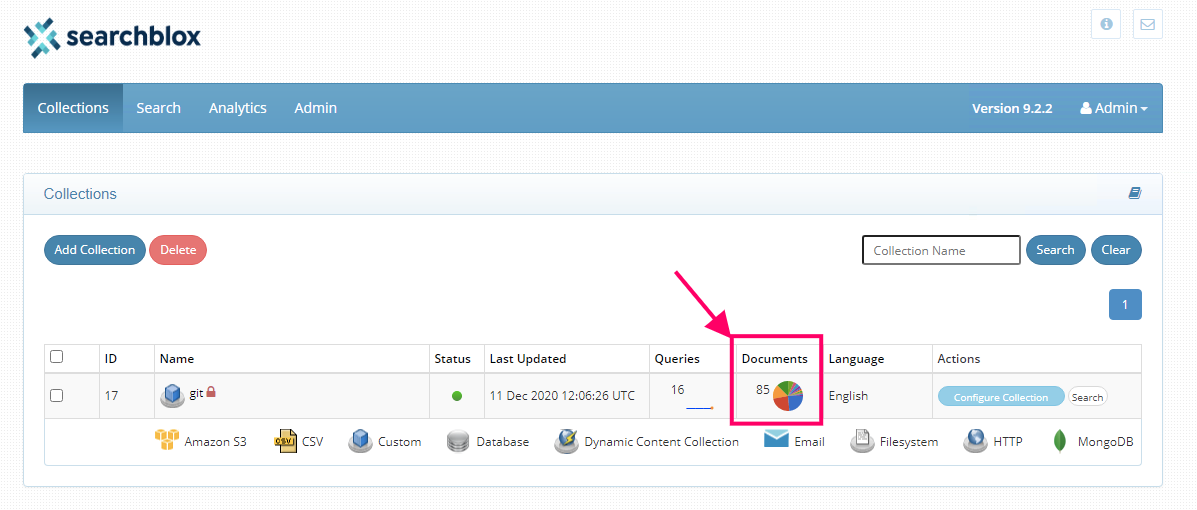
- Once the state changes to DONE, navigate to SearchBlox server and confirm if the documents are indexed in that particular Custom Collection.
Updated about 4 years ago
