Backup and Restore
Snapshot and Restore for Standalone Server
Prerequisites
- To perform a snapshot and restore, make a copy of config.xml:
- Create the folder
C:/SearchBloxServer/backup/datain Windows,
/opt/searchblox/backup/datain Linux. - Please give a relevant path as per your OS in the following steps.
Steps to Take Snapshot
- Enter the path where you want to store the indexed data in elasticsearch.yml
path.repo: C:/SearchBloxServer/backup/data - Restart SearchBlox to reflect the changes.
(We recommend using Kibana dev tool for running Snapshot & Restore commands) - Create a repository
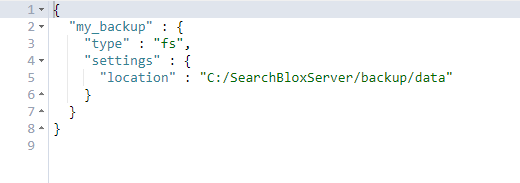
PUT /_snapshot/my_backup
{
"type": "fs",
"settings": {
"location": "C:/SearchBloxServer/backup/data"
}
}
Expected Response:

Kibana Console Output
- Confirm that the repository has been created
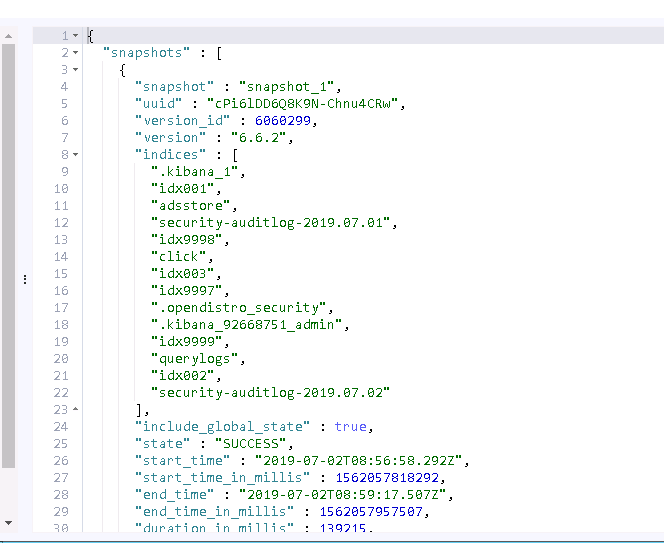
GET /_snapshot/_all
Expected Response:

Kibana Console Output
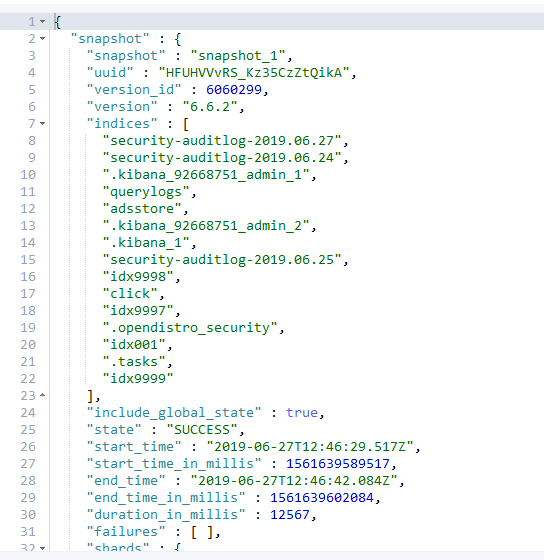
- Taking a Snapshot of the cluster
PUT /_snapshot/my_backup/snapshot_1?wait_for_completion=true
Expected Response:

Kibana Console Output
- Copy the folder C:/SearchBloxServer/backup to the new standalone server on the same path.
Restore Data in another Server
- Go to elasticsearch.yml and enter
path.repo: C:/SearchBloxServer/backup/data - Copy the config.xml from the indexing server to
<SEARCHBLOX_INSTALLATION_PATH>/searchblox/WEB-INF/config.xml - Restart SearchBlox.
- Register a snapshot in the new server.
PUT /_snapshot/my_backup
{
  "type": "fs",
  "settings": {
      "location": "C:/SearchBloxServer/backup/data"
  }
}
Expected Response:

Kibana Console Output
- Check the snapshot
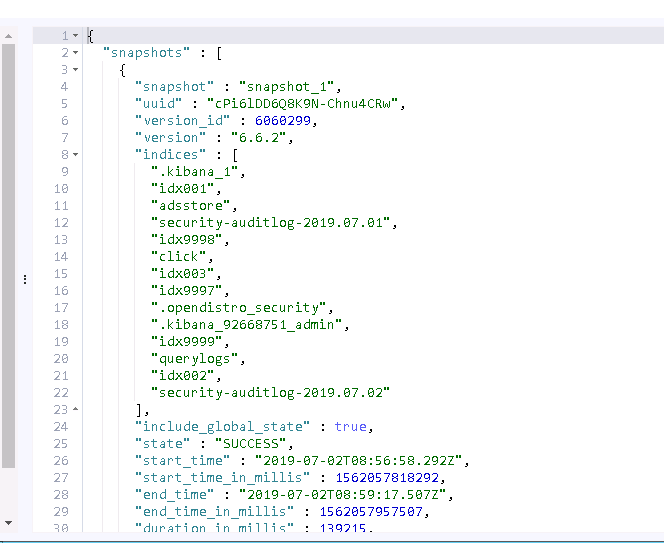
GET /_snapshot/_all
Expected Response:

Kibana Console Output
- Close all SearchBlox collection indices using the following. Use idx* to close relevant indices created in SearchBlox
POST /idx*/_close
Expected Response:

Kibana Console Output
- Restore using the following post
POST /_snapshot/my_backup/snapshot_1/_restore
{
  "indices": "idx*",
  "ignore_unavailable": true
}
Expected Response:

Kibana Console Output
- Open all the Indices
POST idx*/_open
Expected Response:

Kibana Console Output
Snapshot and Restore in Cluster for Linux
- There is a prerequisite for snapshot and restore operation to work on a cluster in Linux OS.
- For the snapshot and restore commands to work directly or from the utility, it is required to make
/opt/searchblox/backupfolder of index server (where the backup and restore actions to be performed) to be accessible in the search servers. - You can mount the folder using tools such as NFS or Samba to make the folders accessible across the search servers.
- External link for folder sharing https://www.howtoforge.com/nfs-server-and-client-on-centos-7.
- Based on your OS used please share the folder where the backup is taken to be accessible directly in the same path in other servers. Only then backup and restore would work from the utility.
Snapshot and Restore in Amazon S3
Prerequisites
- Create an S3 bucket if you don’t already have one.
- Go to
../elasticsearch/binand install s3 repository plugin using the following command (command prompt for Windows and terminal for Linux)
elasticsearch-plugin install repository-s3
- Add your AWS access and secret keys to the Elasticsearch keystore using the commands in the path
<SEARCHBLOX_INSTALLATION_PATH>/elasticsearch/bin - If you are not able to run the following commands please delete elasticsearch.keystore.tmp file
elasticsearch-keystore add s3.client.default.access_key
elasticsearch-keystore add s3.client.default.secret_key
Steps to Take Snapshot
- Register the repository using the JSON
PUT _snapshot/my-s3-repository
{
  "type": "s3",
  "settings": {
    "bucket": "es-s3-test-repo-sblox",
    "base_path": "folder",
    "compress": true
  }
}
Expected Response:

Kibana Console Output
- Take a snapshot of the cluster
PUT /_snapshot/my-s3-repository/snapshot_1?wait_for_completion=true
Important Information
It might take sometime to get a response, sometimes you may get statuscode 504 with a timeout error. However most likely with time out error the data backup might be successful.
- Check the snapshot created
GET _snapshot/my-s3-repository/_all
Expected Response:

Kibana Console Output
Restore Data in another Server
- Retrieve the snapshot created in your other server
GET _snapshot/my-s3-repository/_all
Expected Response:

Kibana Console Output
- Close all SearchBlox collection indices using the following. Use idx* to close indices created in SearchBlox
POST /idx*/_close
Expected Response:

Kibana Console Output
- Restore using the following post
POST /_snapshot/my-s3-repository/snapshot_1/_restore
{
  "indices": "idx*",
  "ignore_unavailable": true
}
Expected Response:

Kibana Console Output
- Open all the Indices
POST idx*/_open
Expected Response:

Kibana Console Output
Updated almost 5 years ago
