
Running on AWS Fargate
Important:
- For Single ECS, use IP license.
- For managed ECS, Unlimited License is required. For the license, please contact SearchBlox support.
To use Fargate with ECS to run a series of containerized tasks or steps, follow the below steps:
Important:
- We can get Image URI in two ways:
NOTE: You can follow any one of the above step and Creating a Fargate Cluster is common for both the above steps.
Getting Image URI from AWS Marketplace
- Go to AWS Marketplace and Subcribe to SearchBlox Enterprise Search, by clicking the below link.
- Link to Fargate version
- Click on
Continue to Subscribe.
- Click on
Continue to Configuration.
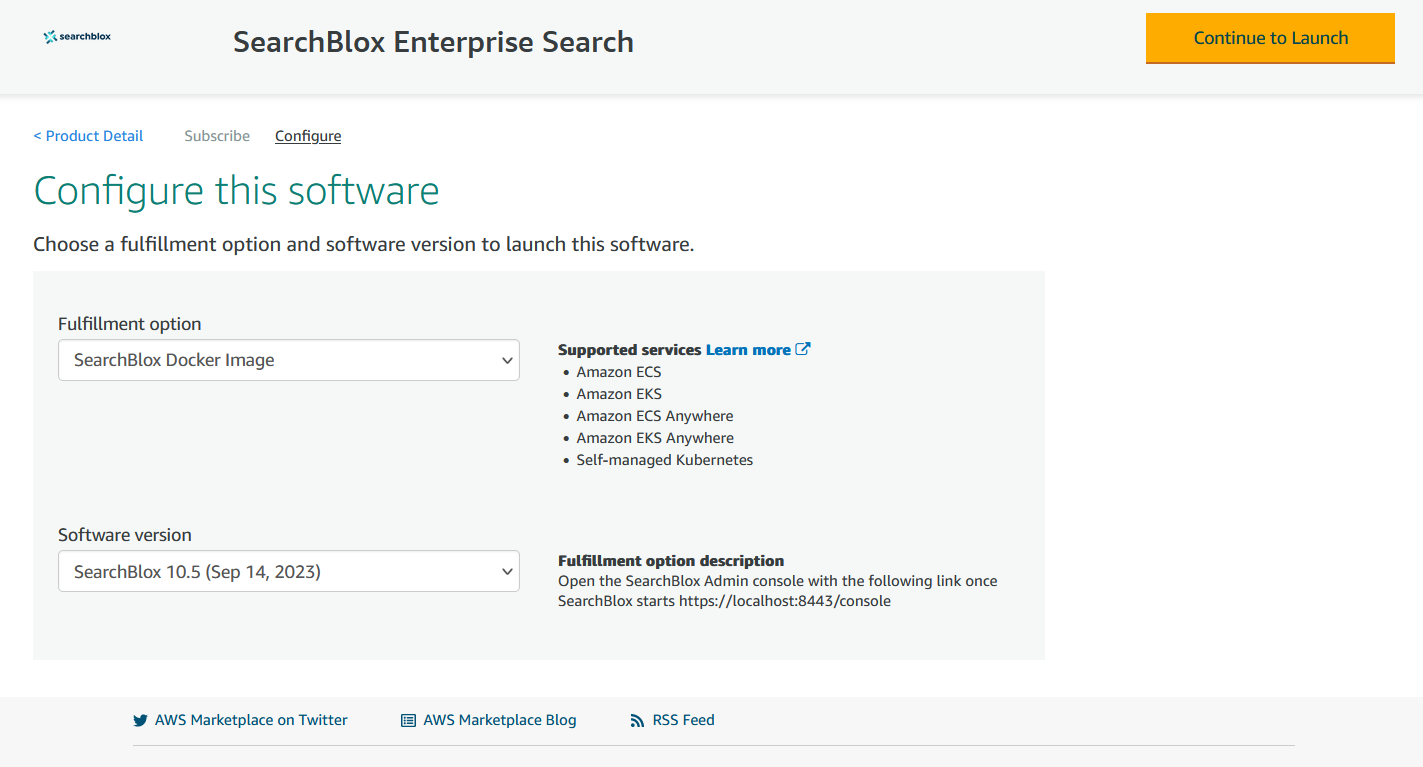
- Click on
Continue to Launch
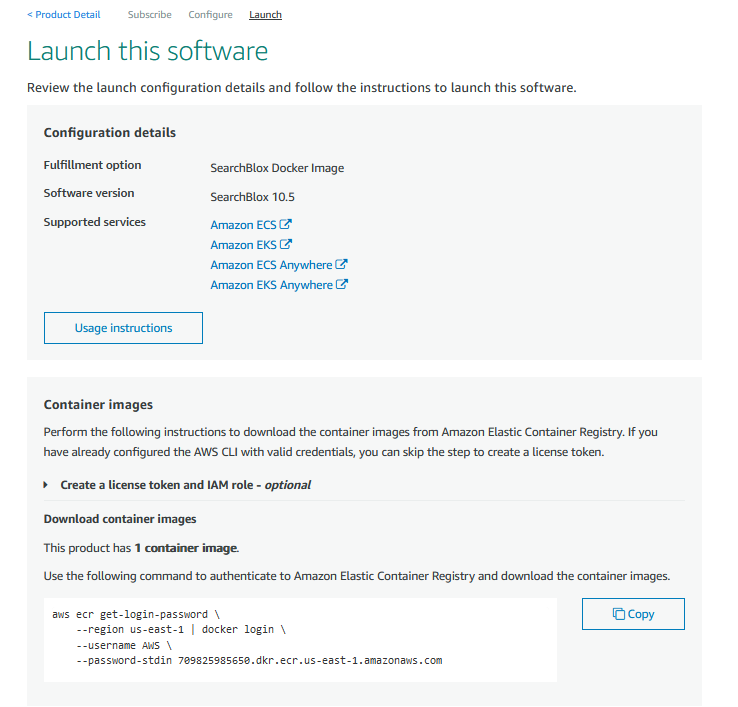
- Scroll down to the
Container imagessection and copy the commands that are shown below as shown in the image.
aws ecr get-login-password
    --region us-east-1 | docker login
    --username AWS
    --password-stdin xxxxxxx.dkr.ecr.us-east-1.amazonaws.com

CONTAINER_IMAGES="xxxxxx.dkr.ecr.us-east-1.amazonaws.com/searchblox/searchblox:v10.7"

for i in $(echo $CONTAINER_IMAGES | sed "s/,/ /g"); do docker pull $i; done
- After executing the above command the below response can be seen and copy the last line, which is the
Image URIused for the next steps.
v10.7: Pulling from searchblox/searchblox
Digest: sha256:a13abcd5f970e253c8be2b7a093c215728046d2f4a0505343710a80bae39801d
Status: Image is up to date for xxxxxx.dkr.ecr.us-east-1.amazonaws.com/searchblox/searchblox:v10.7
xxxxxx.dkr.ecr.us-east-1.amazonaws.com/searchblox/searchblox:v10.7
Importing Custom Docker Image into the Registry
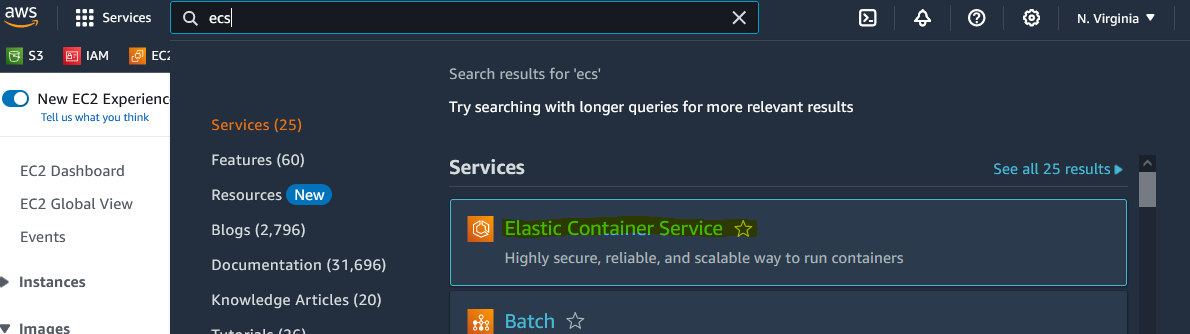
- Sign in to the AWS Management Console and navigate to the Amazon Elastic Container Service console.
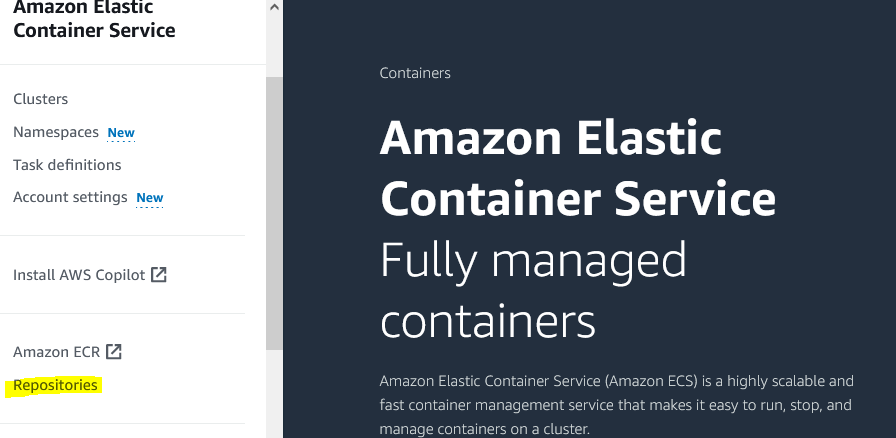
- After selecting the ECS Container, select Repositories on the left pane. You will be redirected to Amazon Elastic Container Registry.
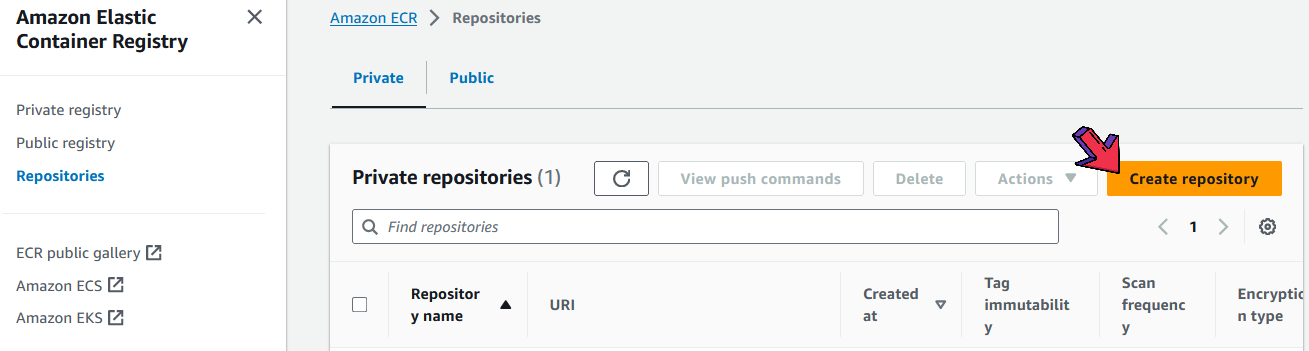
- Select Create repository.
- Select Private and specify the Repository name.
Note:
Name should be same as the Docker image.
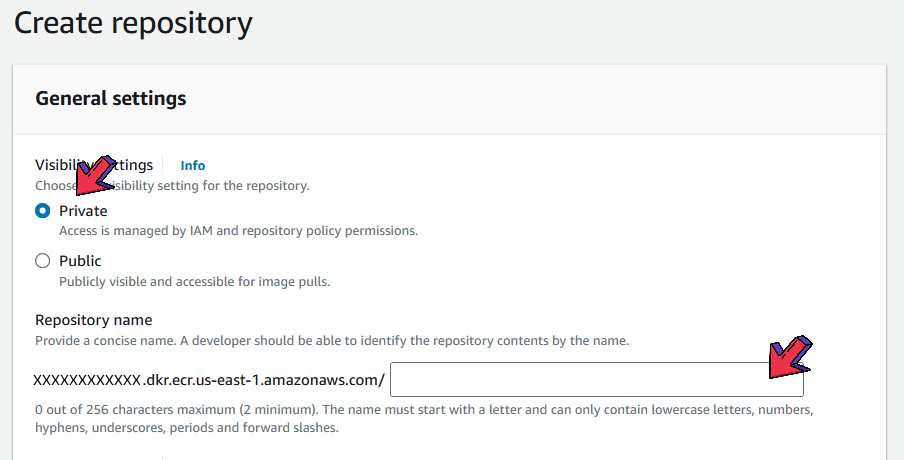
- Leave everything as default and Create repository.
- Once Repository is Successfully created, select View push commands.
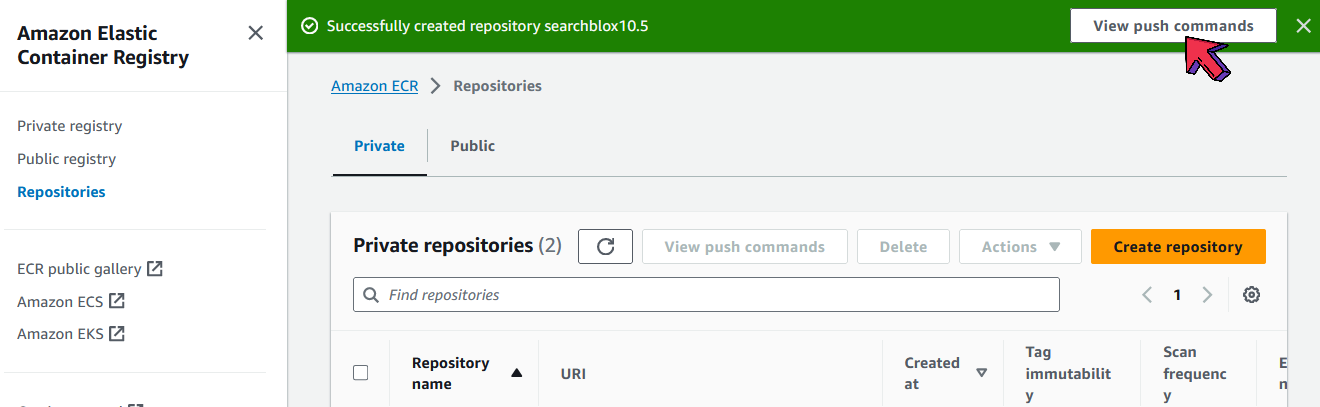
- Read the instructions carefully on the page below.
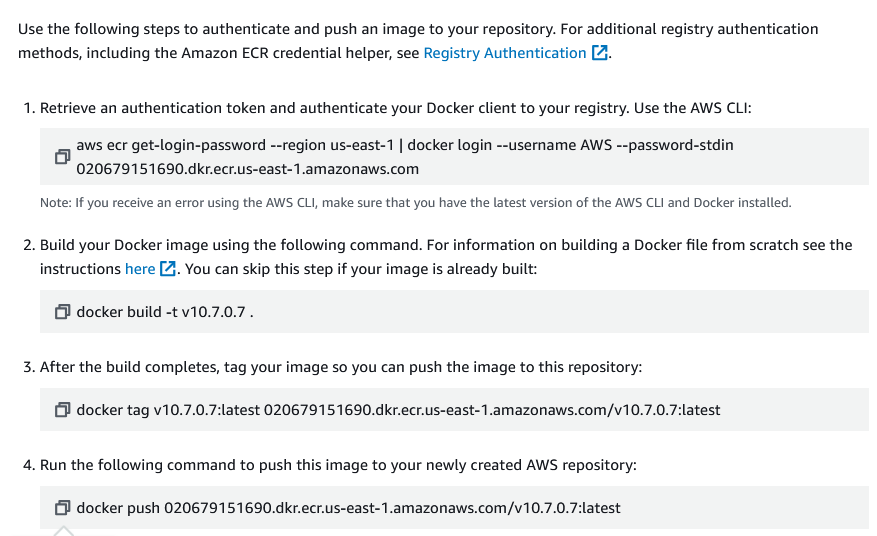
Note:
Highlighted text in the above image needs to be changed as per the Docker image Tag name.

-
Execute the following rewritten commands on the Terminal. Simply copy and paste to execute.
NOTE : Before executing the following commands make sure AWS CLI is installed on the terminal.
- Retrieve an authentication token and authenticate your Docker client to your registry.
Use the AWS CLI
aws ecr get-login-password --region us-east-1 | docker login --username AWS --password-stdin 020679151690.dkr.ecr.us-east-1.amazonaws.com
- Build your Docker image using the following command. For information on building a Docker file from scratch see the instructions here . You can skip this step if your image is already built:
docker build -t v10.7.0.7
- After the build completes, tag your image so you can push the image to this repository:
docker tag v10.7.0.7:latest 020679151690.dkr.ecr.us-east-1.amazonaws.com/v10.7.0.7:latest
- Run the following command to push this image to your newly created AWS repository:
docker push 020679151690.dkr.ecr.us-east-1.amazonaws.com/v10.7.0.7:latest
Creating Fargate Cluster
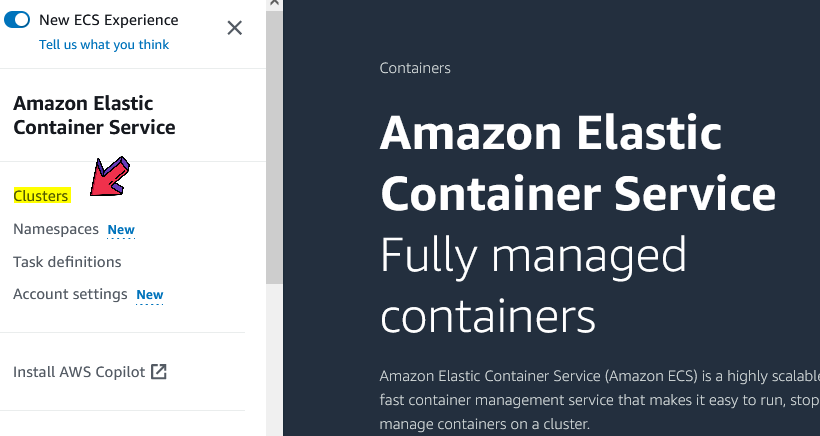
- Navigate to Main Menu of Amazon ECS.
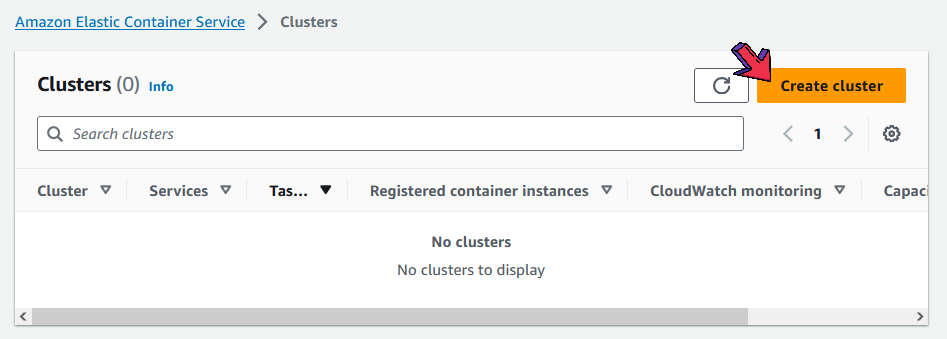
- Select Clusters to create a new cluster.
- Select Create cluster.
- Enter the Cluster name.
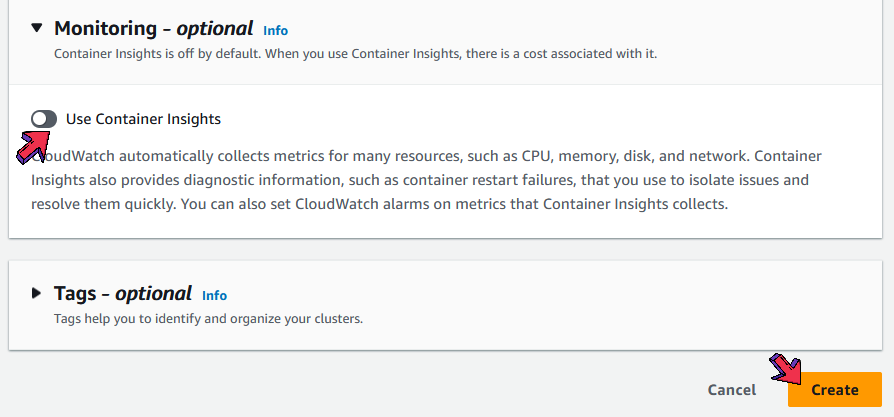
- Under Infrastructure, Select AWS Fargate (serverless).

- Toggle on Use Container Insights, if you want to monitor the CPU and RAM usage. Click on Create button.
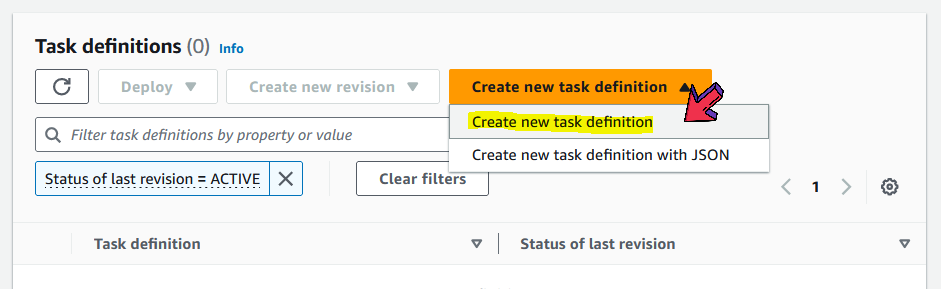
- Navigate back to Amazon ECS Main Menu and select Task definitions.

- Under Task definitions, select Create new task definition.
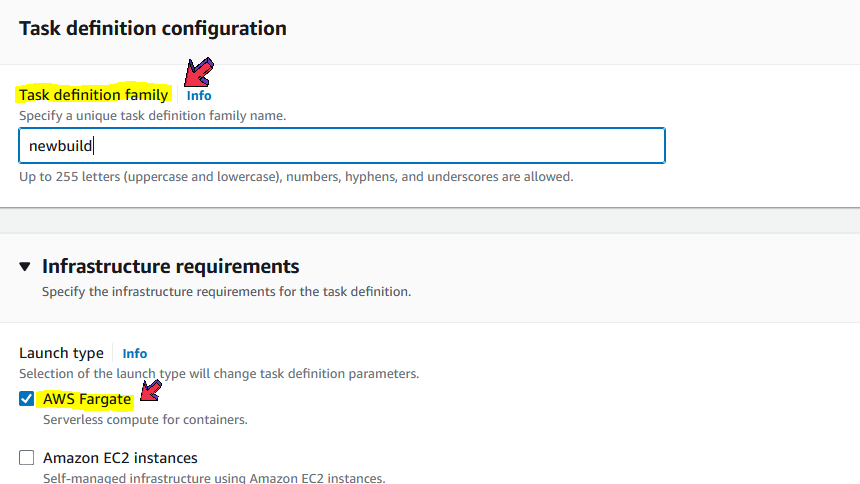
- Specify the Task definition family and choose AWS Fargate.
- Choose Linux/86_64 and specify the CPU size and Memory (As per the docker image size).
- Create a task role in AWS IAM. Allow full permissions for ECS and Cloud Watch.
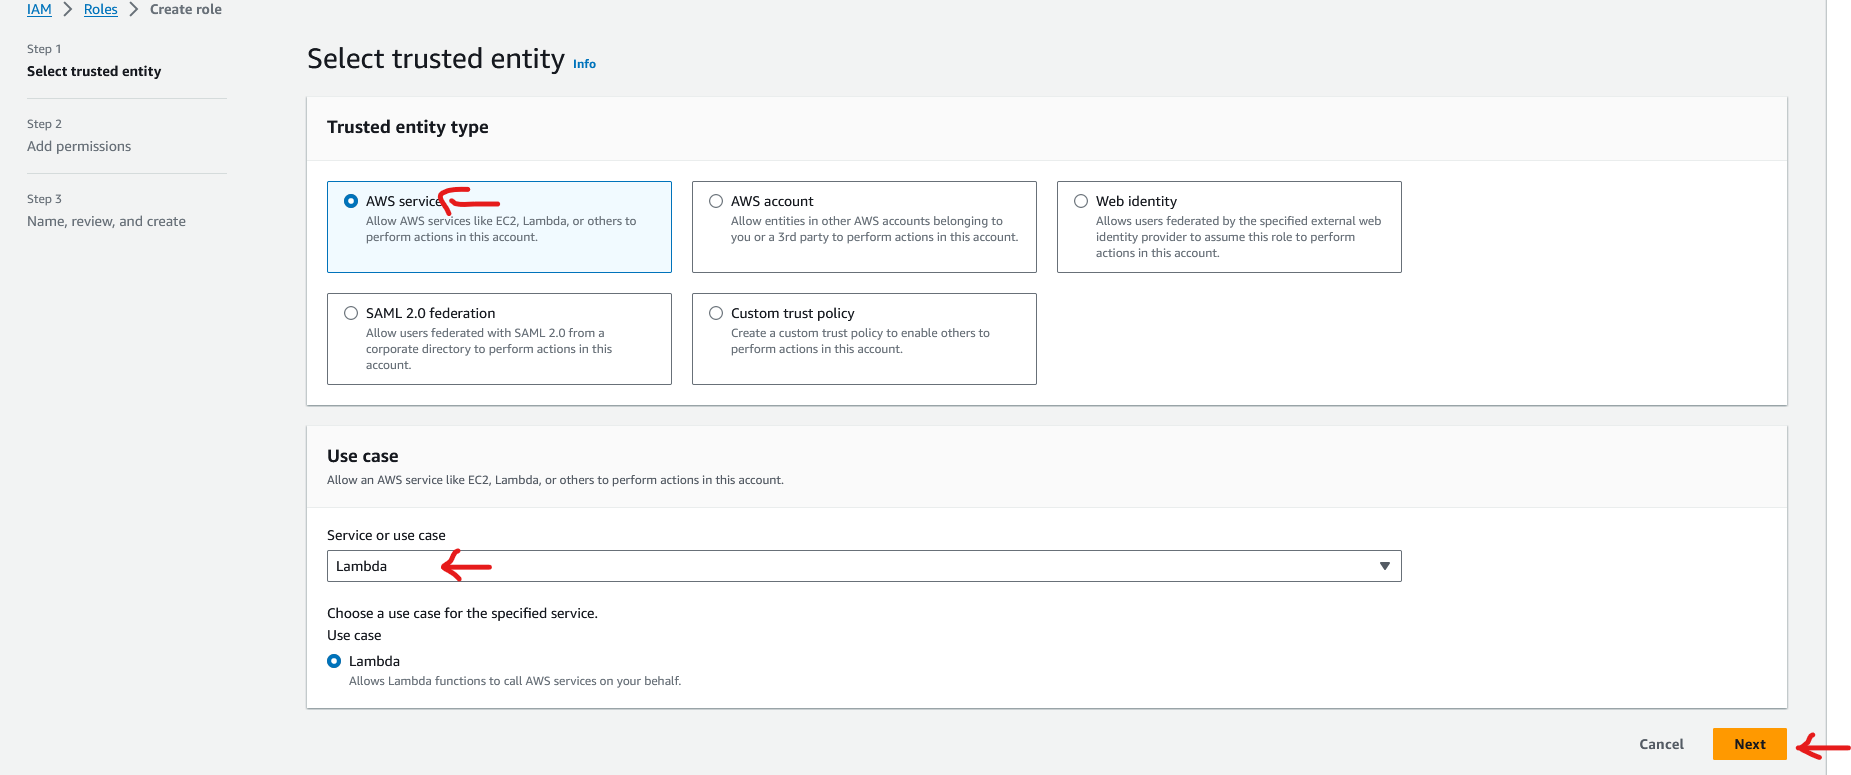
- To create a role in AWS, navigate to IAM service, click on left-side panel ROLES. Click on Create a Role. Select Trusted entity type as AWS Service and select usecase as lamda, click on Next button.
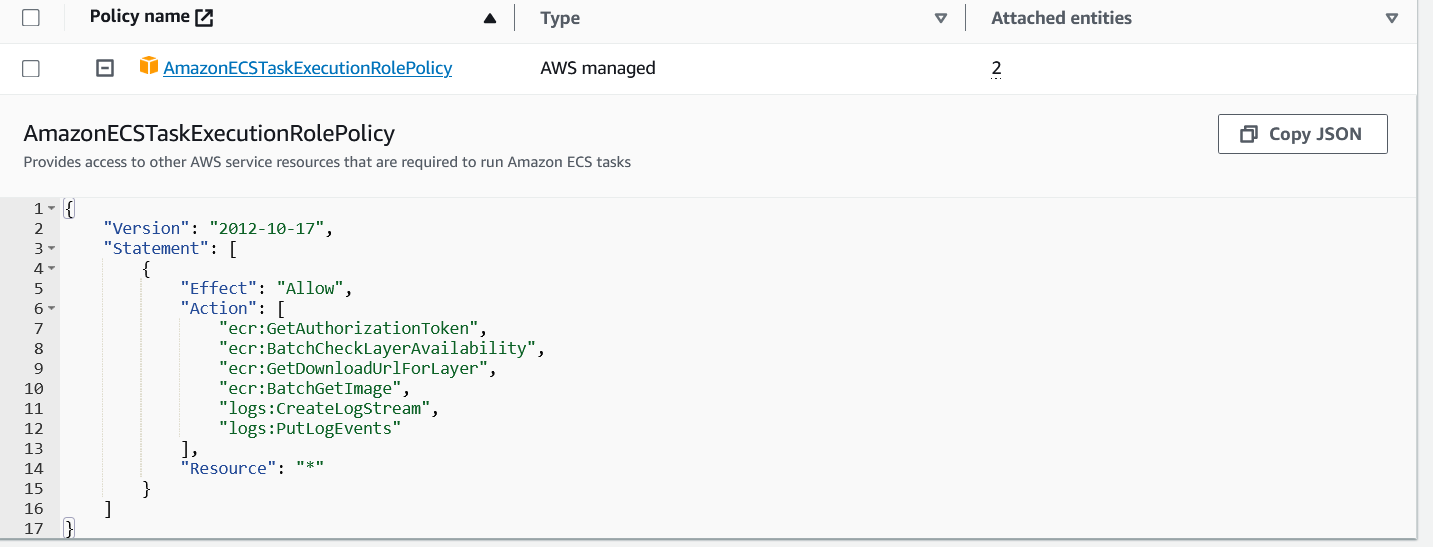
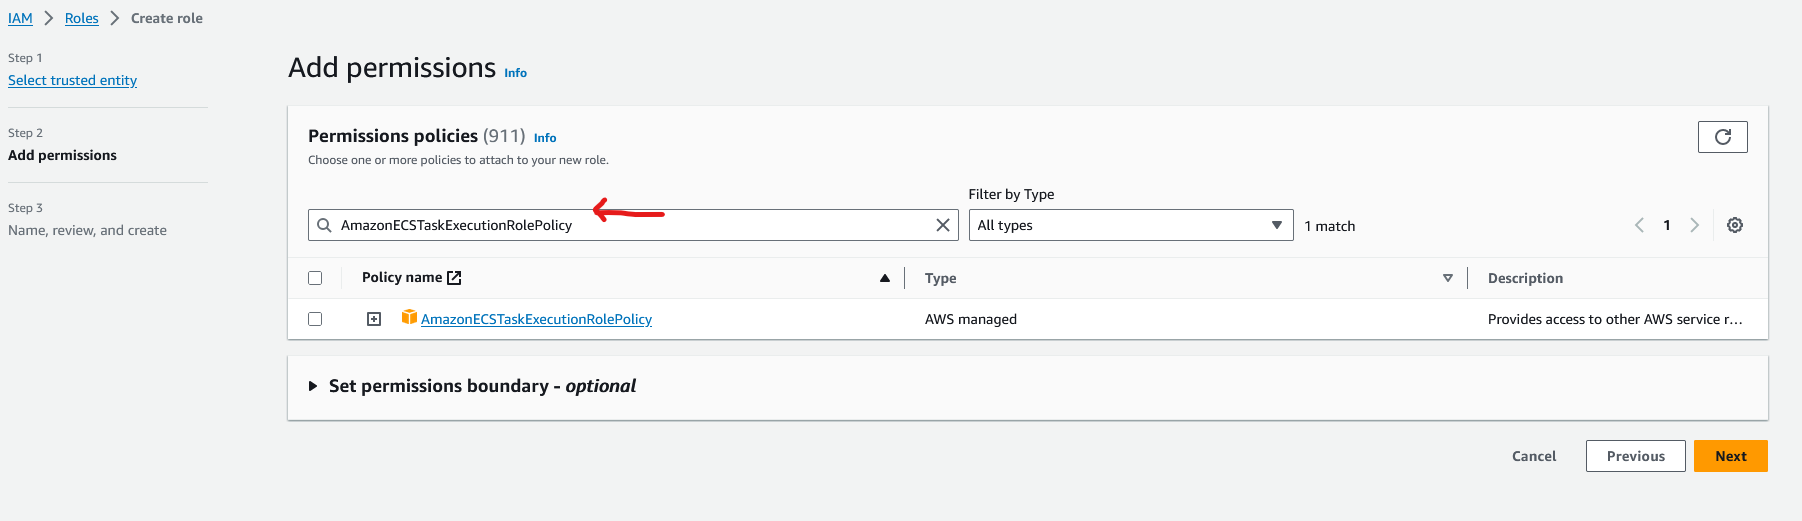
- In the Add Permission section search for AmazonECSTaskExecutionRolePolicy.
- Select the ecsTaskExecutionRole created in IAM console.

NOTE: Task size should be 4 CPU and 16GB Memory.
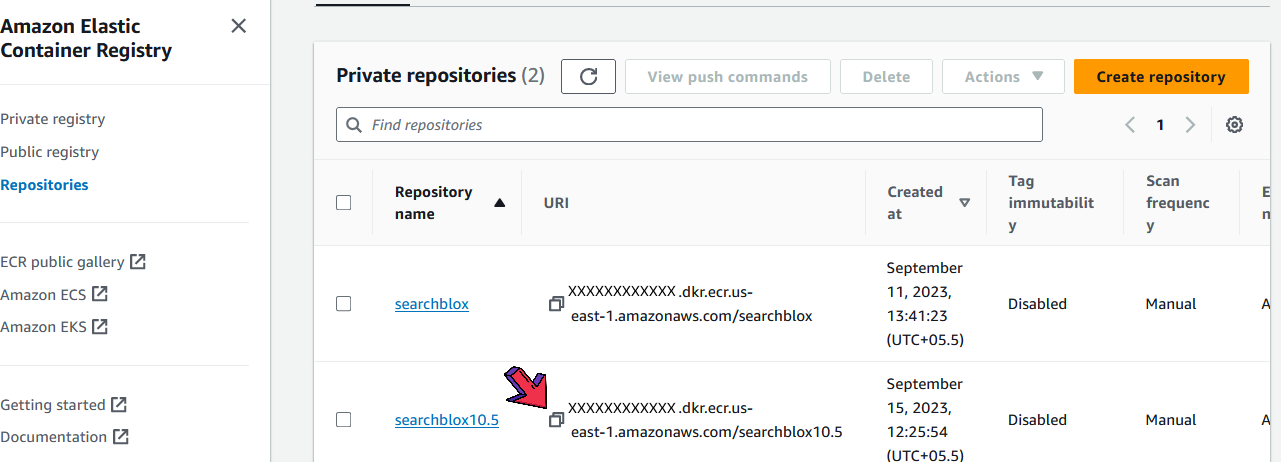
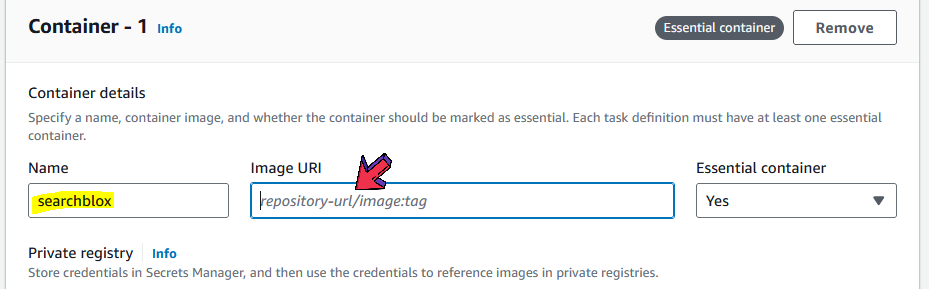
- Under Container-1 setting, specify the Name and paste the Image URI copied from the repositories page. Example :
xxxxxxxxx.dkr.ecr.us-east-1.amazonaws.com/<repository name>/searchblox:v10.7
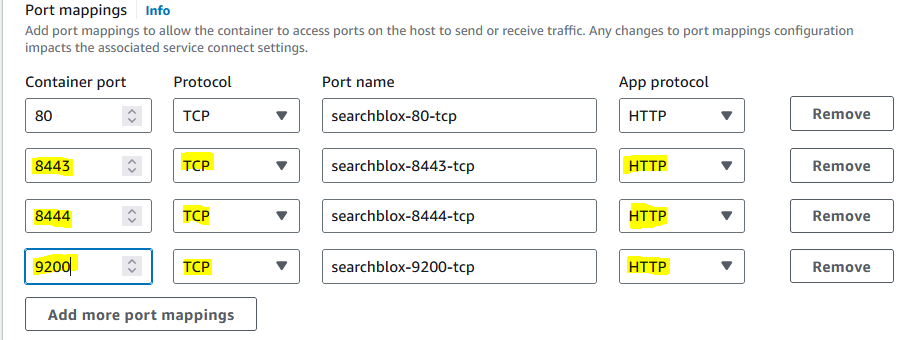
- Under Port mappings, add the port numbers (8443, 8444, 8446, 9200) and set the App protocol as HTTP.
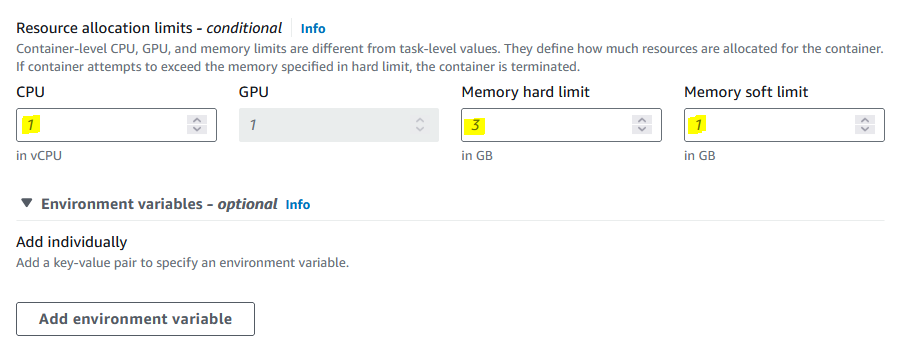
- Allocate Memory hard limit, Memory soft limit and the CPU cores as default, can be increased based on the requirements.
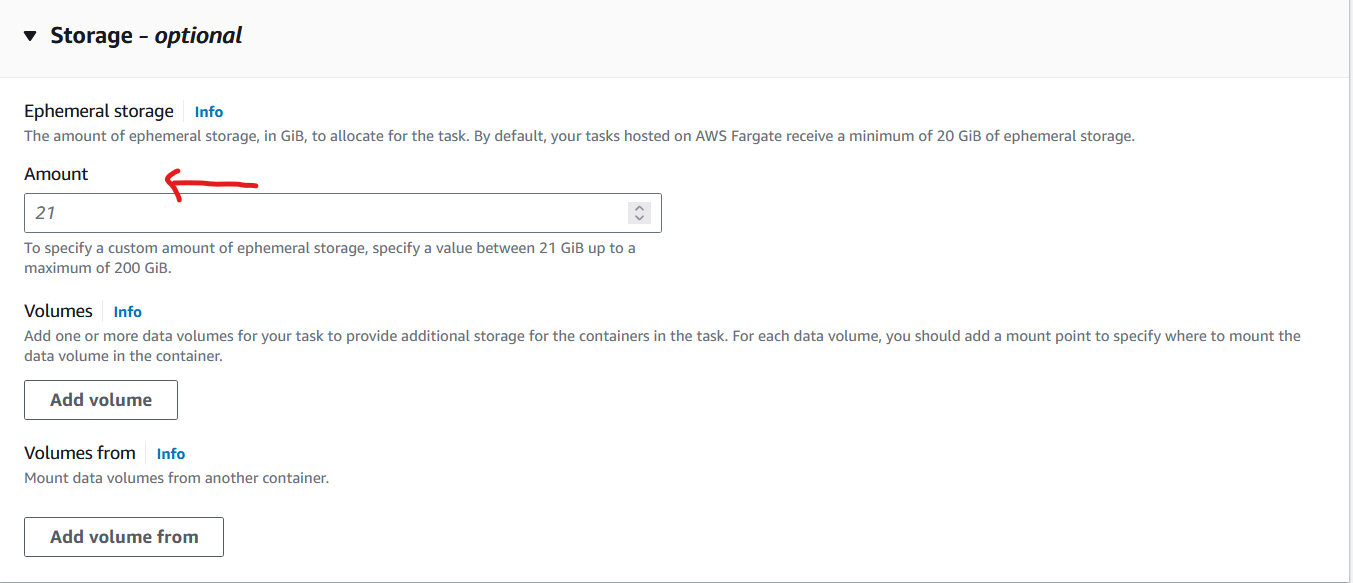
- Storage can be increased as shown in the below image.
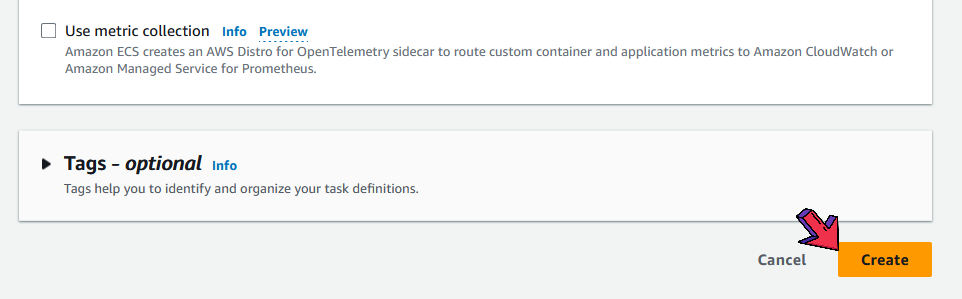
- Select Create.
Running The Task
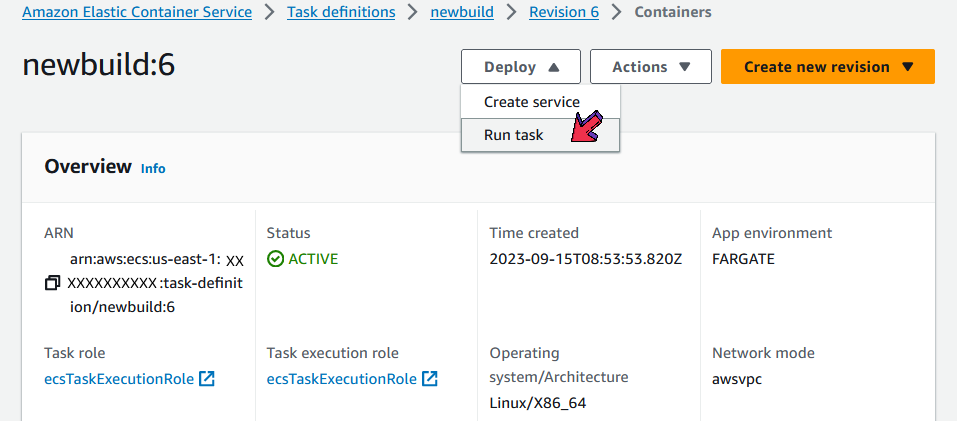
- The below page will appear after creating task definition.
- Click on Deploy drop down box and select Run task.
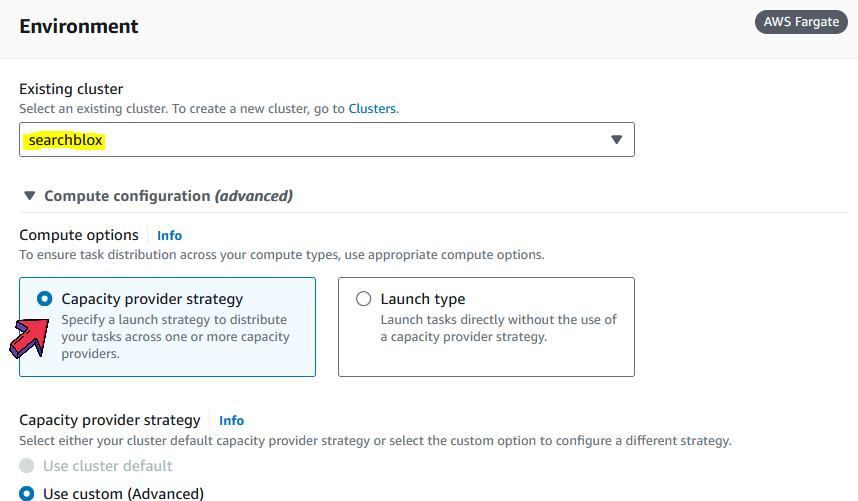
- Choose the Existing cluster name.
- Under Compute options, select Capacity provider strategy.
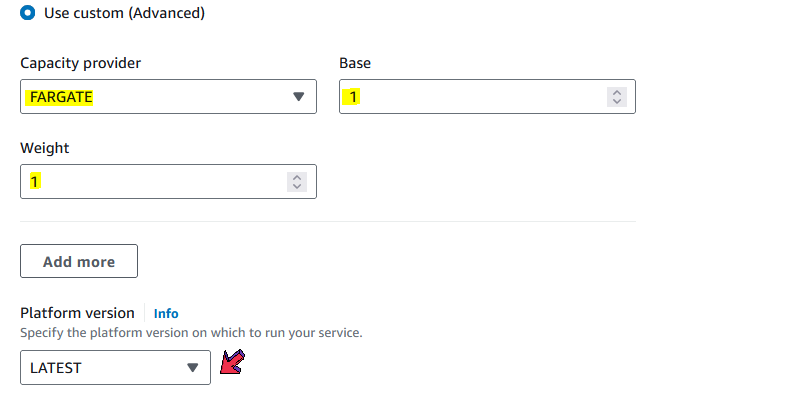
- Capacity provider is FARGATE,
- Set the Base to 1.
- Set Platform revision to LATEST.
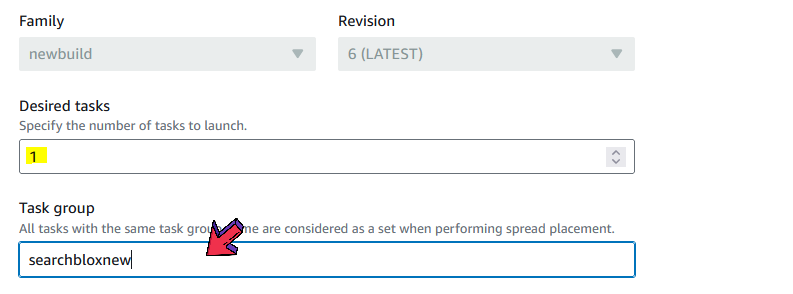
- The number of Desired tasks to be lauched, can be changed. The Task name should be unique.
- Under Networking, choose the default VPC ,Subnets or based on your specific requirements.

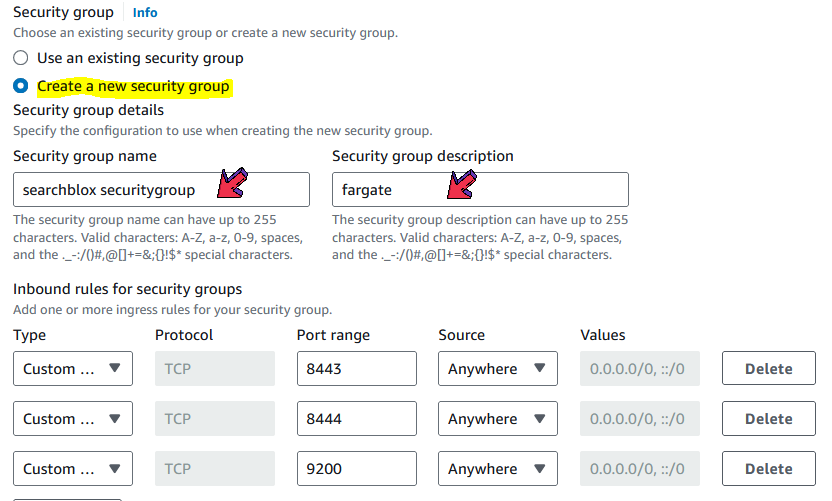
- Select Create new security group and specify the Security group name and Security group description.
- Under Inbound rules for security groups, select Custom as Type.
- Add Port range (8443,8444,9200)
- Select Source as Anywhere.
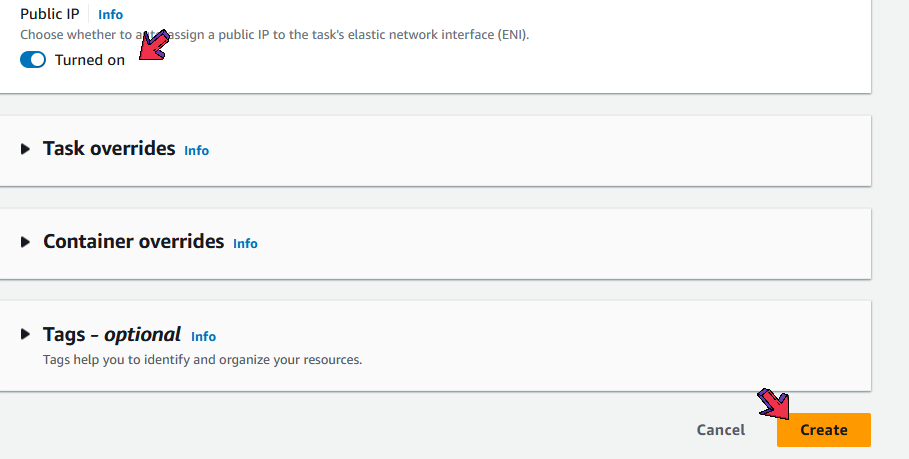
- Public IP should be Turned on.
- Select Create.
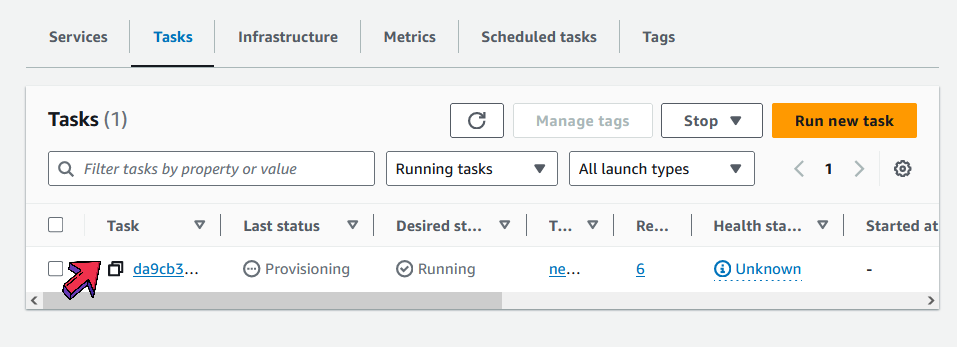
- After the task is created, it will navigate to the below page.
- The status of the task can be checked under Last status.
- Wait until the task gets Completed.
- If the task is completed, the Public IP can be obtained under the Network binding section.
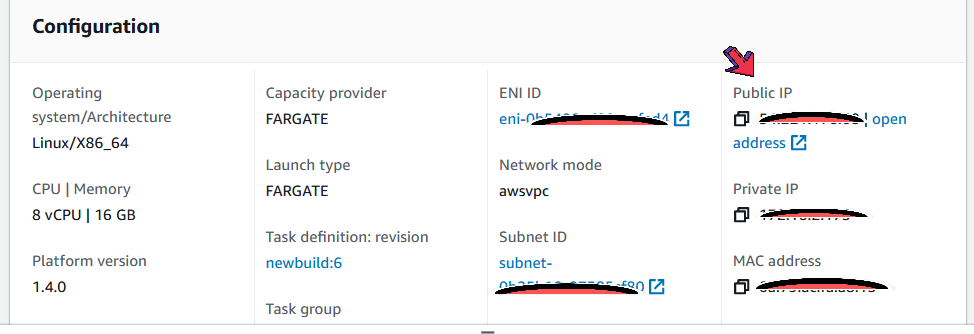
- To access the SearchBlox console, use the Public IP on the browser
https://<Public IP>:8443/console
Important:
- If you are not able to access the SearchBlox Console, check the security group.
Updated almost 2 years ago