
Creating a New Chatbot
Step-by-step guide to creating a SearchAI ChatBot.
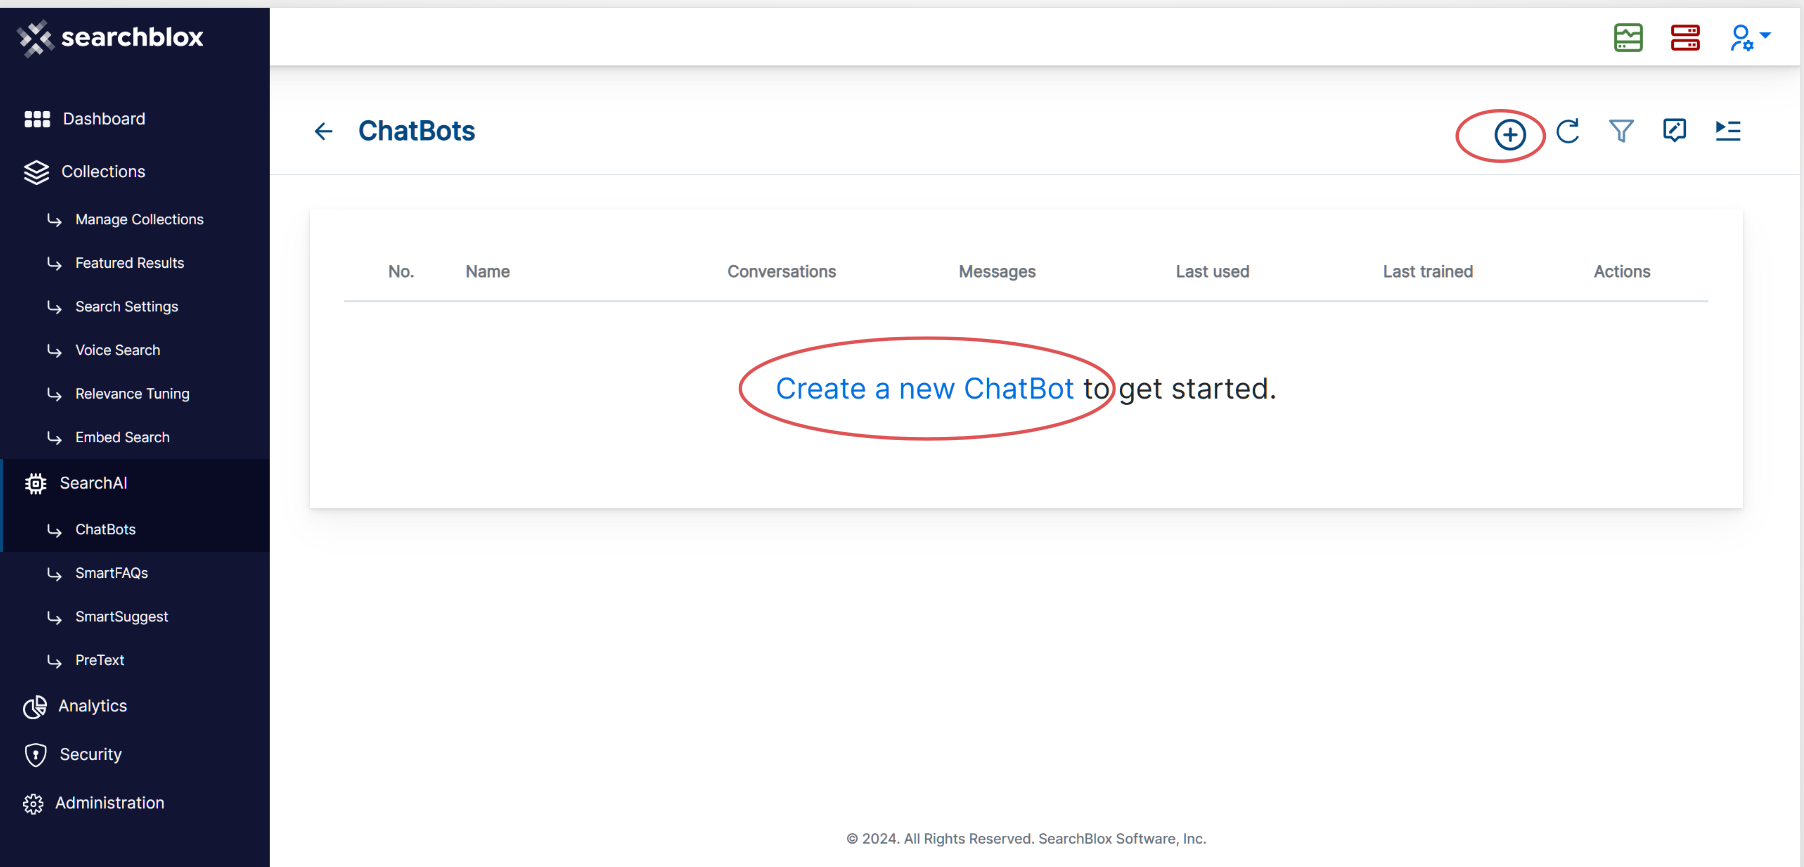
- Create a New ChatBot
To create a chatbot, click onCreate a new ChatBotor use the "+" icon onChatBotspage as depicted in the screenshot below.
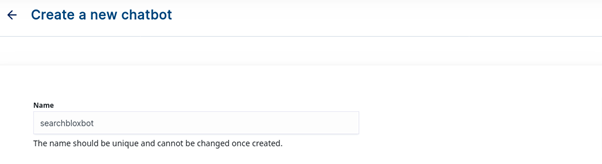
- Name ChatBot
Give a unique name, typically one that reflects the purpose or function of the chatbot for easy reference.
NOTE:
Do not capitalize any letter used for naming the chatbot. Use from 3 to 36 alphanumeric characters with underscore being the only special character that is allowed.
-
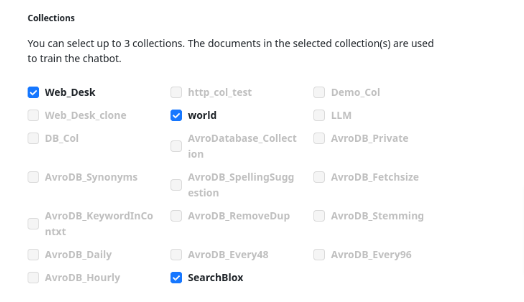
Select Knowledge Sources (Collections)
- Chatbots require data to function and provide informative responses. This data is sourced from collections within SearchBlox.
- Select up to 3 collections that are relevant to the topic or domain your chatbot will address.
- Train Your ChatBot
- Once you've named the chatbot and selected the knowledge sources (collections), click on
Createbutton. - This will initiate the training process for created chatbot. During this stage, SearchAI ChatBot will analyze the data from your chosen collections and build its knowledge base to prepare for user interactions.
- On clicking the “create” button, you will be led to the main
ChatBotsinterface page. Here you see a listed view of all the chatbots created. - Now the chatbot you recently created will be listed as
TRAINING, this indicates that the training of the chatbot is in progress.
- Once you've named the chatbot and selected the knowledge sources (collections), click on
NOTE:
Retraining time depends on the amount of data in each collection.
Once the training has been completed, your Conversational AI ChaBot is now functional and ready to be deployed.
Updated almost 2 years ago
Did this page help you?